Auto renew, cancel anytime
Free upgrade service for 1 year
License for 1 PC
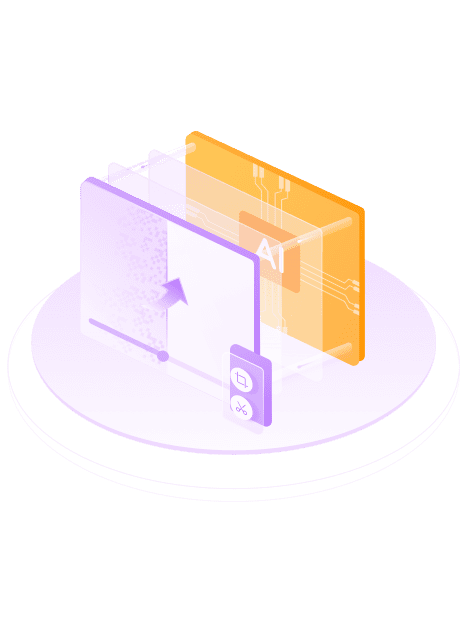
Remove the noise using AI technology, while restoring the details to enhance the video quality.

Support Video Editing
The built-in crop and audio customize function meet your personalized needs
UniFab Denoise AI utilizes advanced AI algorithms that require corresponding high-performance hardware support. Therefore, it takes a certain amount of time to complete an entire task. Depending on the input and output video resolutions as well as device processing capabilities, there may be variations in conversion speed. The following are our test results for your reference only.
| Quality enhancement (without resolution upscaling) | Enlarge to 1080p | Enlarge to 4K | |
|---|---|---|---|
| GTX 1660 | 4 times the length of the original video | 15 times | 50 times |
| RTX 3070 | 3 times | 11 times | 35 times |
| RTX 4080 | 2 times | 5 times | 15 times |
NVIDIA graphics cards use the TensorRT inference architecture model,with slightly faster than the same level of AMD, Intel graphics cards.
100% Safe & Clean
Double click UniFab and choose the ‘Denoiser’ module.
Click the Add Video button to select the video you want to edit in the local file. Then begin to edit the loaded video as desired.
Click the start button to edit your video file. UniFab will complete the video editing task at lightening speed.
Operating System: Windows 10 (64 bit only)
Required RAM:
| Minimum | Recommended | Optimal |
|---|---|---|
| 8GB | 16GB | 32GB |
To process image in CPU mode:
| Intel | AMD | |
|---|---|---|
| Minimum | Intel CPU from 2015 onwards(4th generation) | AMD CPU from 2016 onwards |
| Recommended | Intel i7 (7th generation) or greater(4GHz and above) | Ryzen 7 or greater (4GHz and above) |
To process image in GPU mode:
| NVIDIA | AMD | |
|---|---|---|
| Minimum | Nvidia 750Ti (GPU Compute 3.5) or above at least 2GB of VRAM | GCN 1.0, such as HD 7750 |
| Recommended | Nvidia RTX series or above with 6GB or more of VRAM | RX 500 Series, such as RX 560, RX 570 |
Make sure your graphics card is up to date with the latest driver
Download the latest driver for Nvidia, AMD and Intel.
NVIDIA
AMD
Intel
| RTX 40 Series, such as RTX 4090, RTX 4080, RTX 4070 Ti, RTX 4070, RTX 4060 Ti, RTX 4060 |
|---|
| RTX 30 Series, such as RTX 3090, RTX 3080 Ti, RTX 3070, RTX 3060, RTX 3050 |
| RTX 20 Series, such as RTX 2080 Ti, RTX 2080 SUPER, RTX 2080, RTX 2070 SUPER, RTX 2070, RTX 2060 SUPER, RTX 2060 |
| GTX 16 Series, such as GTX 1660 Ti, GTX 1660, GTX 1650 SUPER, GTX 1650 |
| GTX 10 Series, such as GTX 1080 Ti, GTX 1080, GTX 1070 Ti, GTX 1070, GTX 1060, GTX 1050 Ti |
Check the computing capability of your graphics card here.
Install the latest driver here.