
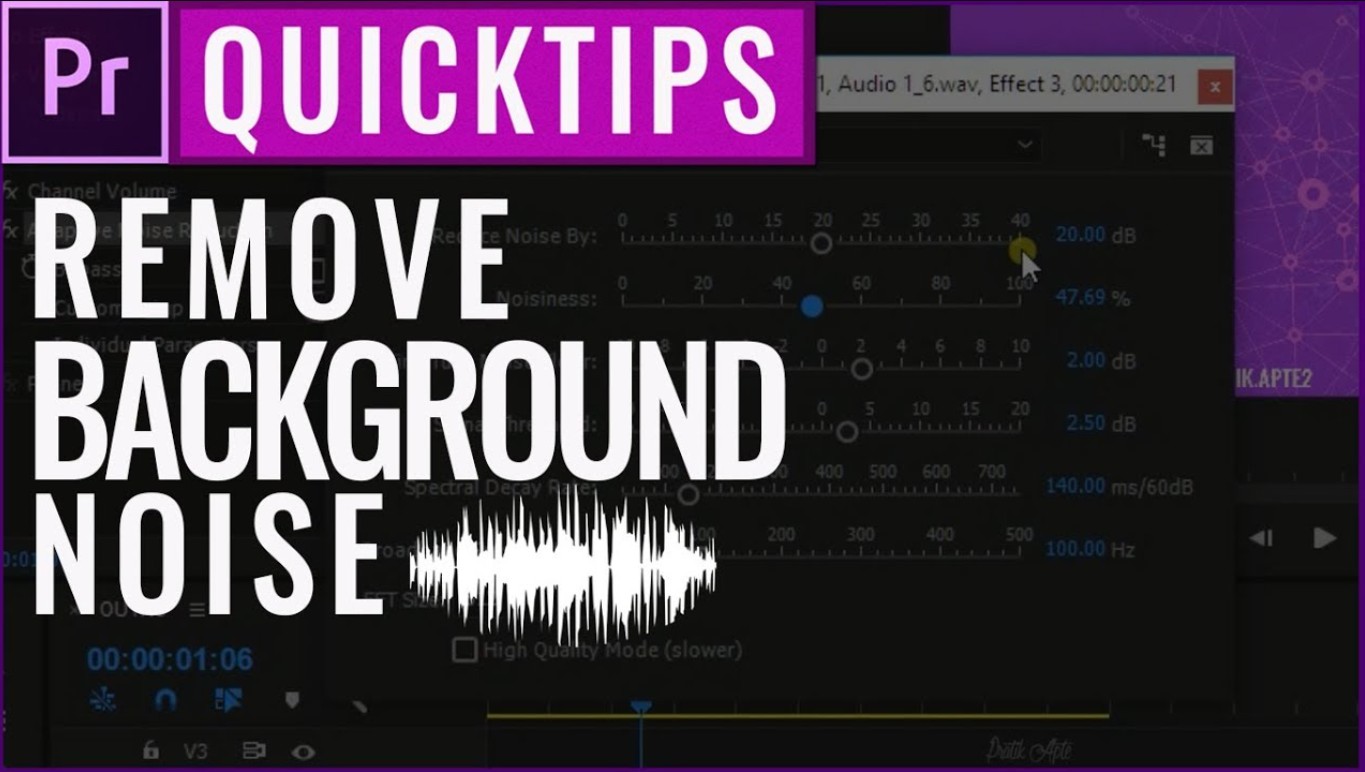
[Tutorial] How to Effectively Remove Background Noise in Premiere
Summary: Learn the step-by-step process for reducing or removing background noise in Premiere Pro. Improve your audio quality now.
Different Types of Background Noise
When it comes to working with audio in Premiere, understanding the different types of background noise is crucial. Background noise refers to any unwanted sound that is unintentionally captured while recording audio. To effectively remove background noise, it is important to identify and analyze the specific type of noise you are dealing with.
Step-by-Step Tutorial: Removing Background Noise in Premiere
Step1: Import the audio clip
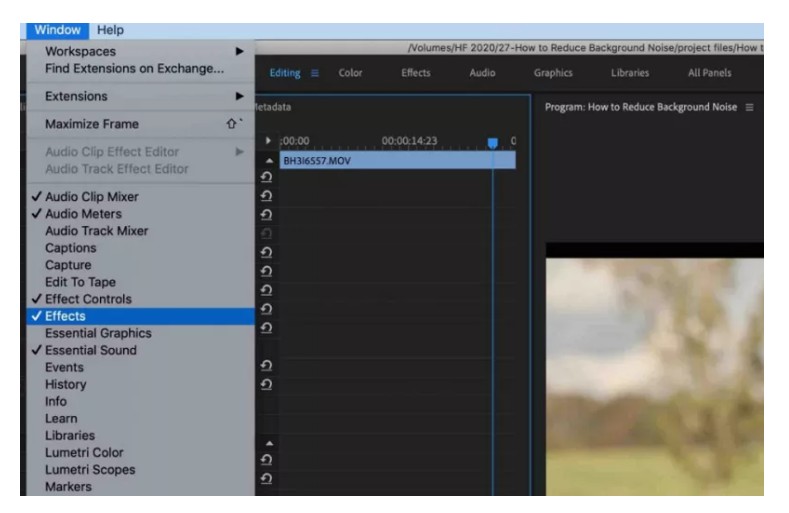
In this step-by-step tutorial, we will guide you through the process of removing background noise in Adobe Premiere Pro. Before we dive into the intricacies of noise reduction, the first step is to import the audio clip into your project.
- Begin by launching Adobe Premiere Pro and opening your desired project.
- Navigate to the “Project” tab at the bottom left of the screen and click on the “Import” button.
- Select the audio clip you want to work with from your computer’s directory and click “Import.”
Step2: Identify and isolate the background noise
In Adobe Premiere, you can use the “Razor Tool” to split the audio clip at the beginning and end of the identified noise sections. This way, you’ll have individual segments containing only the background noise. It’s essential to make clean, accurate cuts to avoid affecting the main audio.
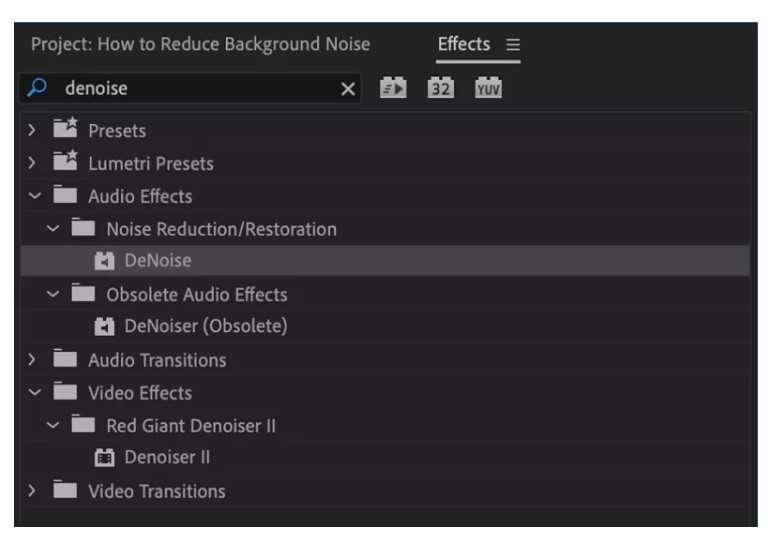
After isolating the background noise segments, you can navigate to the Effects panel and search for the “Noise Reduction/Restoration” effects. Adobe Premiere offers various noise reduction options, such as DeNoise, DeHum, and DeReverb.
Select the appropriate noise reduction effect that suits the specific type of background noise you are dealing with, based on your identification from the previous step. Apply the effect to the isolated noise segments, targeting only the areas where the noise is present.
Step3: Apply noise reduction effect
Once you have identified and isolated the background noise in your audio clip, it is time to apply the noise reduction effect in Adobe Premiere. This step will help eliminate unwanted sounds and improve the overall quality of your audio.
To begin, select the audio clip on the timeline and navigate to the “Effects” panel. Search for the “Noise Reduction/Restoration” effect and drag it onto the audio clip. This effect offers various tools and settings to reduce the background noise effectively.
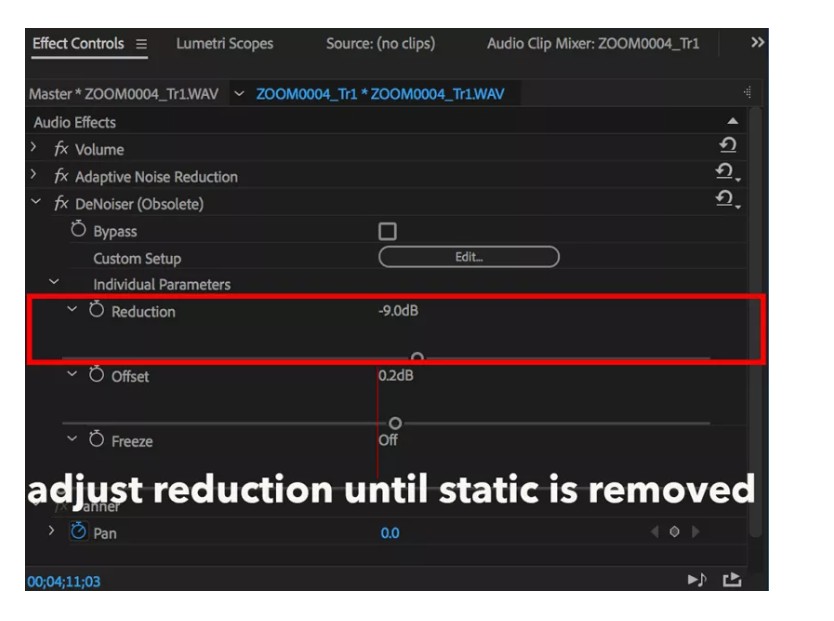
Next, adjust the parameters of the effect to customize the level of noise reduction. Start by adjusting the “Noise Reduction” slider, which controls the amount of noise reduction applied to the audio. It is important to find the right balance between reducing the noise and maintaining the quality of the desired audio.
Additionally, you can tweak the “Attenuation” slider to fine-tune the reduction of background noise. This setting determines how much the effect reduces the volume of the unwanted sounds. Be cautious not to set it too high, as it may affect the clarity of your desired audio.
Another essential option to explore is the “Noise Reduction Quality” setting. This feature allows you to choose between various noise reduction algorithms, each designed for specific types of background noise. Experiment with different options to find the one that works best for your audio clip.
Step4: Fine-tune the noise reduction settings
Throughout the fine-tuning process, it’s important to preview the changes in real-time. Play the modified audio clip to assess whether the noise reduction settings are positively impacting the desired audio. If necessary, go back and make further adjustments until you’re satisfied with the outcome.
Once you have adjusted the effect settings to your satisfaction, play back the audio to preview the results. Take note of any changes needed and make further adjustments as necessary.
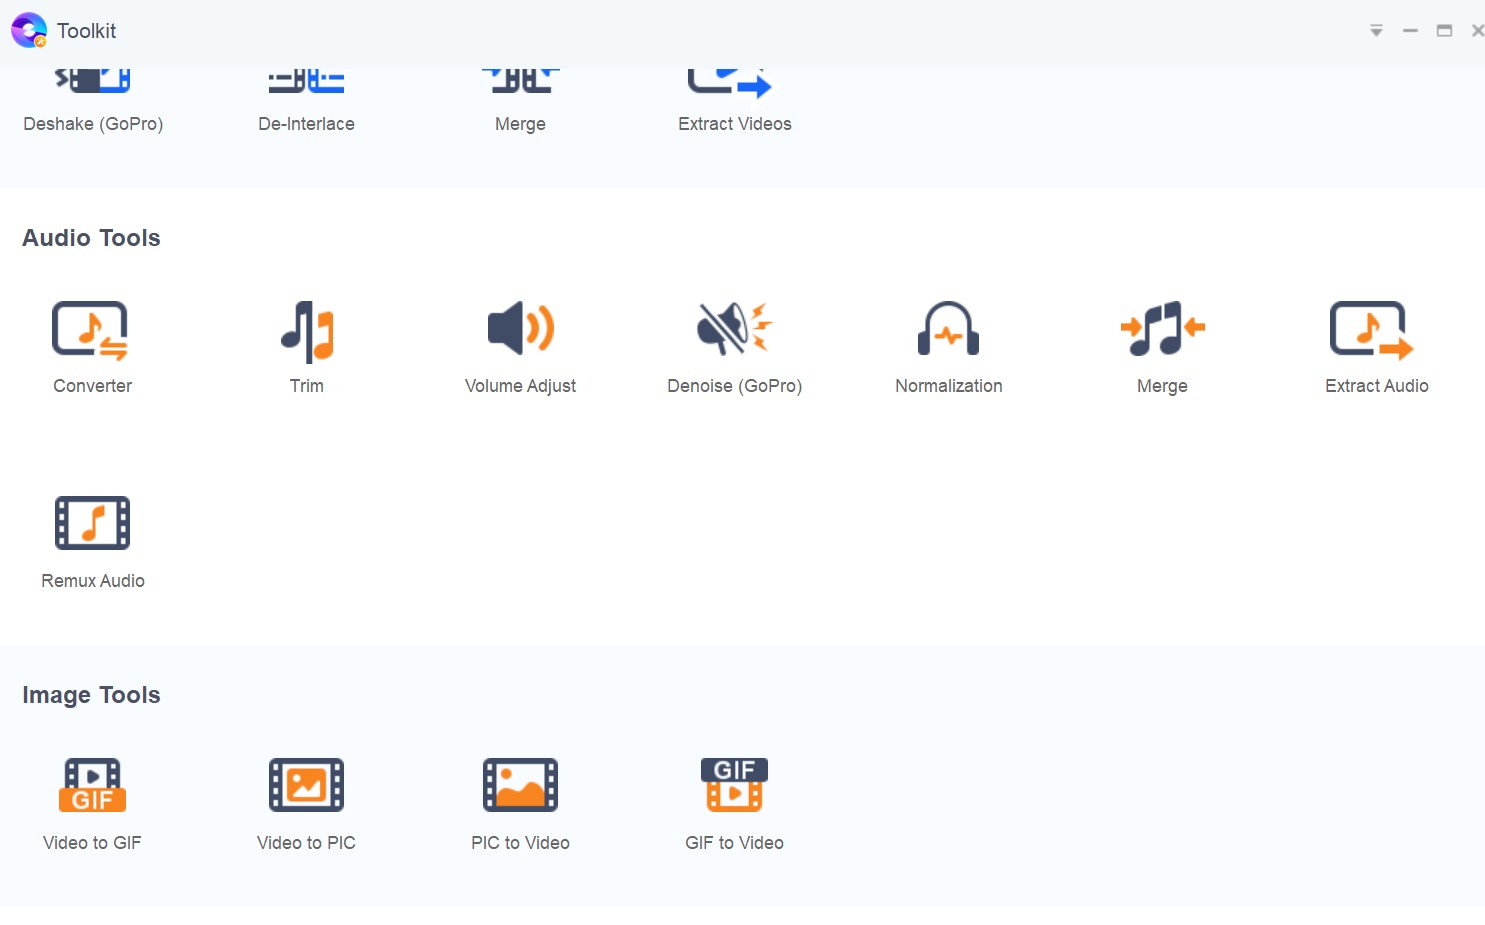
Alternative to Reduce Background Noise: UniFab

UniFab Video Converter
UniFab Video Converter offers an excellent alternative for reducing background noise and improving the sound quality of your videos. In this article, we will guide you step by step on how to use this powerful tool to achieve professional audio results.
Operation steps
Install and launch the UniFab Video Converter on your device first.
Choose Toolkit and import the video/audio clip you want to remove/reduce background noise.

Choose the Audio tools to denoise or adjust the volume.
Conclusion
Throughout the tutorial, we explored the process of importing the audio clip, identifying and isolating the background noise, applying the noise reduction effect, fine-tuning the settings, previewing and adjusting the results, and finally, rendering and exporting the audio. Each step was carefully explained to ensure a seamless and successful noise reduction process.
To further enhance your noise reduction skills, we shared some valuable alternative tips and tricks. These tips include using spectral frequency display to identify specific noise frequencies, experimenting with different noise reduction settings for optimal results, and utilizing the preview option to fine-tune your audio. These techniques will help you achieve professional-grade audio quality.
 Zamzar Converter: Convert Files Using Zamzar
If you are working with various files and often need to convert them from one format to another, you need a reliable converter. Here we present you Zamzar converter. Our blog post will show how the Zamzar file converter helps you convert your files from one to another. Let's get into details.
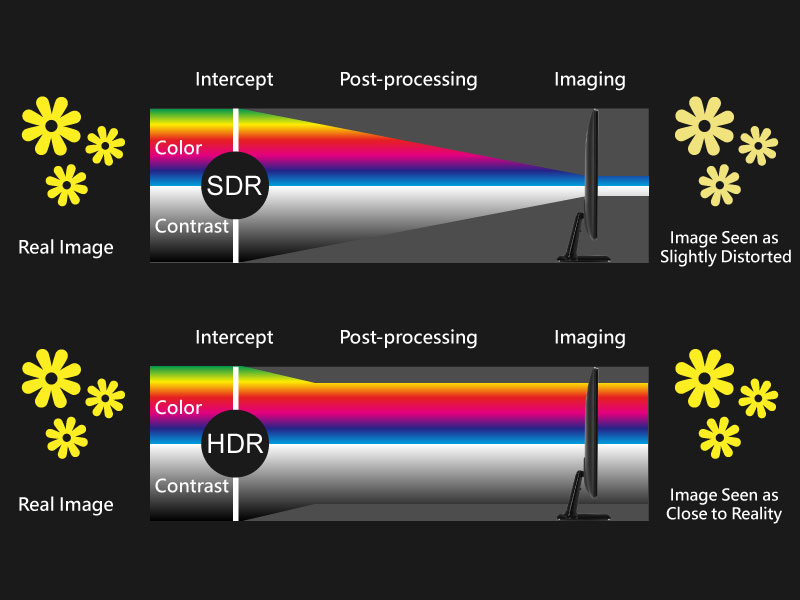 Quick Ways to Convert HDR to SDR [Includes Best AI Tool]
The file size of HDR videos is comparatively high, making you search for competent HDR to SDR converters. Let's see how to convert HDR video to SDR with different methods.
 Ways to Convert WMV to MP4
In this article, we will introduce you excellent WMV to MP4 converters for you to convert WMV to MP4 on Windows or Mac platform and online freely and easily.
 Methods to Convert M2TS to MP4
Do you want to convert M2TS to MP4? Here we will introduce you several different methods to convert M2TS files to MP4 easily and quickly.