Top 10 Free Video Converter – Software Programs and Online Converters
Summary: Here is the list of top 10 best free video converter programs and free online video converters for you to convert videos to MP4, AVI, MOV, MP3, AAC, FLAC and more freely.
When you find a video cannot be played on a certain device, it is possibly that the video format is not supported by the device. That’s why you need a video converter. For occasional and basic conversion, there are a multitude of free video converter programs and online services that can help you convert videos to MP4, AVI, MOV, etc. and audio formats like MP3, AAC, FLAC, etc. Here is the list of top 10 best free video converter programs and free online video converters for your reference.
Part 1: Top 10 Best Desktop or Online Free Video Converters
Part 2: More Advanced and Powerful Video Converter – DVDFab Video Converter
Part 1: Top 10 Best Desktop or Online Free Video Converters
1. Freemake Video Converter
Freemake Video Converter is a 100% free and reliable Windows video converter program that is remarkable for its rich profile library and easiness.
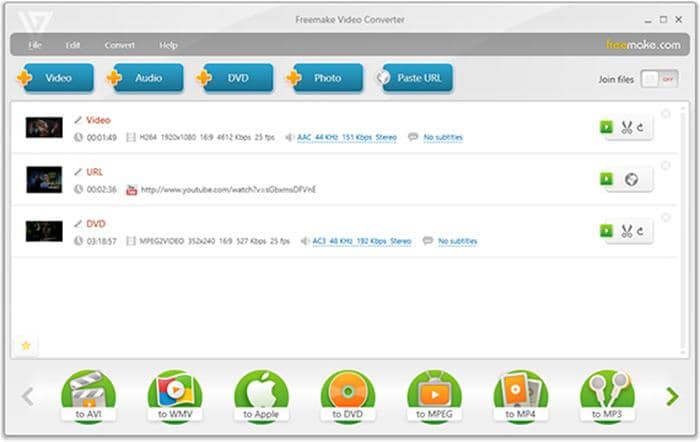
1. Convert videos between 500+ formats, including MP4, AVI, MKV, MP3, and more.
2. Prepare some profiles for Apple, Windows, Google Android, Xbox, and more.
3. Download and convert videos from YouTube, Vimeo, Vevo, etc.
5. Rip unprotected DVDs.
6. Cut, join, and rotate video clips.
The downside of Freemake Video Converter is that some features of it must be activated after three days by using a Web Pack.
2. Any Video Converter Free
Any Video Converter Free is a secure and free video converter that can work on both Windows and Mac. It provides many advanced features that you may need.
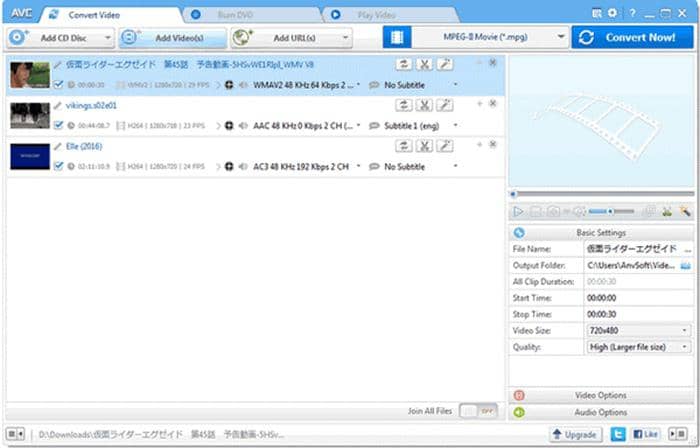
1. Support 100+ inputs, 160+ outputs, and convert videos to MP4, WMV, 3GP, MKV, MP3, AC3 and more.
2. Output videos set for devices like iPad Pro, iPad Air, Google Android, Kindle Fire, etc.
3. Rip CDs to MP3, AC3, OGG, AAC, WMA and more.
4. Download videos and music from YouTube and other video sites.
5. Burn videos to DVDs.
6. Trim, crop and rotate video, join videos into one, add subtitles, watermark, and more. Change codecs, dimension, bitrate, frame rate, etc.
Please mind the extra bundled software when you install Any Video Converter Free on your computer.
3. Free Video Converter
Free Video Converter is a quick and easy-to-use free video converter program for Windows.
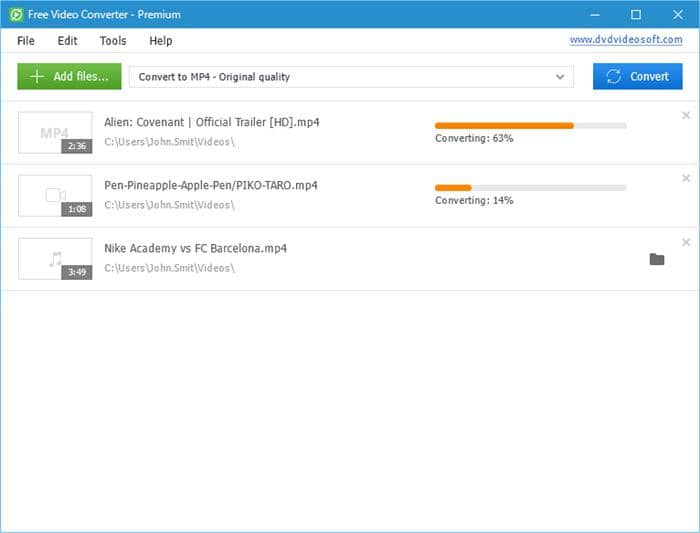
1. Incredibly simple interface.
2. Convert various videos to MP4, iPhone & iPad, AVI, MPEG and MP3.
3. Allow users to choose the video quality.
4. Can merge several video files into one file.
Free Video Converter is a basic video converter tool with limited output formats and without many advanced options. Moreover, the output videos are watermarked.
4. OnlineVideoConverter.com
OnlineVideoConverter.com is one of the best web-based free online video converters that can convert video files and video links to mainstream video and audio formats.
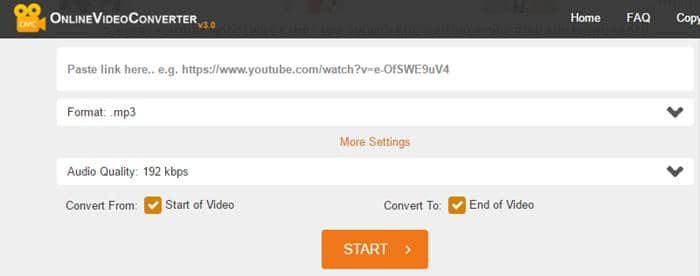
1. No installation or registration needed.
2. Download and convert video URLs from YouTube, Vimeo, Dailymotion and more.
3. Convert videos to video formats like MP4, M4V, MOV, etc. and audio formats like MP3, AAC, OGG, M4A and more.
4. Allow users to set the video/audio quality.
5. Able to trim the video/audio.
OnlineVideoConverter.com doesn’t include so many customization tools and the allowed max file size is 3072 MB.
5. Free Video Converter Factory
Free Video Converter Factory is a fast and flexible free video converter that allows you to convert videos to a lot of formats and therefore to play videos where you want. It is only available for Windows.
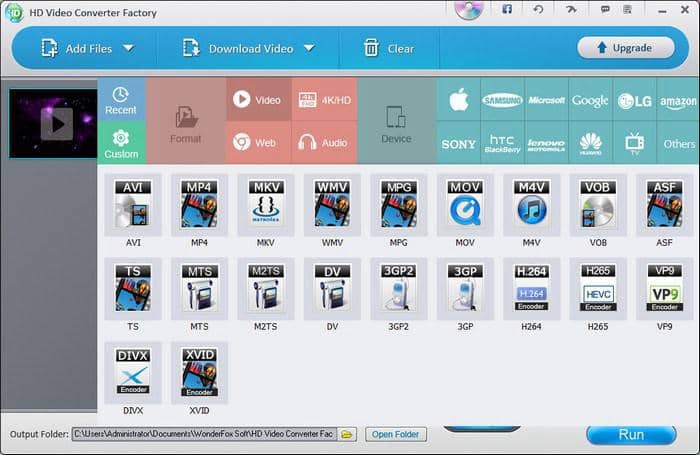
1. Support common and rare formats like MP4, MOV, MPG, AVI, MKV, XVID, ASF and more.
2. Preset ideal parameters for hot and classic devices like iPhone, iPad, Android, Samsung, HUAWEI and more.
3. Extract audio files like MP3, AAC, FLAC and more.
4. Download YouTube videos.
5. Combine multiple video files.
6. Crop, rotate, add effects and external subtitles.
7. Allow users to tweak settings.
Free Video Converter Factory doesn’t support the conversion of 1080p video and the batch conversion requires an upgrade.
6. Online-convert.com
Online-covnert.com is a free online video converter that comes with many advanced options.
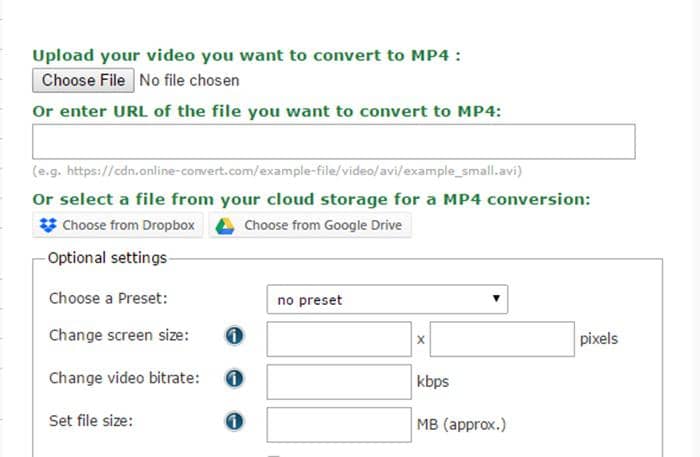
1. No installation or registration needed.
2. Convert videos or video links to MP4, AVI, FLV, MKV and more.
3. Have presets profiles for Android, Blackberry, iPad, iPhone, PS3 and more.
4. Includes many advanced options for users to change screen size, video bitrate, frame rate, etc., cut video, rotate video, etc.
The size Online-convert.com offers for free conversion is 100 MB. So for large video files, you have to buy their service.
7. VideoSolo Free Video Converter
VideoSolo Free Video Converter is a lightweight and smart free software program to convert videos on Windows and Mac.
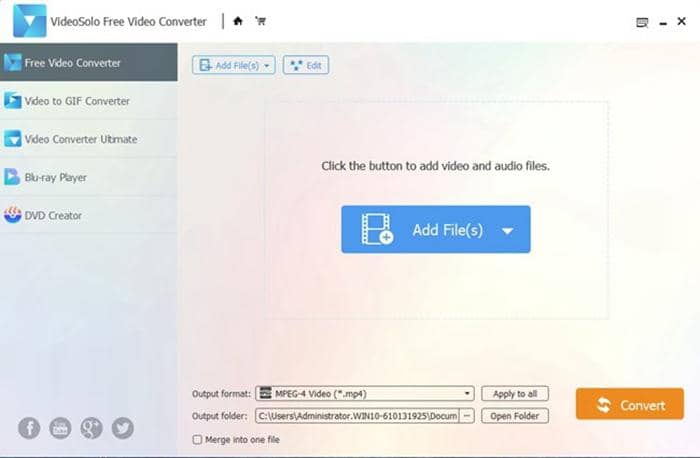
1. Convert videos to 300+ formats, which include MP4, MOV, AVI, MKV and more.
2. Extract audio to MP3, AAC, AC3, M4B and more.
3. Convert videos for playback on iPod, iPhone, Samsung, Apple TV and more.
4. Batch video conversion.
5. Allow users to define video settings like video encoder, frame rate, resolution, aspect ratio and more.
6. Combine video/audio files into one.
VideoSolo Free Video Converter doesn’t provide editing tools for you to trim, crop, or rotate your video.
8. Handbrake
Handbrake is a free and open source video converter that works on Windows, Mac and Linux.
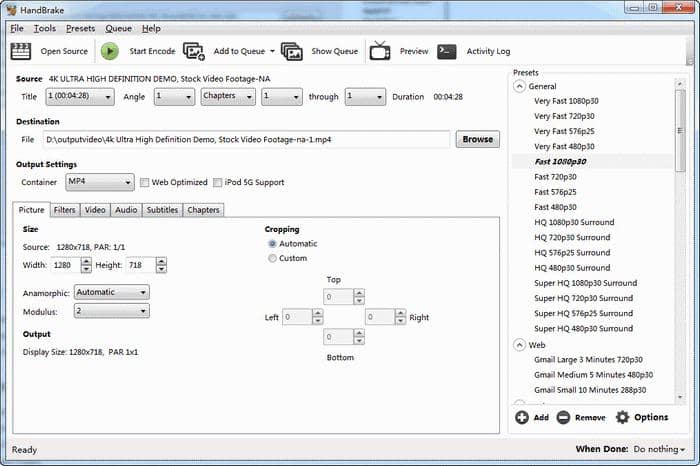
1. Convert most common multimedia files to MP4 (M4V) and MKV.
2. Provide optimized profiles for iPod, iPhone, iPad, Apple TV and Android.
3. Rip unprotected DVDs.
4. Allow users to tweak settings like codec, frame rate, video quality, and more.
5. Provide video filters, cropping and scaling features.
6. Support for batch processing.
Handbrake is powerful, but is not so approachable for new users. You may need take a while to learn all its ins and outs.
9. MiroVideoConverter
MiroVideoConverter is a complete free and open-source video converter that can convert videos to popular formats and devices on Windows, Mac and Linux easily.
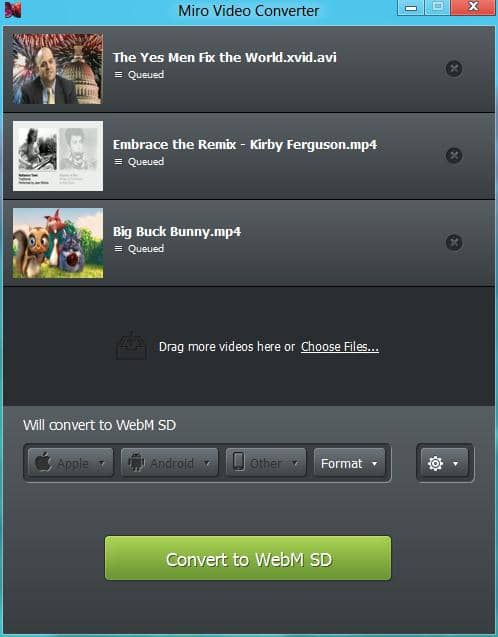
1. Convert any videos to MP4, WEBM, MP3 and OGG Theora.
2. Provides optimized profiles for Android phones, Apple devices, PSP and Kindle Fire.
3. Allow users to customize screen size and aspect ratio.
4. Support batch conversion.
There are no other extra options in MiroVideoConverter, and the output formats are limited.
10. Video to Video Converter
Video to Video Converter is a free Windows video converter that contains some extra tools.
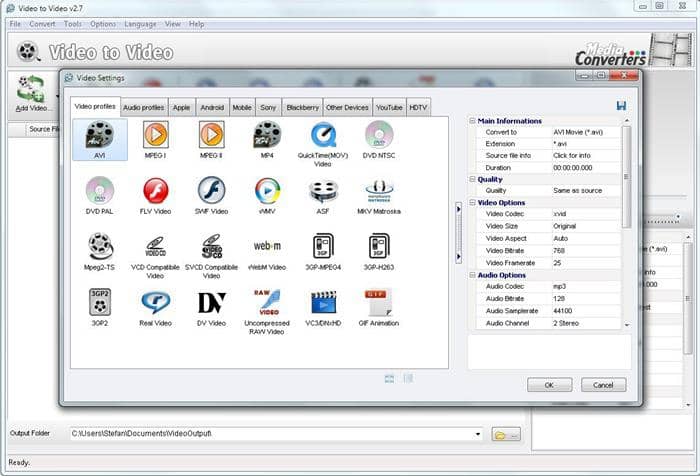
1. Convert videos to a large number of formats like AVI, DivX, WMV, 3GP, FLV and more.
2. Support output audio files like MP3, AAC, AC3, WAV, M4A and more.
3. Include many presets for various devices.
4. Cut the video and add watermark.
5. Rip unprotected DVDs.
6. Include many other tools like commercial remover tool, video to images tool, video to thumbnails tool, images to video tool, etc.
There are no so many advanced customization tools to tweak settings and edit videos.
Part 2: More Advanced and Powerful Video Converter – DVDFab Video Converter
Though the above free video converter programs or online video converters are powerful in some ways, they are not perfect in all ways to fulfill all your conversion needs. You may be dissatisfied with their slow conversion speed, limited profile library, few advanced options, inability to convert 4k or output 3D videos, etc. Here we recommend you a more advanced and powerful video converter – DVDFab Video Converter.
DVDFab Video Converter is the best video converter that is widely used for its rich profile library, fast conversion speed and advanced customization tools. It is available for both Windows and Mac users.
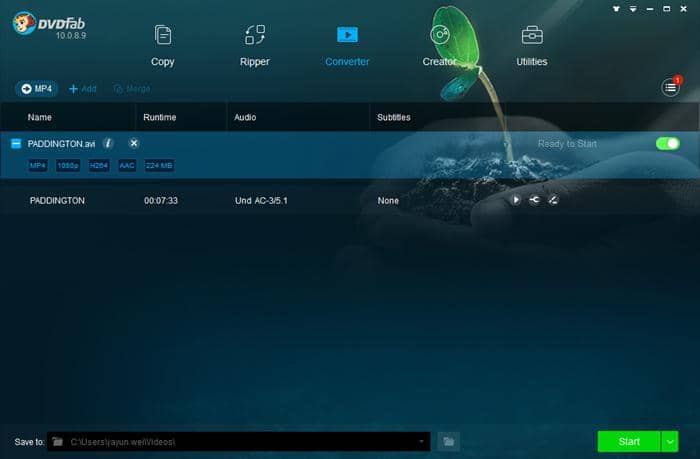
1. Intuitive and straightforward user interface.
2. Download YouTube videos (up to 2K) in any formats to easily and quickly.
3. Fast conversion speed due to its support to hyper-threading, hardware acceleration technology and multi-core processor.
4. Convert videos to general formats like MP4, AVI, MKV and more and popular 4K, 3D, and H265 videos.
5. Extract videos to MP3, AAC, FLAC, M4A and more.
6. Provide devices presets for Apple, Google, LG, HTC, Amazon, Xbox 360, PS4 and more.
7. Batch conversion to save time.
8. Merge multiple videos into one.
9. Advance options for users to tweak settings like codec, resolution, frame rate, etc. and to crop, trim, rotate video, change aspect ratio, add watermark and subtitles, change picture values.
DVDFab Video Converter provides a 30-day free trial, and you can enjoy all the features without spending a penny. Go to download and try it freely now! Click how to convert videos to learn how to use this universal converter.

