MusicFab All-In-One (Lifetime)
Download music from10+ platforms such as Spotify, Amazon Music, Apple Music, and others.
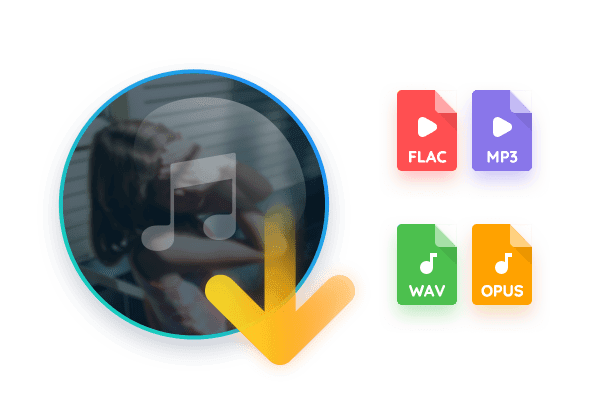
Convert audio to MP3, M4A, WAV, FLAC or OPUS and more.
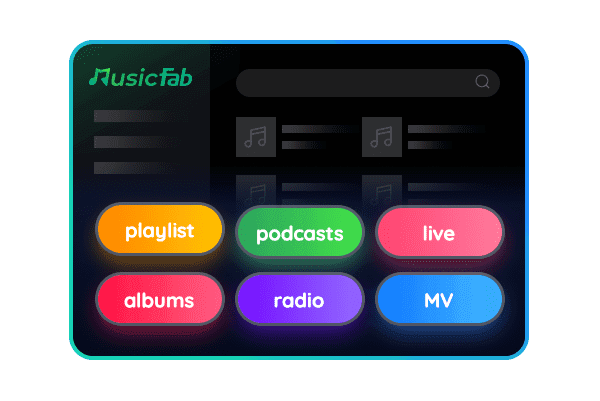
Batch download songs,alubms,playlist,podcasts and audiobooks at 20X faster speed.
Search and download music all in MusicFab, no extra app required.
Keep ID3 tag and lyrics for music library management.
10+ Products Total Value $1000+
Final Price$259.99
Designed for Audiophiles: Enjoy Ultra-fast & High Quality Downloads with MusicFab
Why Choose MusicFab?
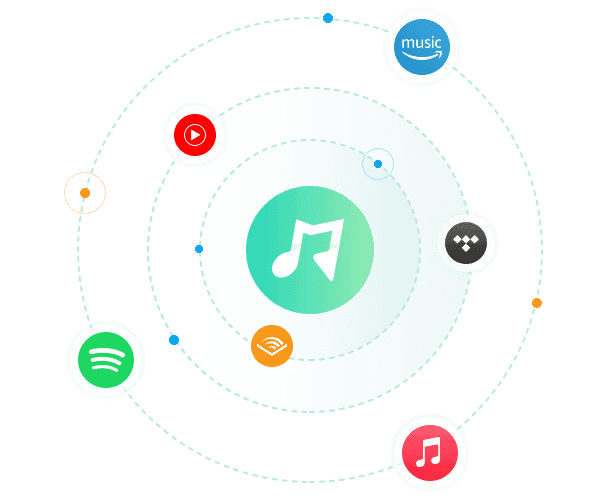
Download Music from 10+ services
MusicFab All-In-One streamlines cross-platform music downloads, enabling users to effortlessly access tracks from prominent streaming services.
Supported Platforms: Spotify, Apple Music, YouTube Music, Amazon Music, SoundCloud, TIDAL, LINE MUSIC, Dhits, Audible, Deezer, Qobuz ,Pandora (coming soon).

Download Any Song in 5 Seconds
Unlike those converters using recording technology, MusicFab downloads music directly, delivering lightning-fast music downloads. This means you can download any single song in just 5 seconds, which is 20X faster than other tools. When downloading an entire playlist, MusicFab is your first choice to save you time.
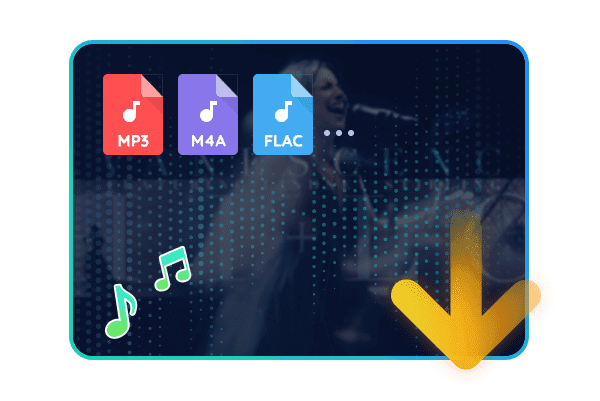
Convert Audio to Multiple Formats
With MusicFab, you can download tracks to MP3, M4A, WAV, FLAC, and more. For specific music platforms, Atmos, OPUS, and 3D audio formats are also available for you to enjoy unmatched sound fidelity. Whether you want to play across devices or enjoy high-quality lossless music, MusicFab has your back.
Batch Download Playlists, Albums, Podcasts, Radio & MVs
Support for both free and premium accounts, MusicFab All-In-One lets you download entire playlists, albums, podcasts, radio shows, and music videos with just one click. It supports high-quality audio and video from popular platforms, with no ads and no DRM. Convert fast and enjoy your favorite media offline anytime, anywhere.
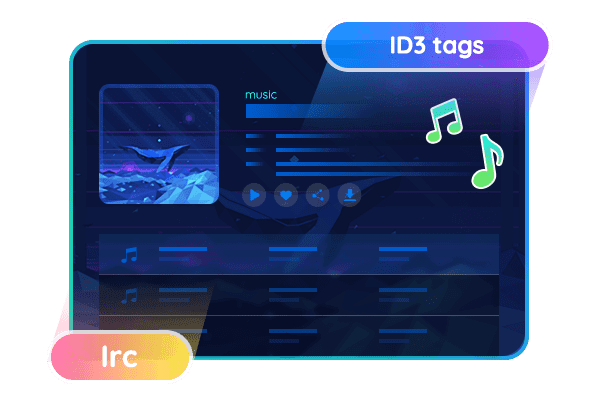
Save Lyrics as .lrc Files & Retain ID3 Tags
Easily save song lyrics as separate .lrc files while keeping all original ID3 tags intact. Your music stays fully compatible with any player, device, or app. Keep your library organized and metadata clear. Whether you're an audiophile or a casual listener, managing lyrics has never been simpler—without losing audio quality.
System Requirements

- Windows 11/10(32bits & 64bits)
- 1G Hz processor or above
- 1GB or higher
- 10GB free space or above
- Live Internet connection required