
How to Crop a Screenshot on Mac Easily
Summary: If you wish to snap a screenshot of a program you are using on a Mac, but you wish to crop out the dock or the menu bar, then you will need to know how to crop a screenshot on Mac. There are different methods for doing this. Read the below article to know more in-detail about how to crop on Mac.
Table of Contents
Important Keyboard Shortcuts
Before moving on to know how to crop a screenshot on a Mac, you just need to know how to take a new screenshot first. There are various methods for grabbing a screenshot on Mac, but the easiest method is to use one of the multiple keyboard shortcuts. If you are using macOS Mojave and later, you can use an in-built screenshot cropping feature to crop screenshots as you take them.
If you are not sure how to take screenshots, use the below shortcuts:
- Take a screenshot of the entire screen using Shift + Command + 3 keys combination
- Take a screenshot of a window or menu using Shift + Command + 4 + Space bar keys combination
- Take a screenshot of part of the screen using Shift + Command + 4 keys combination
Using the Built-In Screenshot Cropping Tool
The new in-built screenshot cropping tool is maybe the best technique to know how to take a screenshot on Mac and crop.
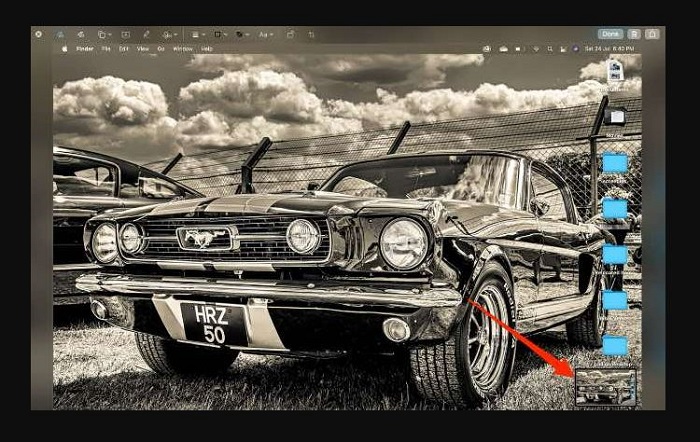
Instantly after snapping a screenshot in macOS, users will see a floating thumbnail in the corner of their screen at the bottom right. It is a thumbnail of your screenshot. Upon clicking the thumbnail, it opens up the cropping feature. If you do not click on the thumbnail within a few seconds, it will disappear, and you will not be able to use the feature. Regrettably, the time before it goes away cannot be increased. Follow the below steps to know how to take a crop screenshot on Mac.
- Once you have grabbed your screenshot, you can click on the thumbnail that comes on screen at the bottom right side corner to edit the image.
- Now, tap the Crop tool.
- Drag the crop handles of the screenshot to make a selection of the region you wish to keep.
- Click on Done to save the cropped screenshot.
- On the other hand, you can wait for the screenshot to come on your desktop, open it, and then drag the cursor to choose the region you wish to keep.
- Now, go to Tools >> Crop.
- Click File >> Save to save the screenshot.
Using Preview of How to Crop a Ccreenshot on Mac
When you double-click a pic in Mac, the Preview app appears by default. Users can use this app to crop their screenshots quickly. Users can use the Preview app for easy viewing of image files such as PNG and JPG, editing PDFs, and viewing various documents. The app has different markup and editing features, including a cropping tool. If you have taken a screenshot or you got one that you cannot open in a photo editing program, you can use Preview to crop the screenshot. Follow the below steps to know how to crop and save a screenshot on Mac using the Preview app.
- Open the screenshot you wish to crop in Preview
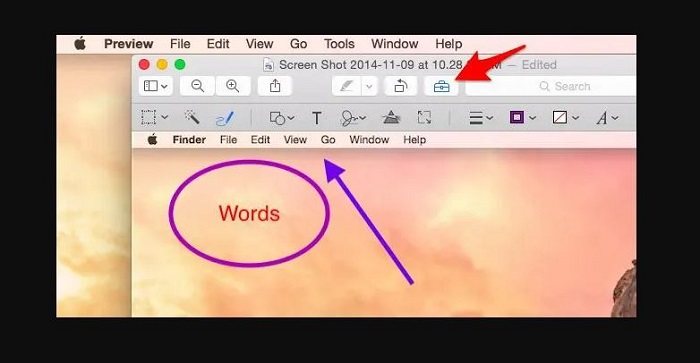
- Now, click the Show Markup Toolbar option.
- On a device operating on Big Sur, it is the option with the pencil tip logo while on other versions, it is the option with the toolbox logo.
- Click and drag on the screenshot to mark a selection and drag the blue dots to change the size if you wish.
- Now, go to Tools >> Crop to crop the screenshot.
Using the Photos app
The Photos app is an in-built tool for managing your pictures on Mac. It can also be utilized as a basic tool for photo editing, thereby permitting you to swiftly crop screenshots on macOS. However, you will require to save your screenshot to your Mac prior to using this method. The Photos app can help you organize and find all your pics as well as it also has built-in & intuitive editing features that you can use to crop, resize, GIF, zoom, and warp your photos. Follow the below steps to know how to use the Photo app to crop screenshots.
- Right-click the screenshot and choose Open with option.
- Now, choose Photos.
- If you do not see Photos in the context menu in the list of apps, go to Open with >> Other and select Photos from the list of applications.
- Your screenshot will be opened into the Photos app.
- Now, select Edit at the corner of the Photos app in the top right section.
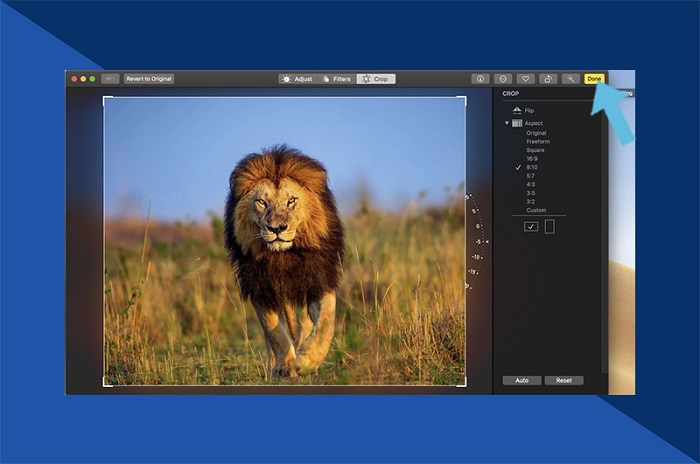
- Now, click the Crop section.
- Drag the crop handles and sides of the image to crop it.
- If there are any modifications you would like to undo, choose Revert to Original at the top left side.
- Now, click Done to save the cropped screenshot.
Besides, there are also many powerful image cropper software programs on the market, and you can choose one as you want.
Bonus Tip: Use DVDFab Photo Enhancer AI to Enhance Screenshot Quality
Sometimes, when you crop the screenshot, the resolution and size are hampered. In such cases, you get the desired screenshot, but not the desired quality. If you are one such user facing this issue, then it is time to use DVDFab Photo Enhancer AI. The tool is best for enhancing the quality of pics. The tool can increase the quality of pixelated screenshots without any loss in quality.
It uses deep convolutional neural networks that are trained with tons of professionally enhanced samples. The tool can also reduce noise in photos without losing detail, use cartoon effects to photos, colorize black and white photos, as well as sharpen photos that are blurry. Follow the below steps to know how to use this tool to enhance the quality of your screenshots.
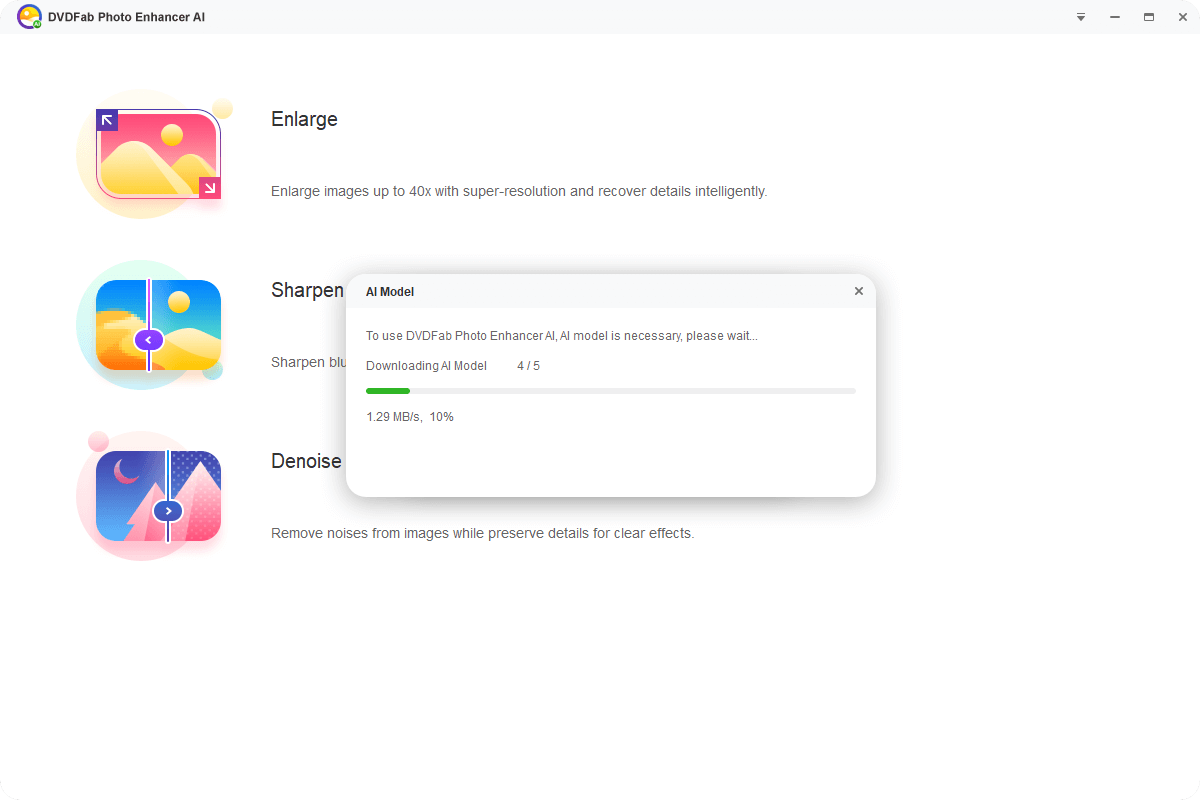
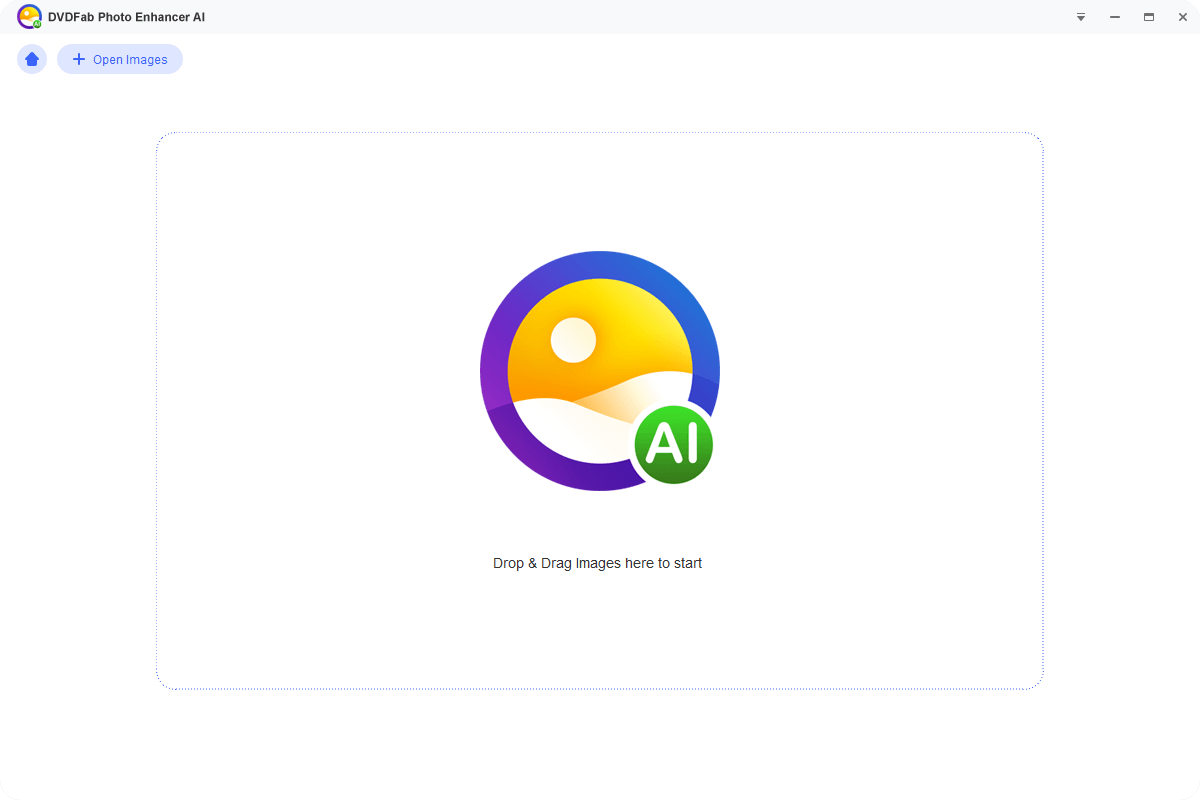
1. Download, install and launch Photo Enhancer AI.
2. Select the Enlarge module and wait for the needed AI models to finish downloading on your PC.
3. Tap the Open Images option, or just drag & drop your screenshots into the main interface.
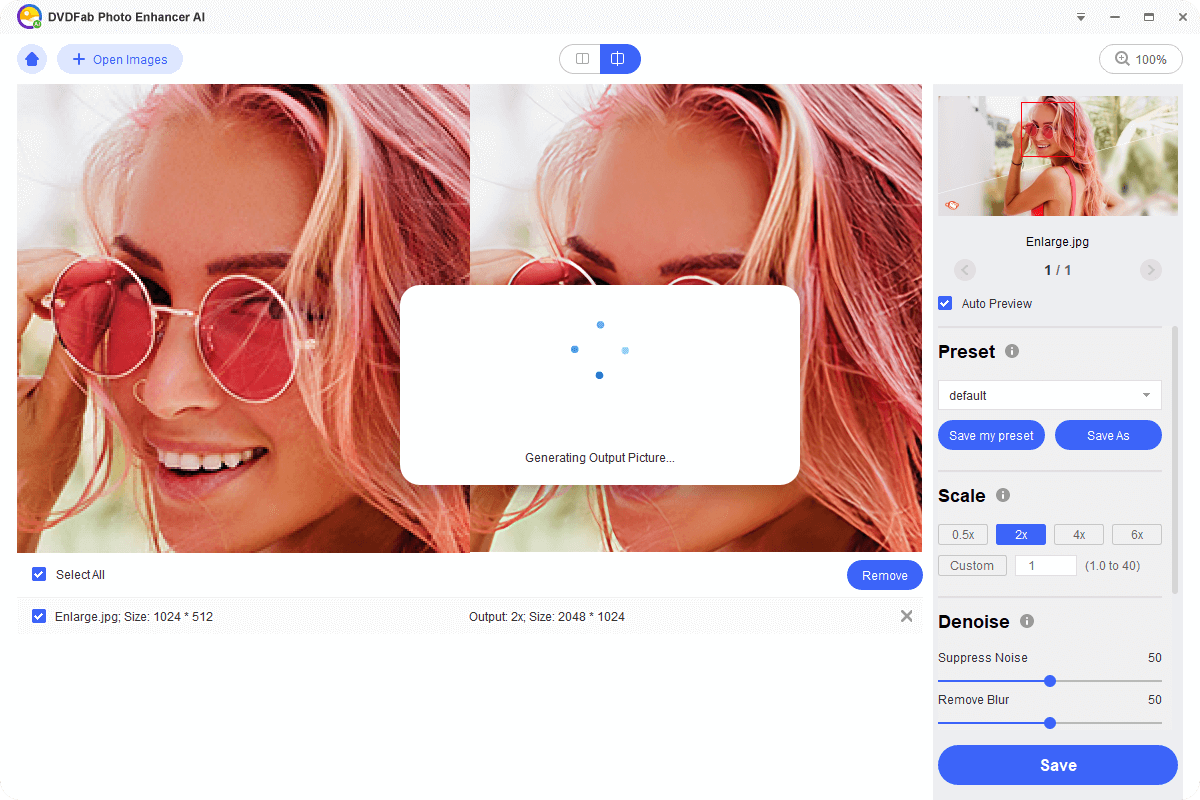
4. Users can preview the outputs, and alter relevant settings if required.
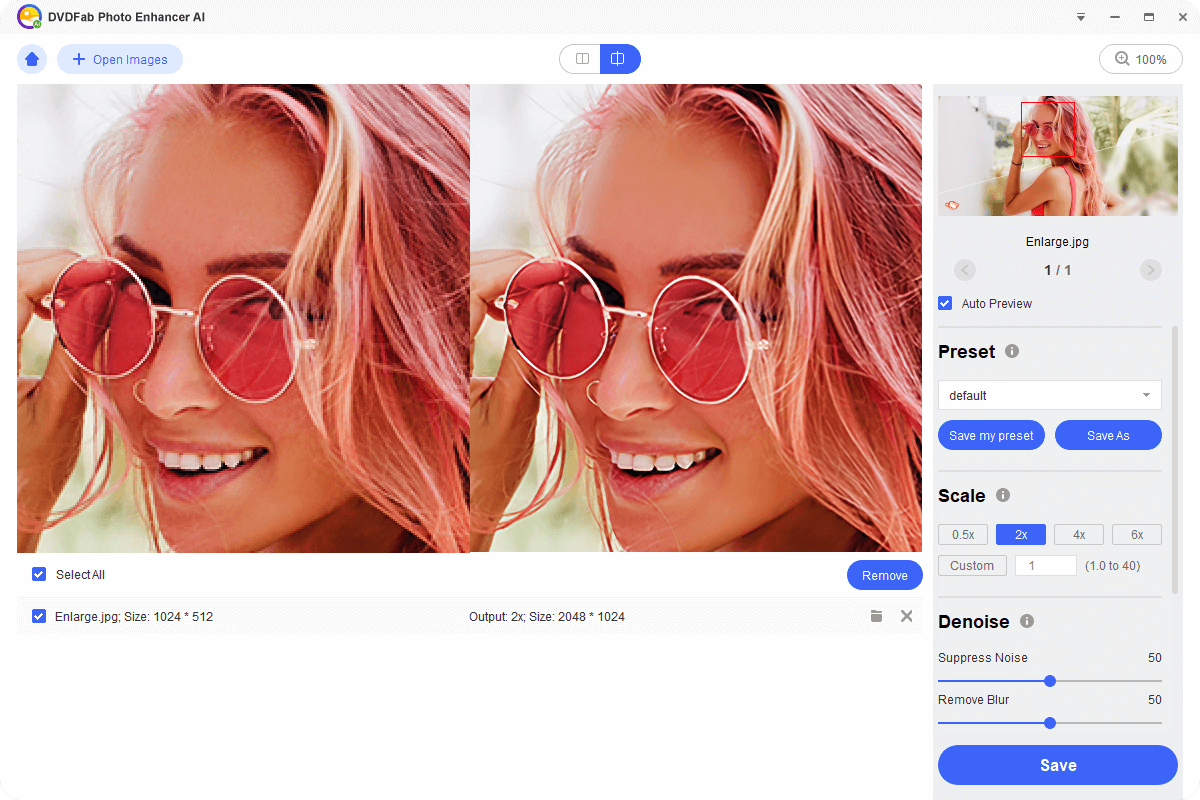
5. Click the Save option to save the final images.
FAQs
How to record the screen on your Mac
To see the Screenshot toolbar, use the keys combination Shift + Command + 5. You will see onscreen controls for recording a selected part of the screen, recording the full screen, or snapping a still pic of your screen:
After you have grabbed a screenshot, it is very easy to paste it. On your Mac, go to the document or app you wish to paste the screenshot into. Now, you need to press Command + V or go to Edit >> Paste.
On your Apple Watch, it takes two fingers to take a screenshot. Press the side button and the Digital Crown at the same time. By doing so, you will hear a sound similar to a camera shutter. You will hear this sound if your sound is turned on. Your screen will also flash white briefly showing you just took a screenshot.
Conclusion
Having said that, we just had a look at different methods that can be used to know how to crop a screenshot on Mac. In addition to this, we also had a look at DVDFab Photo Enhancer AI , which can be used to increase the quality of screenshots. The tool can increase the quality of pixelated screenshots without any loss in quality. The tool can also reduce noise in photos without losing detail, use cartoon effects to photos, colorize black and white photos, as well as sharpen photos that are blurry.
 Explore the Most Popular Sites for MP4 Movies Download 2025
Feeling difficult to figure out the most suitable website or tool? This article teaches you how to achieve HD MP4 movie downloads and shows the top sites designed to download MP4 movies easily. Read on to know more.
 10 Best IPTV Players 2025 for Windows and Firestick
IPTV players enable users to stream their favorite content effortlessly over the internet. In this article, we review the top 10 IPTV players for Windows and Firestick, helping you choose the ideal solution for smooth and uninterrupted streaming.
 7 Best MPG to MP4 Converter Software for Windows & Mac
Looking for a free solution to convert MPG to MP4? Our comprehensive guide unveils top free converters that prioritize quality and efficiency. Explore now!