
How to Record Amazon Prime without Black Screen Error: 2025 Verified
Summary: Recording Amazon Prime Video with typical screen capture tools often results in black screen errors due to DRM protection. This article evaluates two effective solutions for your options based on different needs.
Black Screen Errors Appear When Recording Amazon Prime Video
When trying to record Amazon Prime Video using built-in screen recording tools—whether on Windows, Mac, Android, or iOS—I repeatedly encountered a common error: the final video only has audio with a black screen.
I've tried a lot of tools like Windows Game Bar, macOS QuickTime, and various mobile recorders capture the sound easily but fail to grab the visual content.
Why I always encounter black screen?
Amazon Prime Video, like most mainstream streaming platforms, employs DRM, which blocks capture attempt. With traditonal solutions, it is hard to remove Amazon video DRM when screen recording.
How to Screen Record Prime Video without Black Error
For users who have a legitimate need—such as saving non-commercial content for personal offline watching, or accessibility—these demands are reasonable. I am such a person who need a solution to record videos so that I can watch Amazon Prime Video offline. Therefore, I tested some tool, and sharing my experience in the following content.
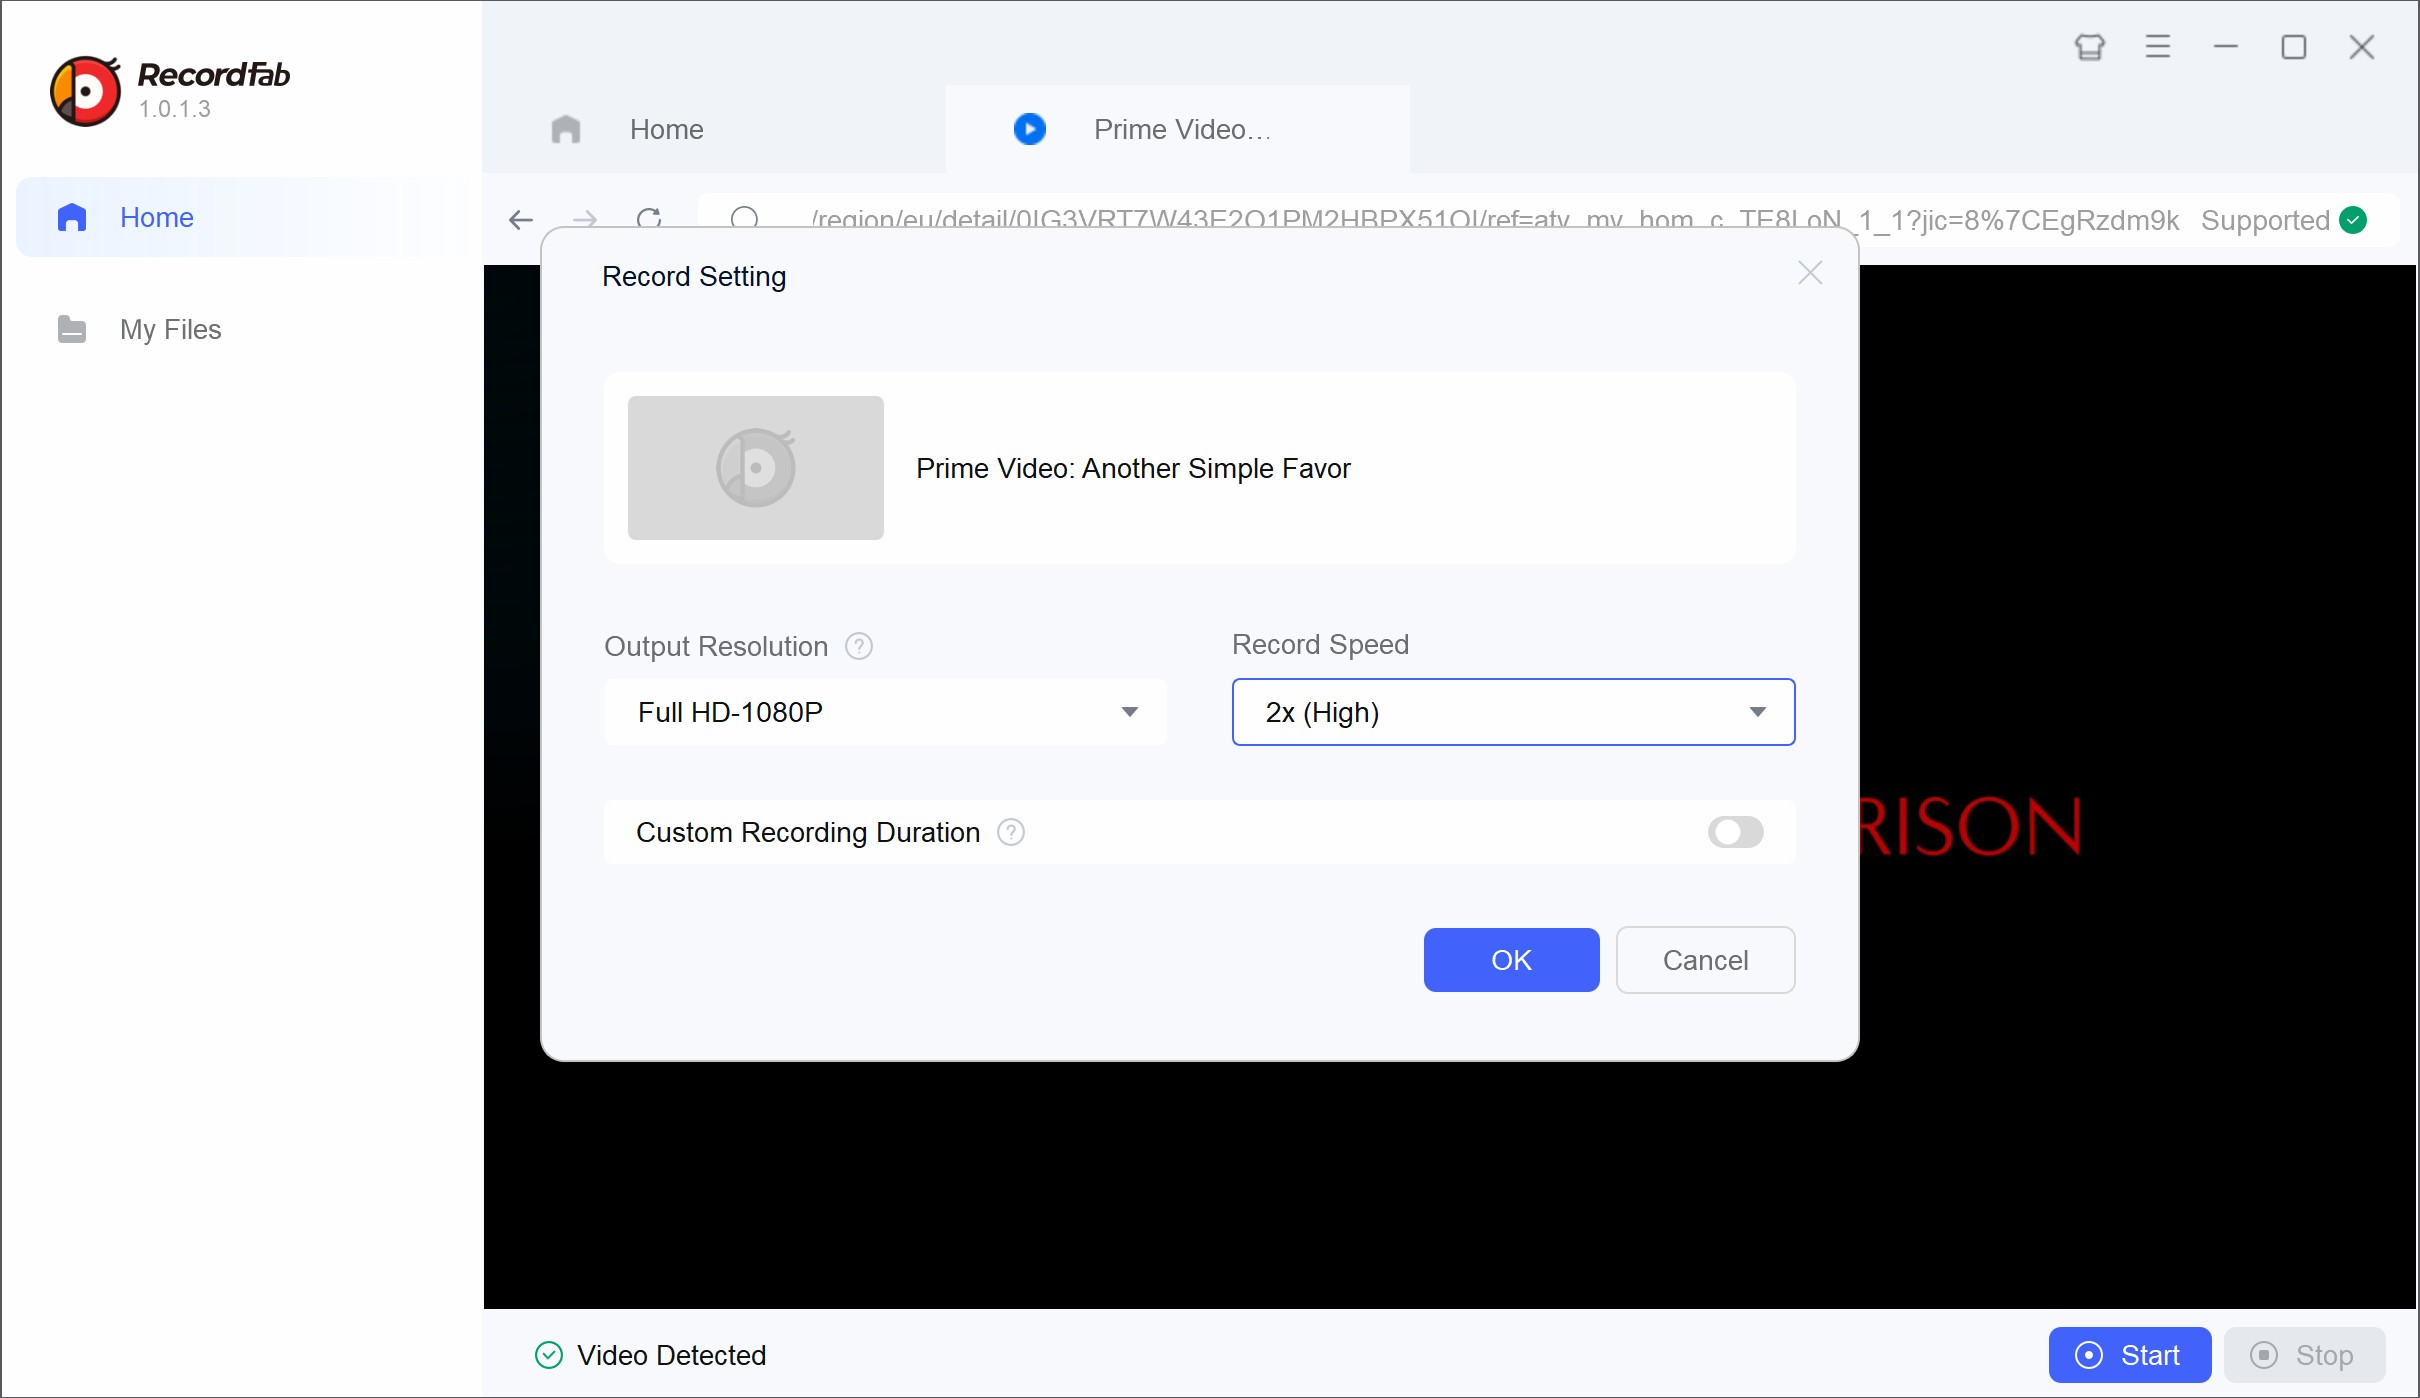
1. Tool Required: RecordFab
Record any Amazon Prime video without black screen errors on your PC and save the recorded Prime videos as compatible MP4 format without time expiration.
- No Black Screen: Consistently captures both Prime video and audio without blank outputs, even for protected streams.
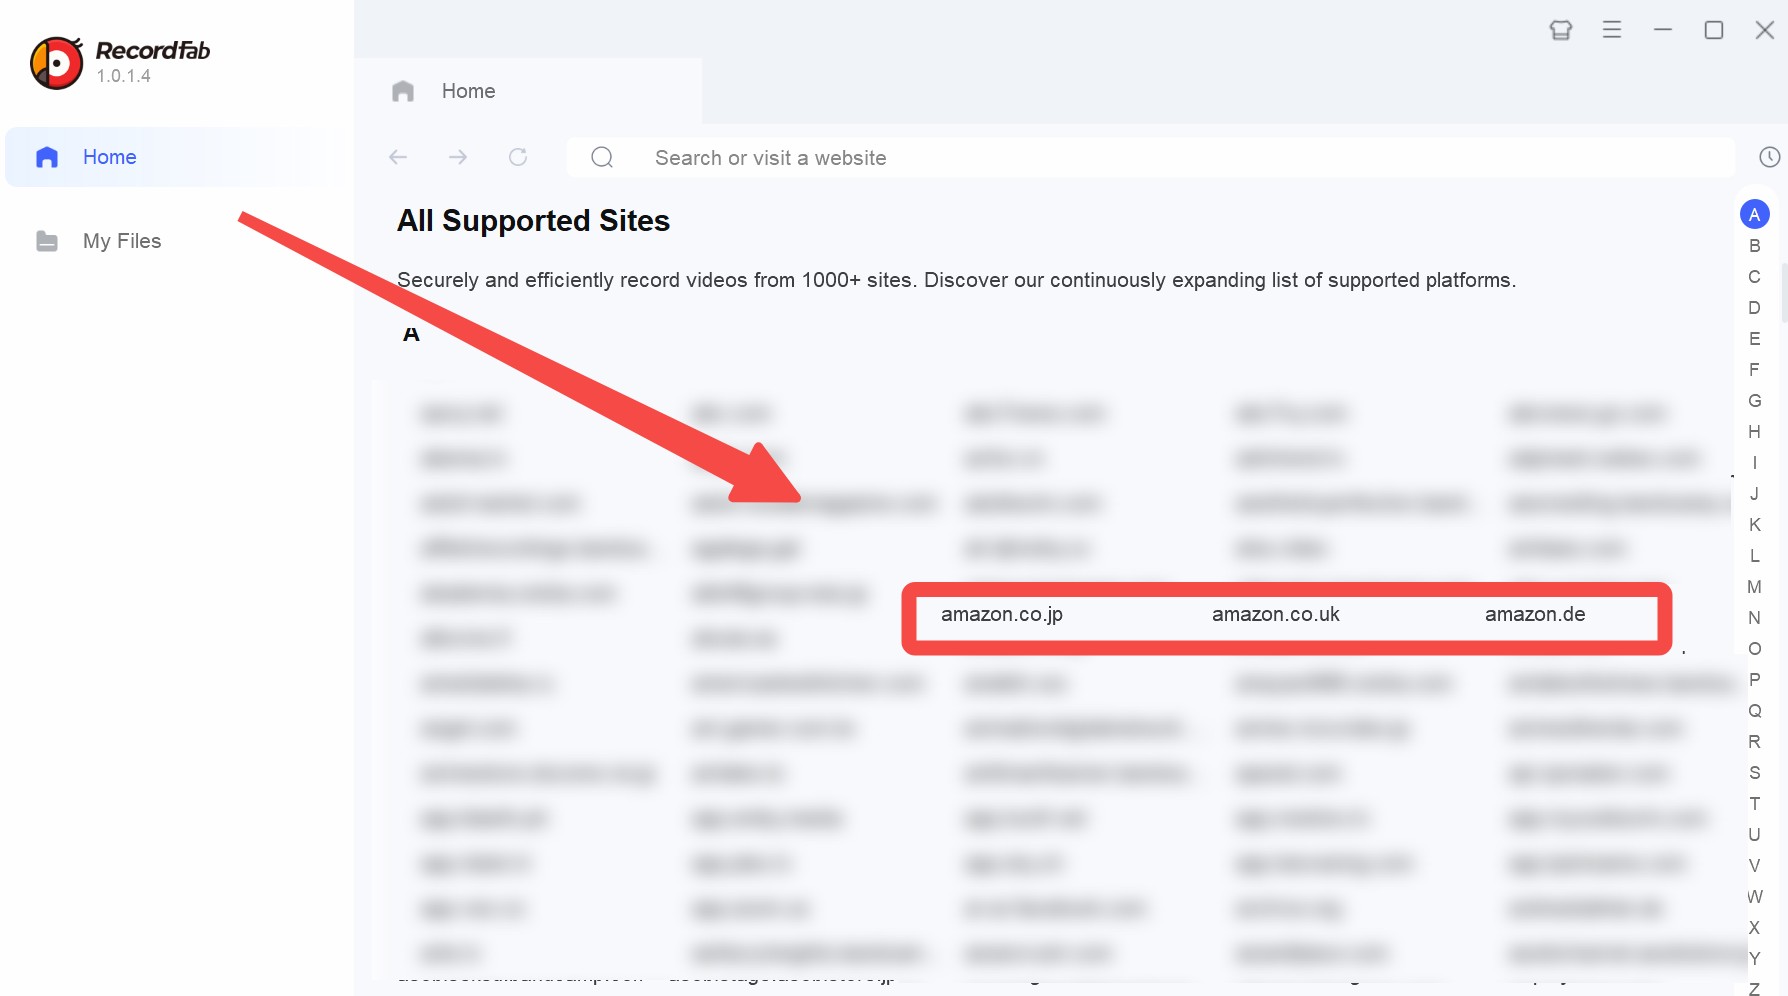
- Comprehensive Amazon Video Support: Records standard titles, live streams, and all genres available on Prime Video.
- Variable Speed Recording: Offers 1x, 1.5x, 2x recording speeds for efficient batch work or quick referencing.
- Multi-Platform Stream Capture: Besides Amazon, supports Netflix, Disney+, Hulu, and other sites.
- MP4/MKV Output: Compatible, widely usable formats for easy playback or editing.
- Background Recording: Lets you Prime video record actively in the background without disrupting your main interface or performance.
- Focused Content Capture: Only grabs the playback video itself—no browser UI, pop-ups, notifications, or unrelated visuals are recorded.
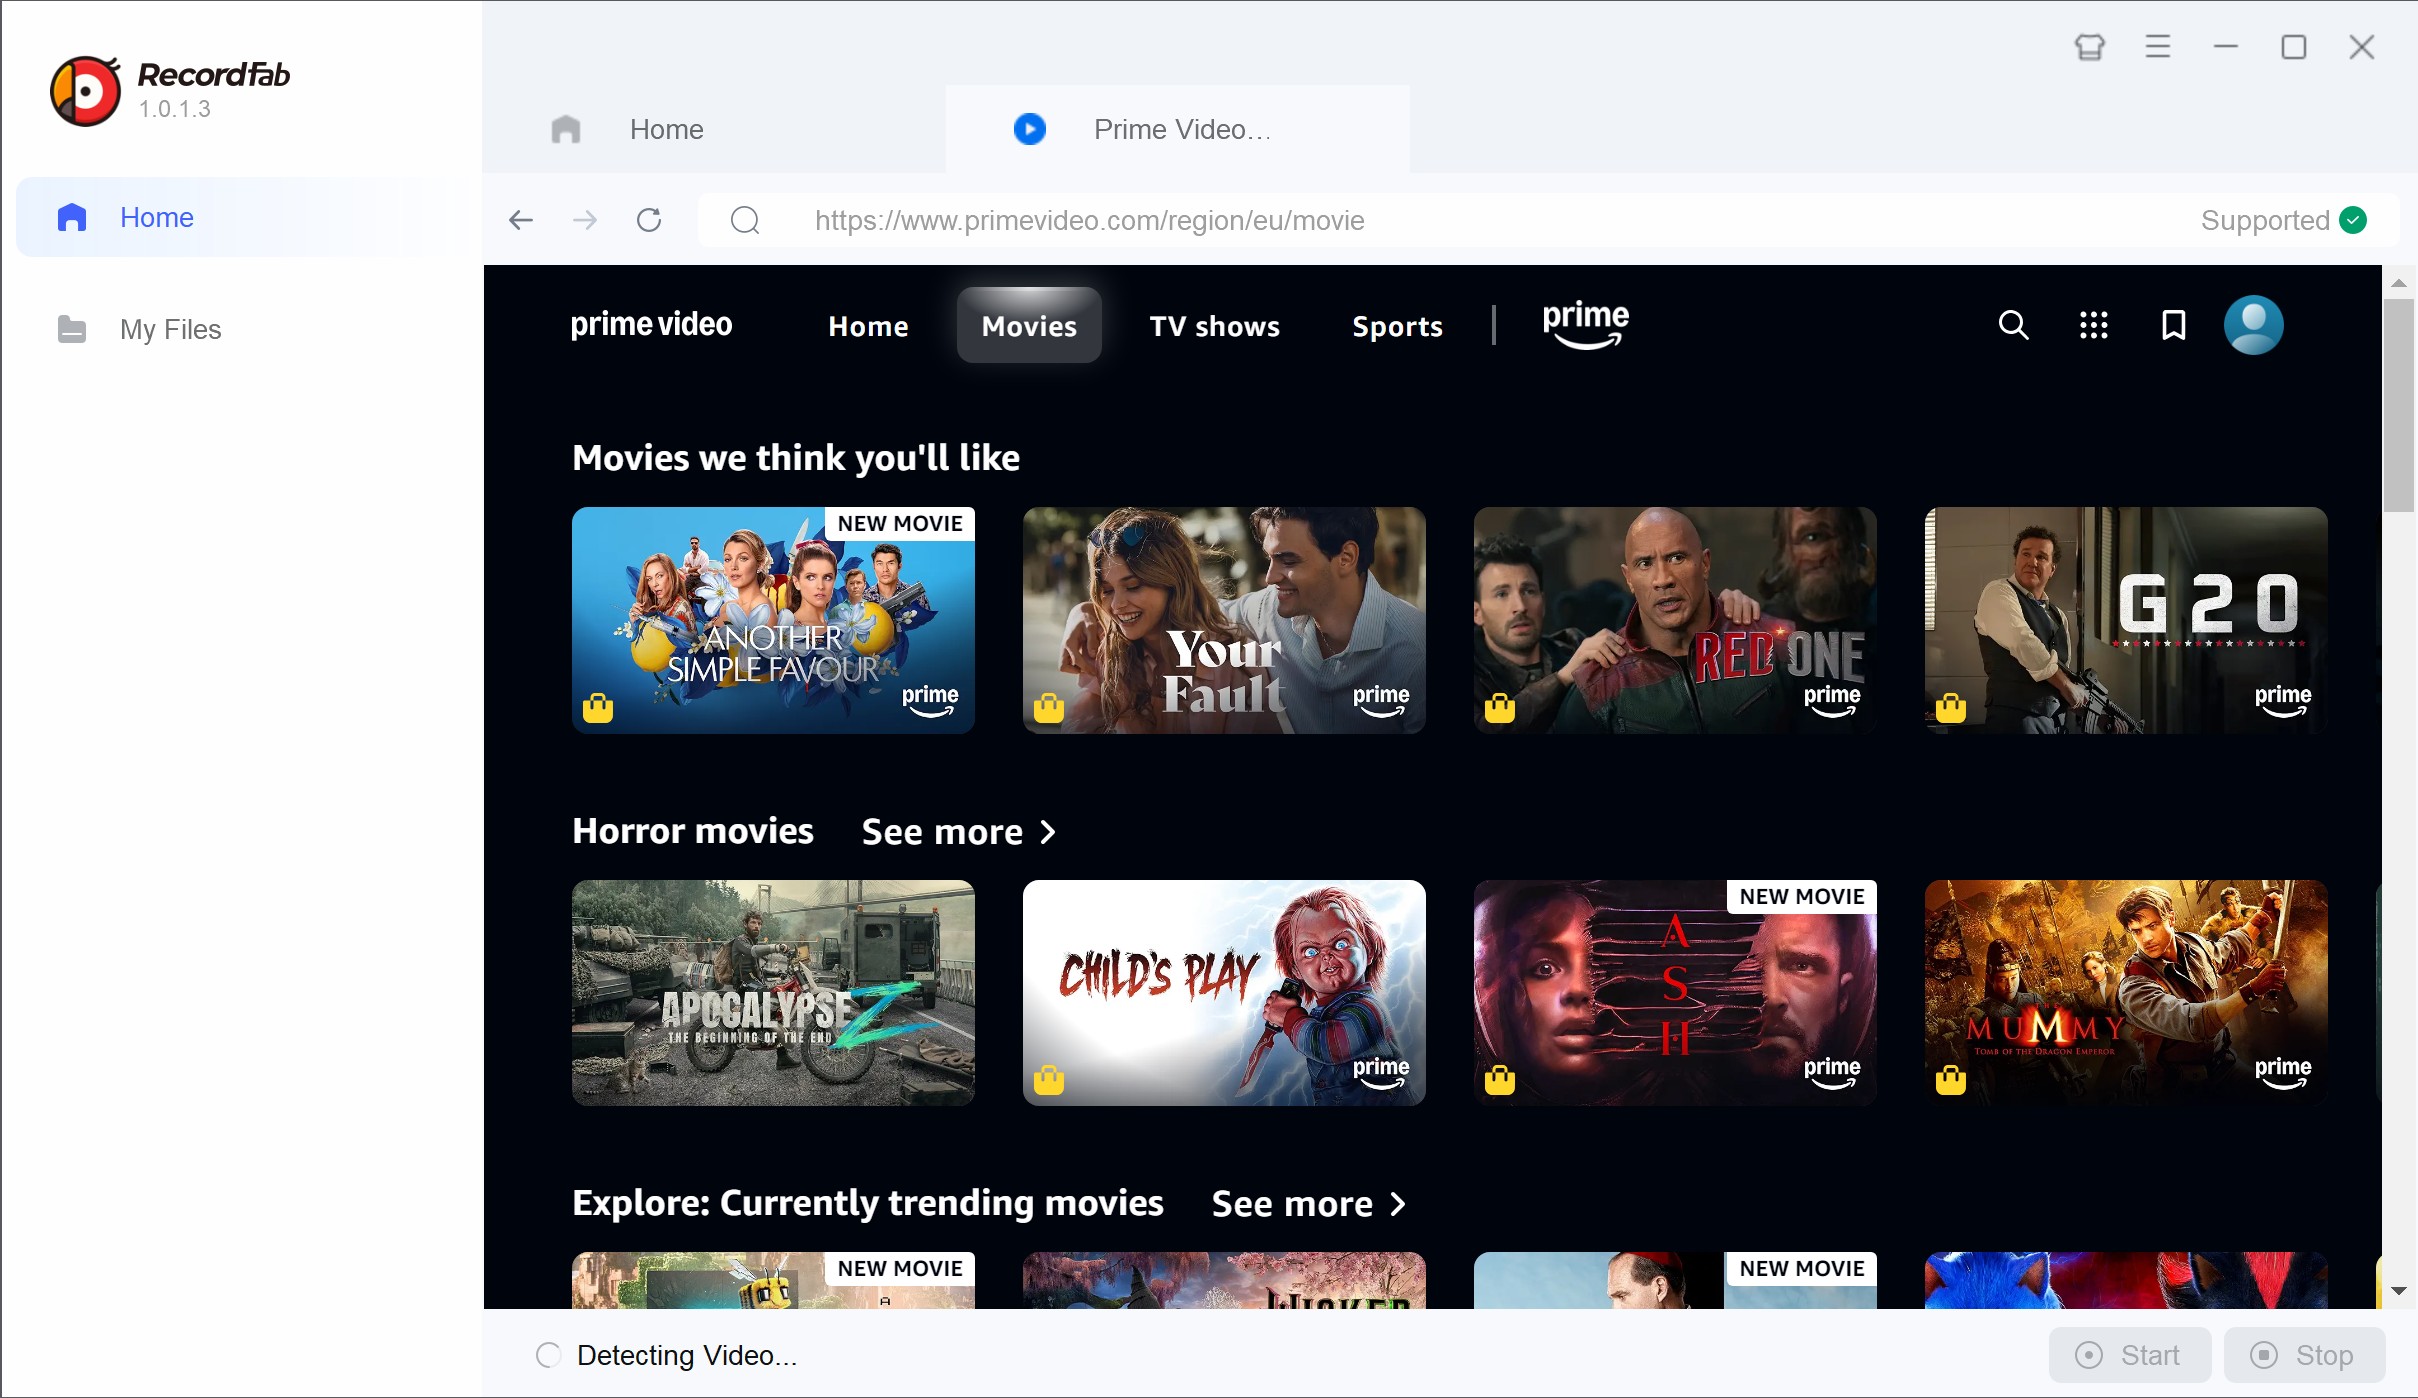
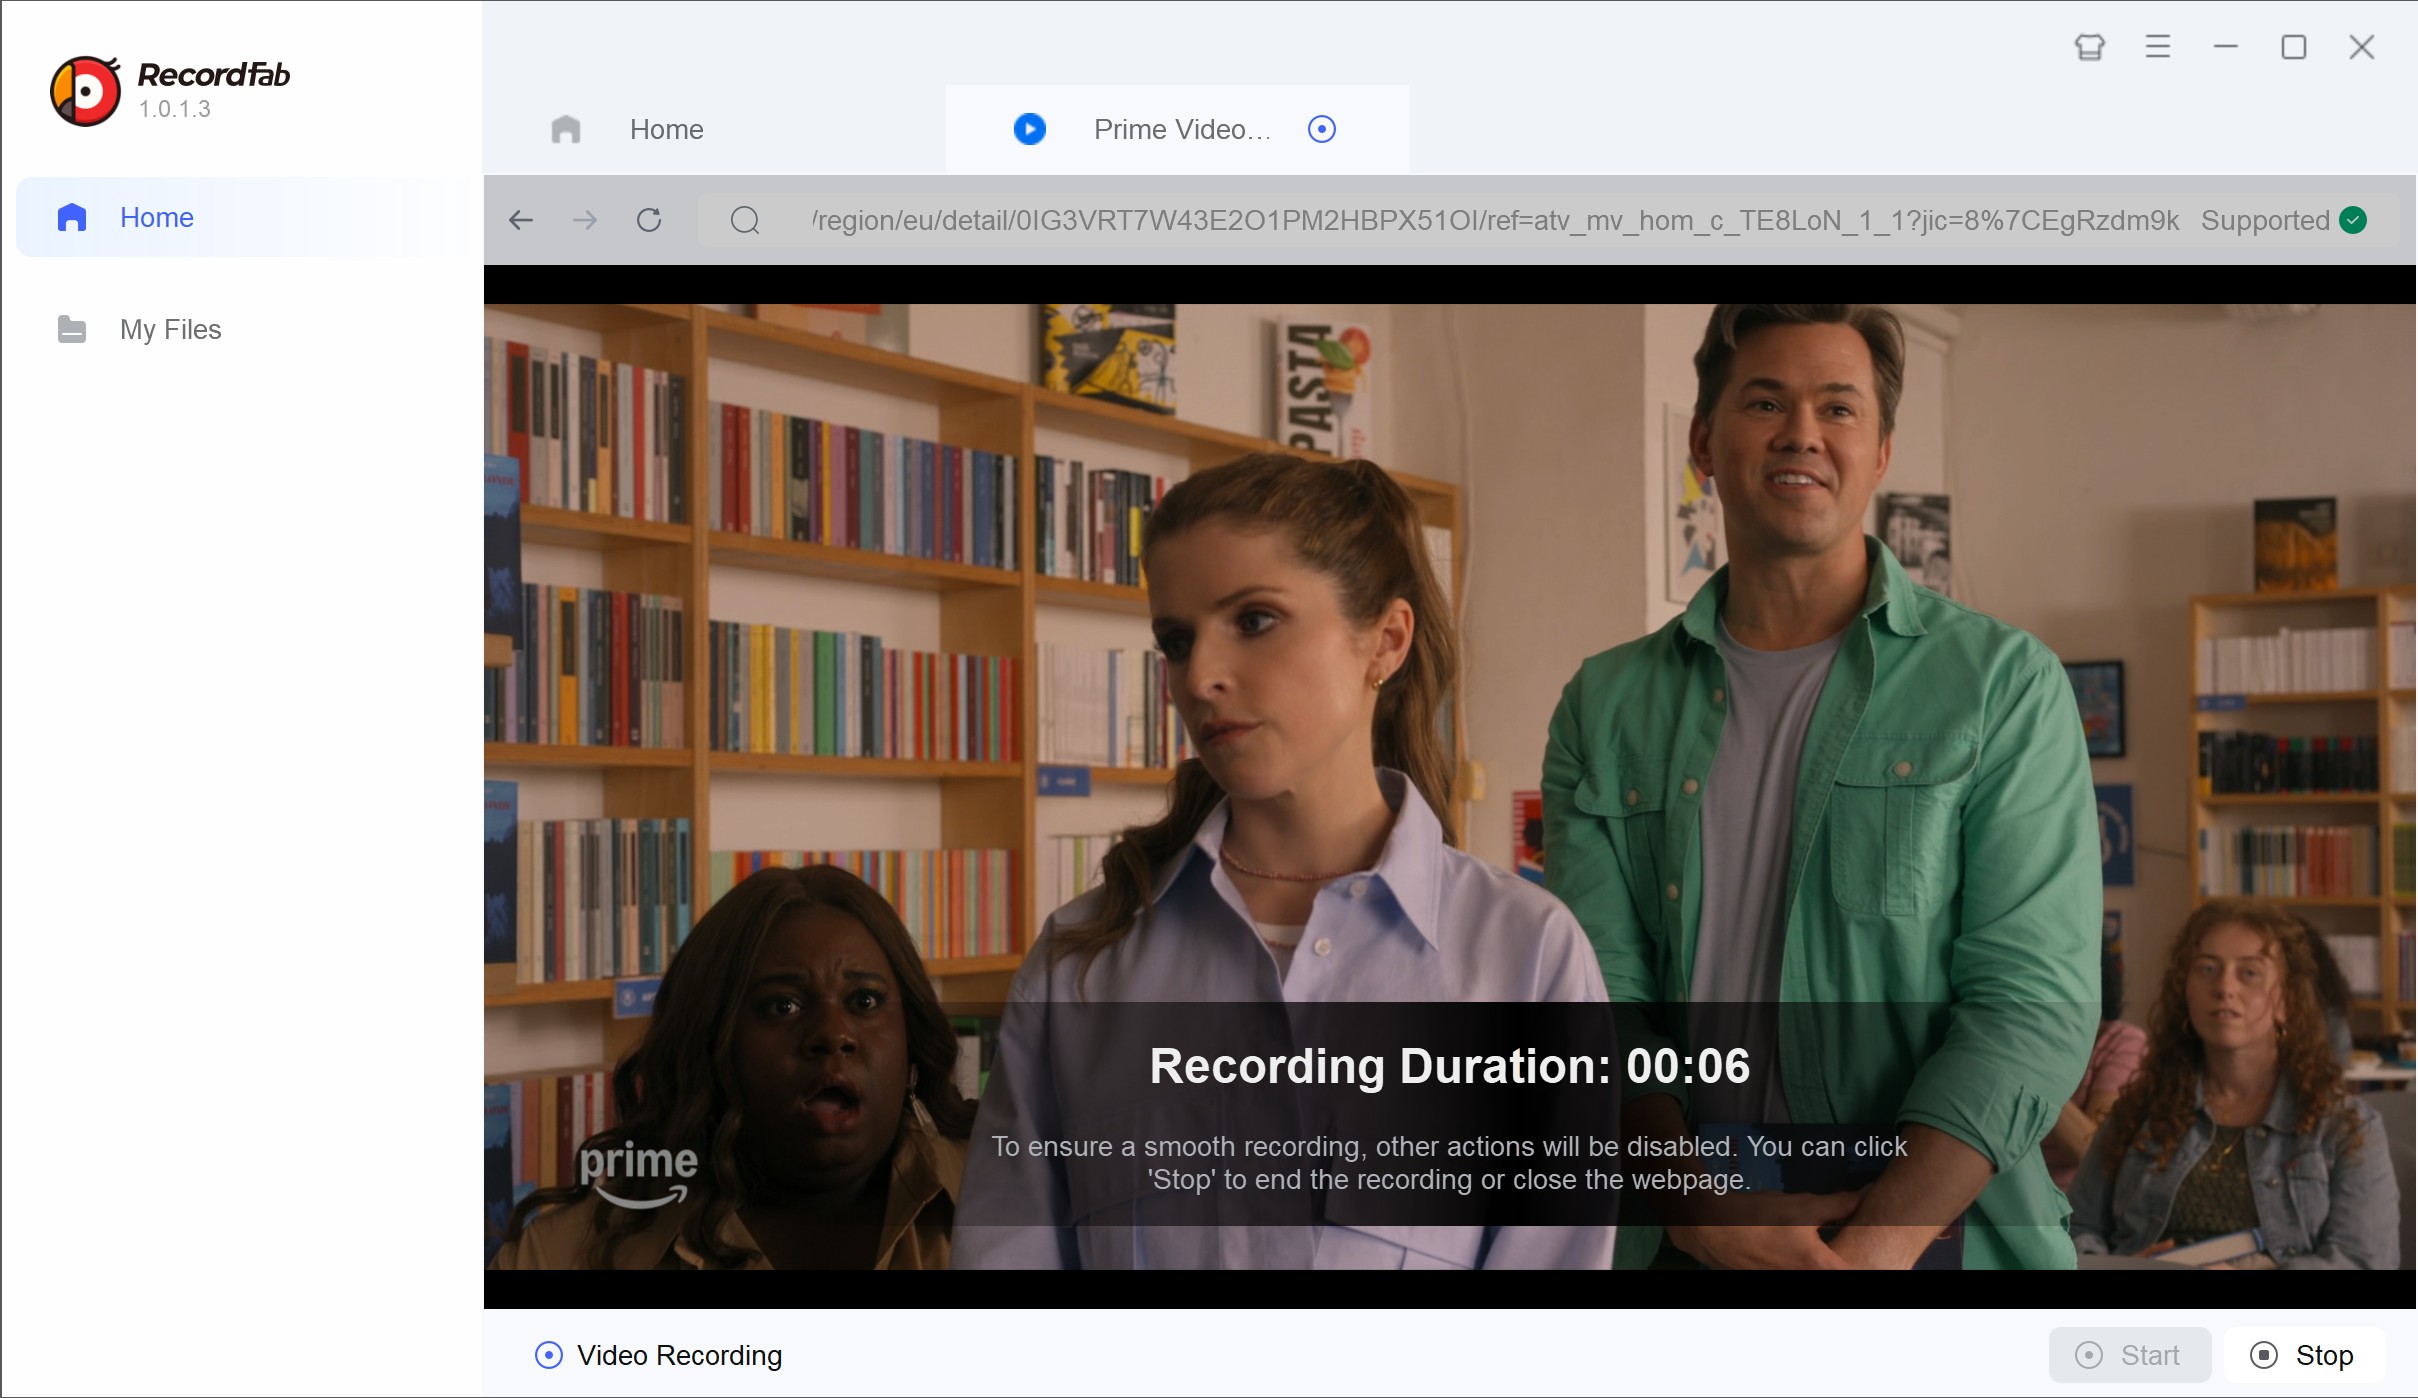
2. Operation Steps
In my using experience, I love the feature allowing background recording best. The software cleanly avoided capturing unwanted on-screen elements. Although recording occurs in real time (e.g., two hours for a two-hour film at 1x speed), the process is stable and the results are reliable.
Better Solution: Download Amazon Prime Videos instead of Recording
For users who want the fastest, highest-quality, and most automated solution—particularly for movies or series episodes—downloading Amazon Prime videos is much more efficient than screen recording.
Compared with downloading, screen recording prime video faces shortcoming as belows:
- A bit of time consuming: for a 2h full movie, you have to spend 1-2h to record it (1x-2x recording speed).
- Relatively low quality:the video quality of recorded Prime video is not native 1080p resolution.
- No batch mode or auto-mode to enhance your experience.
Therefore, if your main goal is to capture Amazon Prime series or movies, in addtion to screen recording, downloading method is also recommended for your consideration.
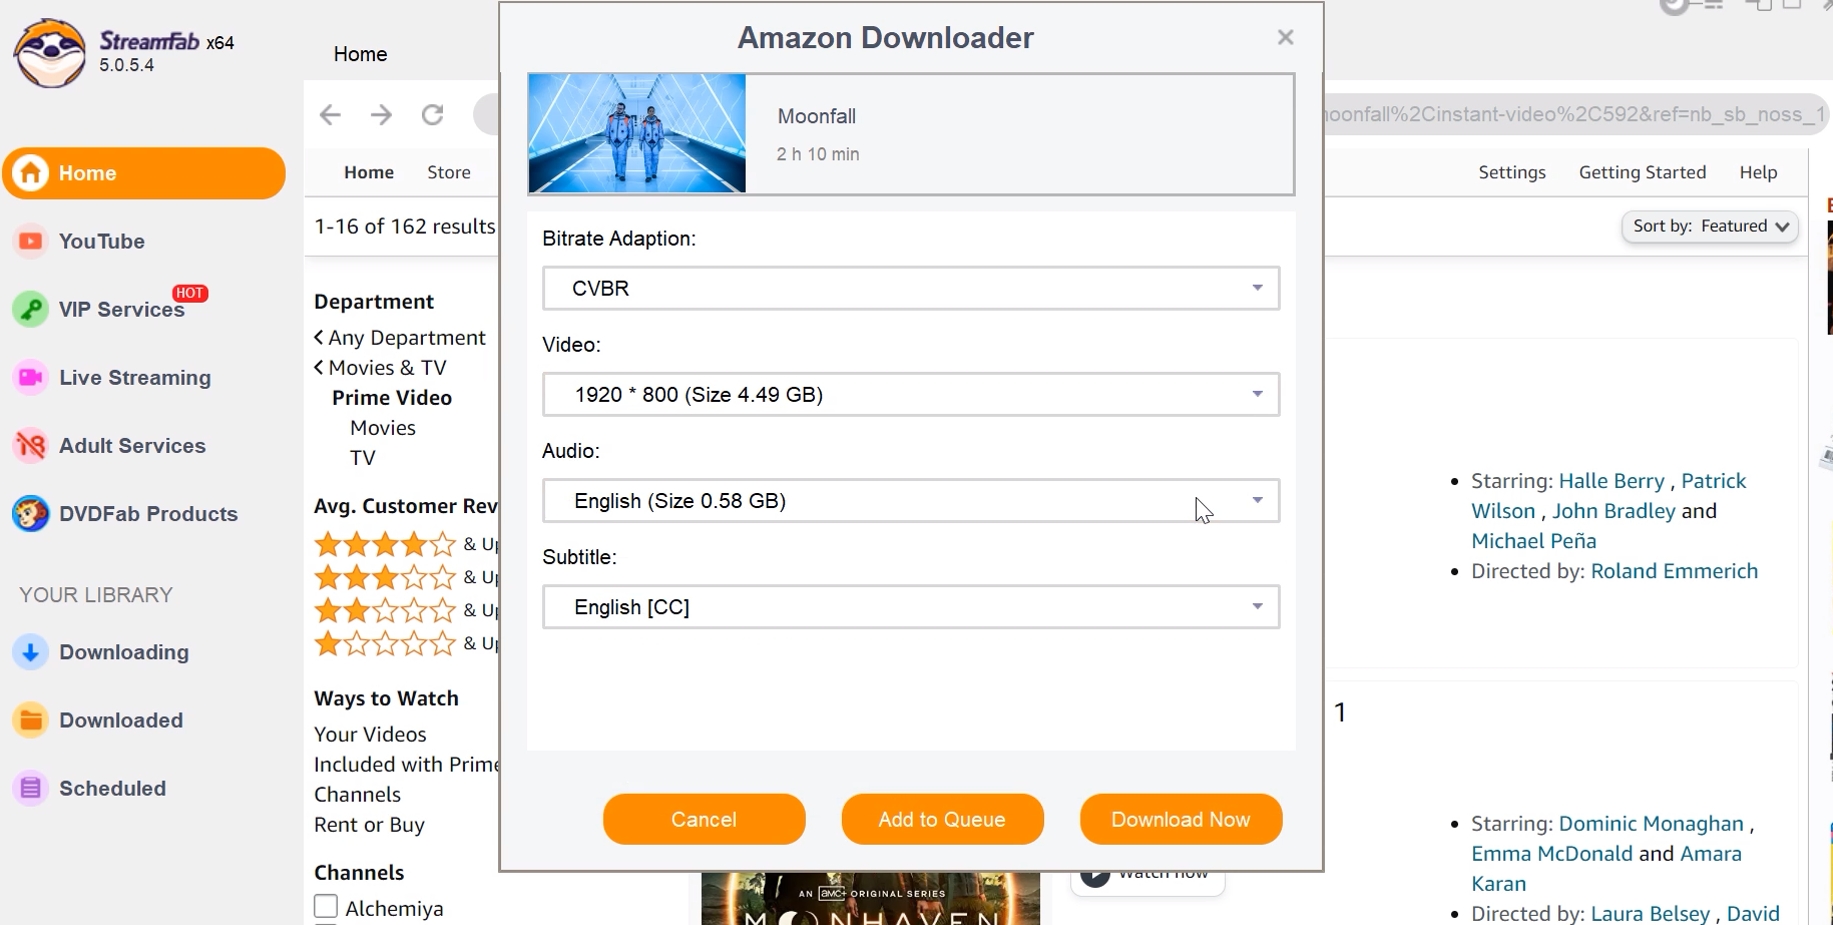
1. Tool Required: StreamFab Amazon Downloader
Grasp Amazon Prime series, movies, and replays in native lossless 1080p resolution with EAC3 5.1 or AAC 2.0 audio and save subtitles of the language you prefer.
- Native Download Mode: Downloads Amazon Prime videos at native speed instead of recording in real time.
- Superior Efficiency: A two-hour movie can be fully downloaded in 20 minutes or less—a significant time saver over real-time recording.
- Highest Quality: Supports up to 1080P quality with original subtitles and audio tracks.
- Batch and Auto-Download: Allows downloading whole seasons or multiple episodes at once, plus automatic downloading of new releases or updates.
- Convenient File Management: Convert Amazon video to MP4 or MKV for unrestricted playback and transfer.
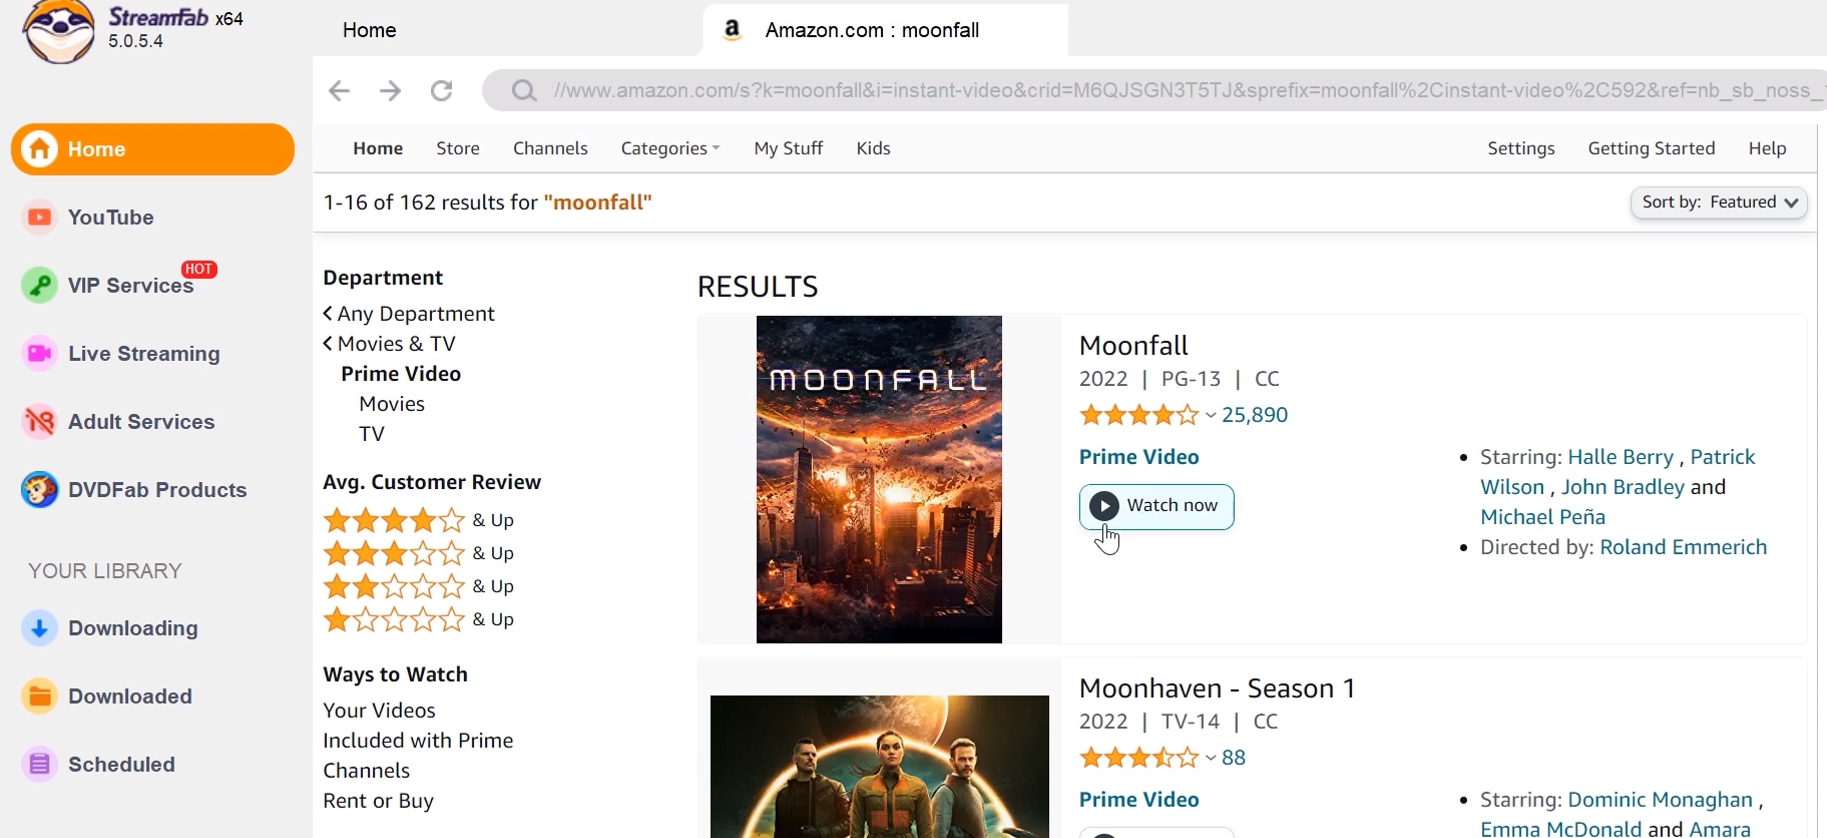
2. Operation Steps
During my testing, downloads were rapid, the video quality unimpaired, and the batch mode helped archive entire shows with one click. But StreamFab cannot capture the Live streams, for this purpose, RecordFab remains the tool of choice.

Compare: Choose the Solution Suites You Best
In my experience, the ideal workflow is a combination of RecordFab and StreamFab, tailored to your specific needs:
- Choose RecordFab when you need to capture live streams or any Amazon content without worrying about black screens, interface distractions, or popups.
- Choose StreamFab for its speed, efficiency, and batch handling when downloading replay videos, movies, or series episodes in the highest quality.
- Combine both tools to enjoy total coverage: no missed content, no technical headaches.
This approach minimizes frustration from DRM restrictions, maximizes video accessibility, and delivers a solution for all kinds of Amazon Prime videos.
| RecordFab | StreamFab Amazon | |
|---|---|---|
| Speed | 1-2h for a 2h full movie | 20 minutes for a 2h full movie |
| Video Quality | Recorded 1080p | Native lossless 1080p |
| Support Live Video | Yes | No |
| Batch/Auto Download | No | Yes |
| Best for | Grasp Live streams | Grasp movies, shows, and replays |
FAQs
1. Is it Legal to Screen Record Amazon Video?
Yes. It is legal to screen record Amazon videos for which you have viewing rights, as long as you do not use the recorded videos for commercial purposes.
Conclusion
In practice, standard screen recorders fail to capture Amazon Prime Video visuals due to robust DRM, leaving users with audio-only black-screen files. Through my testing, RecordFab proves reliable for recording all types of Amazon content, live or on-demand, without capturing unwanted interface elements. StreamFab Amazon Downloader excels in rapidly downloading shows and movies in original quality, though it can’t handle live streams.
For the broadest solution, integrating both tools covers virtually all viewing and archiving scenarios, making them highly recommended for users looking for efficiency, quality, and versatility.