
7 Ways to Create Perfect Bokeh Background in 2025
Summary: This article will introduce the 7 best ways to create a bokeh background and read below to know how to create perfect bokeh background.
Are you an upcoming photographer or an enthusiast of the same topic? Then you must be familiar with the term “Bokeh.” If not, don’t worry. We will help you out with this. Photographers always discuss this term among themselves. Hence, bokeh effect is something of a well-known term. Bokeh, also referred to as “Boke” is one of the most well-known terms in photography. The reason behind this is because Bokeh makes images visually pleasing, directing all our focus on a specific region of the picture.
Bokeh doesn’t only offer a blurry backdrop that captures the attention of the users, but it also generates blurry that look eye-catching, dreamy, and even otherworldly. Today, we will discuss what is bokeh and how you can apply bokeh background to your normal photos using different methods. Let’s get started.
Table of Contents
Part1: What is Bokeh?
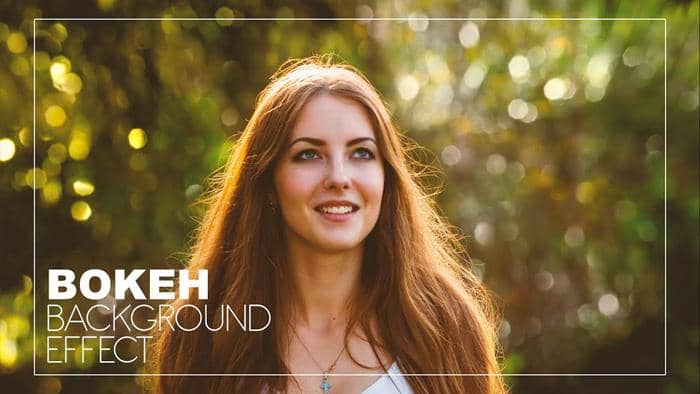
Derived from a Japanese word for “blur,” bokeh effect has become a photography term used to define how a lens processes a background that is out of focus. Generally, bokeh is the out-of-focus quality or “blurry” areas of the photo processed by a camera lens. Bokeh effect is not the blur itself but the amount of blur in the background or the foreground of a subject. The blur that you see in images that divides a subject from the background is the outcome of shallow “depth of field” and is normally named “background blur”. The feel and quality of the foreground/background blur and reflected points of light is what the photographers name Bokeh.
Hope this has cleared all your doubts about what is bokeh. Now that you are well aware of bokeh effect, let us see some different ways to create a perfect one.
Part2: How to create and apply Bokeh overlay in Photoshop?
Photoshop is one of the most-used tools by photographers. The tool has been serving photographers for ages now and has the ability to add or create great bokeh lights or bokeh backgrounds. If you wish to know how to add the bokeh effect to your images using photoshop, follow the below steps.
Step 1: The simplest method to add bokeh overlay in Photoshop is to set the Field Blur filter. This can be done by navigating to Filter >> Blur Gallery >> Field Blur.
Step 2: The Field Blur has an Effects section that lets you to generate bokeh out of the bright regions of the pictures.
Step 3: You will require adjusting the Bokeh Color, Light Bokeh, and Light Range to create the Bokeh background on most of your images.
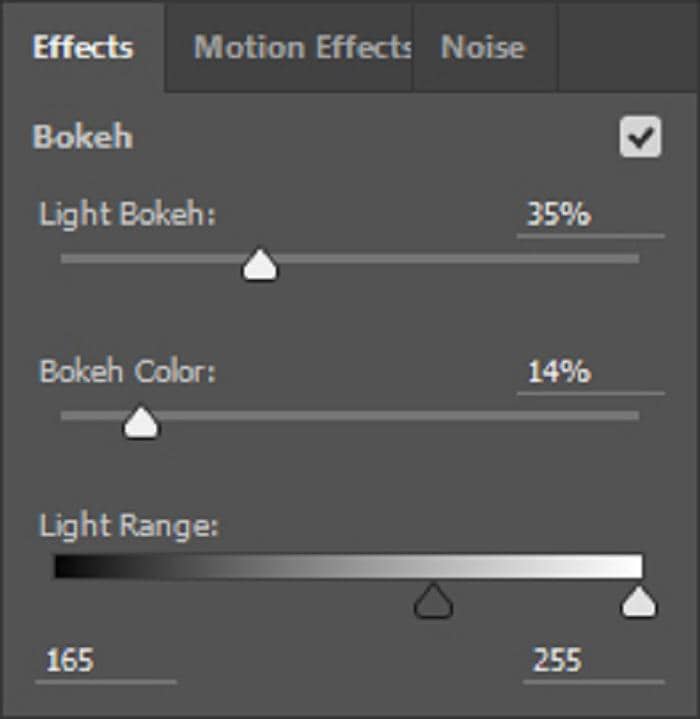
Step 4: Add or subtract blur by using the Blur slider to adjust the size of the bokeh. Adding extra blur makes the bokeh circles bigger in size.
Add Bokeh Effect with the help of Blending Modes
This is another method in Photoshop that can help you get the bokeh effect. Once you create your bokeh light, you can apply it to any picture by utilizing the Screen blending mode. This will reveal bright pixels and hide dark ones. In addition to this, users can then use any adjustment layer that regulates luminosity to manage the blend.
Part3: How to create Bokeh effect free online?
If you are one of those users who are fond of using online tools and services, this is the right place for you. Below are the top three online services that will help you in creating bokeh png easily and that too without any hassle.
1. Kapwing
Kapwing is an online editing tool that lets you create bokeh overlays as well as edit GIFs, images, and videos by using a number of transitions, effects, and titles. It is easy to use since it is really user-friendly and accessible to anybody with a minimum knowledge of how a bokeh is created. Hence, you do not require to be an expert to use it. It is a perfect tool to create high-quality bokeh light images for users who promote services, companies, or brands on online platforms. In addition to this, the tool is also a perfect fit for students and teachers who use it in schools to carry out presentations and projects.
With the help of this tool, users can indulge themselves and let out all the creativity within them, creating great bokeh images, animated images, memes, adding the music you love as background, cutting separate videos, and then joining them in a loop, and so on. Once your image is edited, you can directly upload it to your social media channels as well, whether it is Facebook or Instagram, so that you can instantly share it with your loved ones.
Pros
- Large multimedia collection
- Easy to use
- Free version
Cons
- High cost of the PRO edition
2. BeFunky
BeFunky is a very cool online editing service where users find lots of features such as resizing images, cropping, and so on. This website is very good for the upcoming and beginner photographers to add bokeh overlay. This is because there are many cool functions accessible for the youngsters. This online tool offers users options such as college maker, image editor, and designer for retouching their personal images.
Pros
- Offers an inbuilt college maker option.
- Easy-to-use interface with lots of elements.
- Users can give effects to their images online very easily.
Cons
- Shows tons of ads on the canvas windows of the windows.
- Need to buy the paid version to remove ads.
- PSD format not supported.
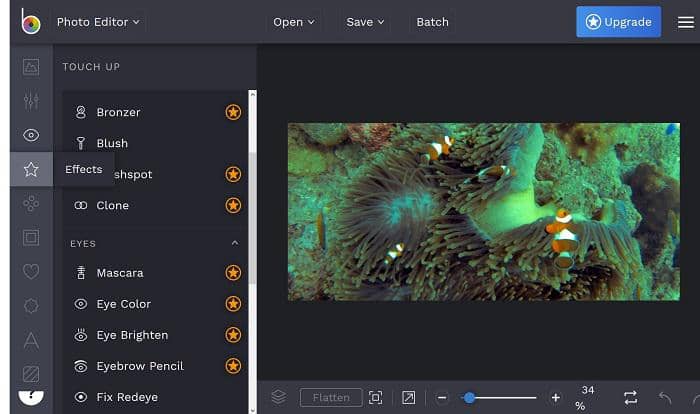
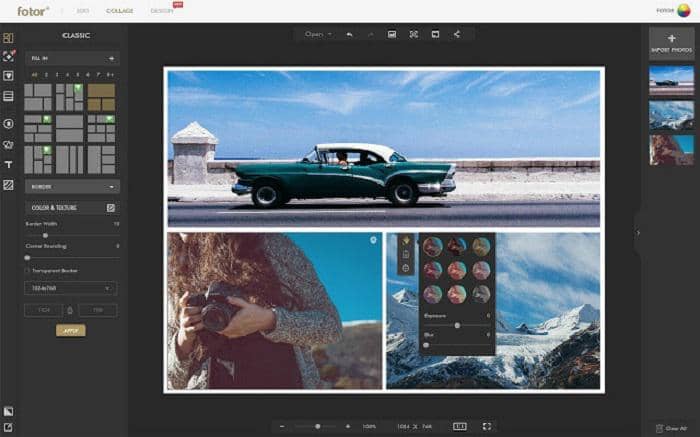
3. Fotor
Fotor is a free online photo editor service that allows you to edit photos online. This service offers you a simple to understand UI to edit your images online (to add bokeh effect) without any installation and you do not have to do any particular task to add bokeh effect. Fotor also offers you a picture editing tool for Android, Windows, Mac, and iOS operating systems. Users can upgrade to the pro edition of this online tool to get extra features too.
Pros
- Allows you to edit images with different features.
- Easy-to-use user-friendly website.
- Supports adding text, stickers, and borders to your images.
Cons
- Supports ads which is irritating while using it.
- There are not many features offered in the online version.
- Needs an internet connection always to edit pictures on the system.
Part4: How to create bokeh background with mobile apps
If you are looking to add bokeh lights on your mobile, here are the top 3 apps that will help you.
1. Adobe Photoshop Camera
Adobe Photoshop Camera is the latest addition of the company that allows users to take great photos as well as edit them. It is a free camera and photo editor app that allows you to use tons of effects and filters in real-time, from adding new scenes and artistic filters to blurring the background. The AI-based portrait mode camera app lets you to snap studio-akin portraits by regulating the levels of blurriness in real-time or changing it later in the app. One more interesting fact is the more expertise content-aware that can automatically restore part of the picture to fix light and focus, apart from the app incessantly adding new lenses and filters that you can add to your library.

Pros
- More than 80 Filters
- Free and intelligent
- Auto-tone and content-aware suggestions
- Influencer-inspired and Portrait control lenses
- Easy to share
Cons
- High processing power required
- Video not supported
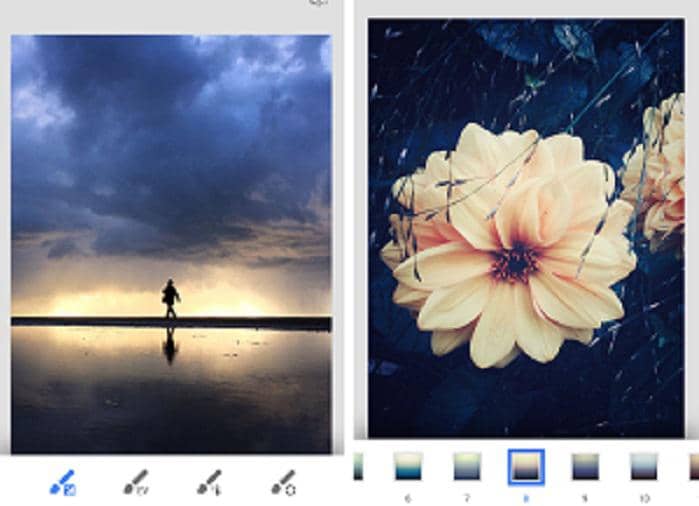
2. Snapseed
Snapseed, owned by Google, is one of the best photo editing apps that offers tons of features that will make the best of your photographic journey and enhance your images. The app supports RAW file frames and opens JPG as well as 29 more filters and tools to improve images. Lens Blur is just one of the features included that allows you to soften the background of your photographs for good bokeh.
Pros
- Loaded with professional-grade presets and tools
- Free of cost
- User-friendly
- Used by professional as well as amateur photographers alike
- Simple finger swipe sliders to edit images
- Can edit RAW files
- No advertisements
Cons
- Not for complete beginners
- Needs a slight learning process
- Social network integration options are not as clear as they can be
- Save options aren’t very intuitive
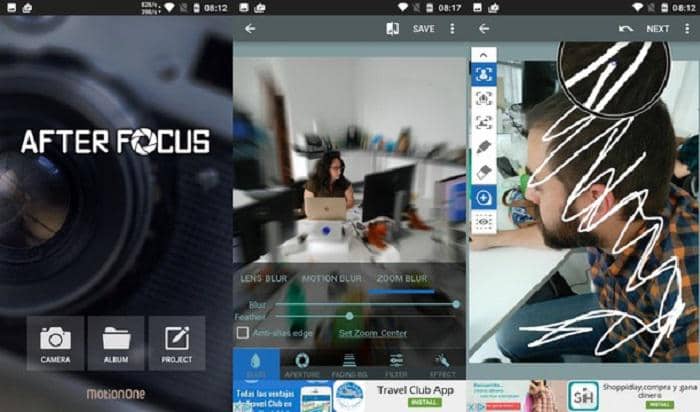
3. AfterFocus
AfterFocus is a well-known portrait application for bokeh photos and bokeh lights. It provides different filter effects and allows you to create background-blurred photos and natural DSLR-like images. Users select focus regions just by marking the desired region with your finger, and the app’s background blur effect can then be used. The best thing is you can adjust the background later after you have taken a photo initially. There is also a Motion blur effect that will focus on the movement. The Bokeh effect feature enhances the spotlight in the background, and users can share the results through email and SNS.
Pros
- Just draw some lines within a focus area and the background and the toll will recognize the focus area automatically
- Generate DSLR-like background blurred images by simply selecting focus regions
- Also adds motion blur for extra realism
- Create a blur effect with different aperture styles similar to a DSLR camera
- Use the Double Photo function to have the focus calibrated automatically
- Select from a wide range of professional-quality image filters to add the finishing touches to your images
- Share your pics with others online through text message and email
Cons
- There does not appear to be any functions that allow images on social media sites such as Twitter and Facebook
Part5: Use DVDFab Photo Enhancer AI for Enhancement
Once you are done with creating bokeh background for your images, all you need to do is tidy up your image. And what would be a great tool other than DVDFab Photo Enhancer AI to do this? Yes, you heard it right. DVDFab Photo Enhancer is a lifesaver when it comes to enhancing your images. Whether you are a noob or a professional, this tool will come in handy to enhance your editing skills. Let us know more about this enhancer and its features:
Useful features of DVDFab Photo Enhancer AI to use after bokeh effect:
Following are the features that can be handy once you are done applying the bokeh lights to your images:
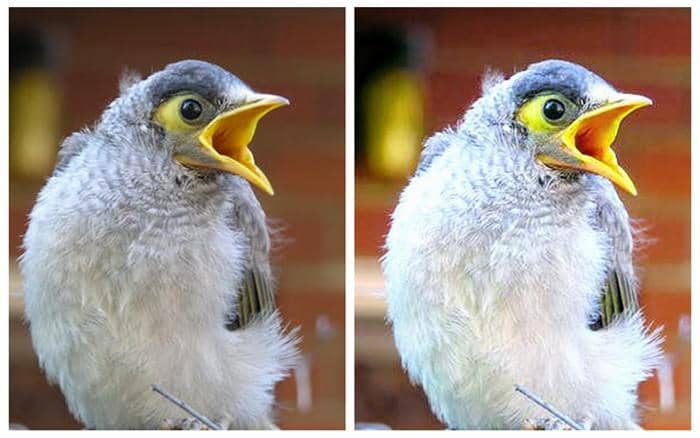
Sharpen: This feature reduces blur for clearer and sharper images. Once you are done with your bokeh overlay, sometimes the main object also gets blurred. The Deep Convolutional Neural Networks of this tool helps in lowering the blur on the main object of the image with just a single tap and immediately gets rid of any error within no time.
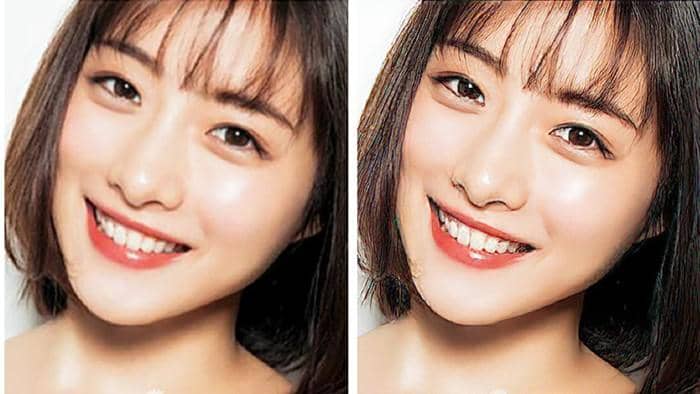
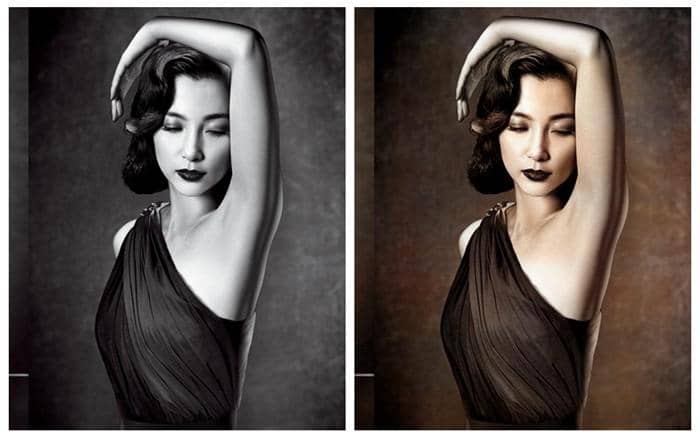
PhotoPerfect: After you are done with your bokeh photography, you can use this feature that will allow you to improve your image quality to great extent. This offers pictures a quality similar to those snapped using a professional-level DSLR camera. The feature is able to get rid of halos, digital artifacts, and chromatic aberration, which improve the quality of images.
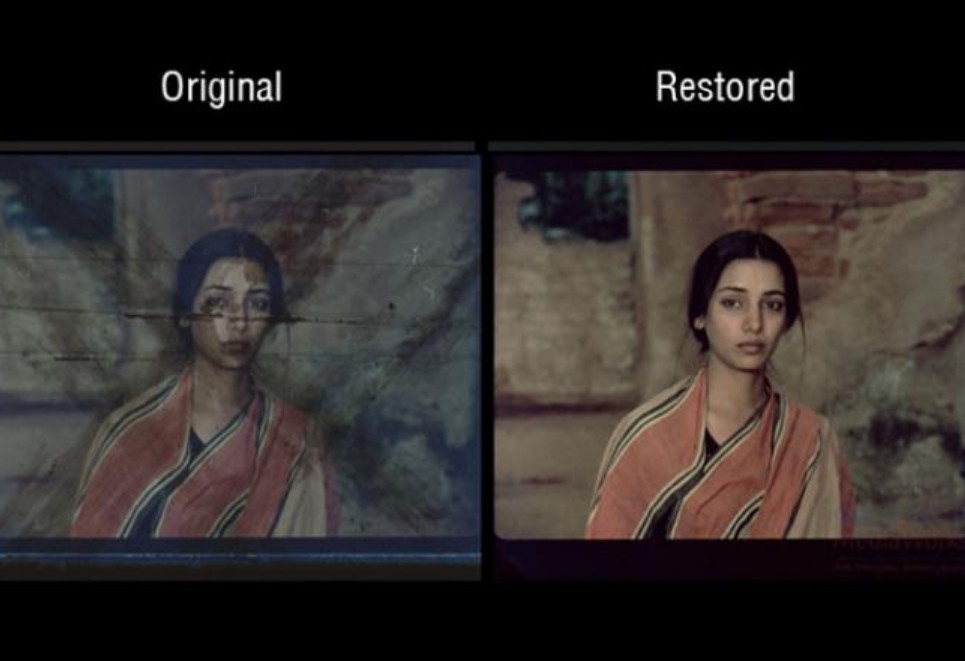
Colorize: Consider a scenario where you have black and white images. This may be of your old college days or pictures of your grandparent from your childhood. Now that you are done converting it into bokeh png, all you need to do is give it a magical touch and fill it with colors. How? Well, the Colorize function of this tool will allow you to do this with just a single tap. DVDFab Photo Enhancer uses automatic coloring and AI deep learning to create accurate and good quality results. The final pictures will offer you results with high precision and of the utmost quality.
Conclusion
In a nutshell, you just had a look at 7 methods to create the perfect bokeh background for your images. In addition to that, you got acquainted with some basic concepts such as what is bokeh and how it can be applied to normal pictures. Lastly, you saw that once you are done with bokeh overlay, you can use DVDFab Photo Enhancer to enhance your images to great extent. Isn’t that just a cheery on the cake? You get your bokeh effect as well as you get your images enhanced. What else do you need? So, get up and start adding bokeh background to your images.
 Unblur Images/Photos Free & Fast [Remove Blur From Photo]
Are you looking for efficient methods to unblur images/photos? How to fix a blurry photo or how to unblur an image? There are more than 15 images unblurrers able to do you a favor. Learn about the features of each deblur tool, and deblur a photo free and fast using your favorite software.
 [Tips] 12 Best AI Video Restoration Software to Restore Old Videos
Follow this tips post to speed up your video restoration journey with the right video restoration software. Explore top-rated video enhancers and resurrect your old videos.
 15 Best Video Enhancers to Increase Video Quality | 2025 Update
Looking for a feasible AI video enhancer software? Discover the top-rated video enhancer software through real user experiences. Our detailed guide and handpicked list will help you make an informed choice.
 Image Upscaler | Top 15 Solutions to Upscale Images 2025
Look for the best AI image upscaler to upscale an image without losing quality? This article aims to take you through the 15 top image upscalers, both AI-driven and non-AI, which enables you to upscale images. Among such photo enhancers, some are available on desktop, others online, even some on smartphones.