VideoByte DVD Creator: A Powerful Tool for Creating DVDs
Summary: VideoByte DVD Creator is a powerful software for creating DVDs and Blu-ray discs. It offers advanced editing tools, customizable menus, and high-quality burning. Alternatives like DVDFab DVD Creator, DVDStyler, and Burn are also explored in this article.
Table of Contents
Creating DVDs is a great way to preserve your keepsake videos for the long term or make physical backups of important files. There are a variety of DVD creators on the market nowadays. In this article, we will walk you through VideoByte DVD Creator, a software designed to make DVD creation easier. We'll also guide you through its key features, pricing options, and how to use it effectively. We'll also give you comparisons with other DVD creation tools to help you figure out which one suits your needs.
What is VideoByte DVD Creator?
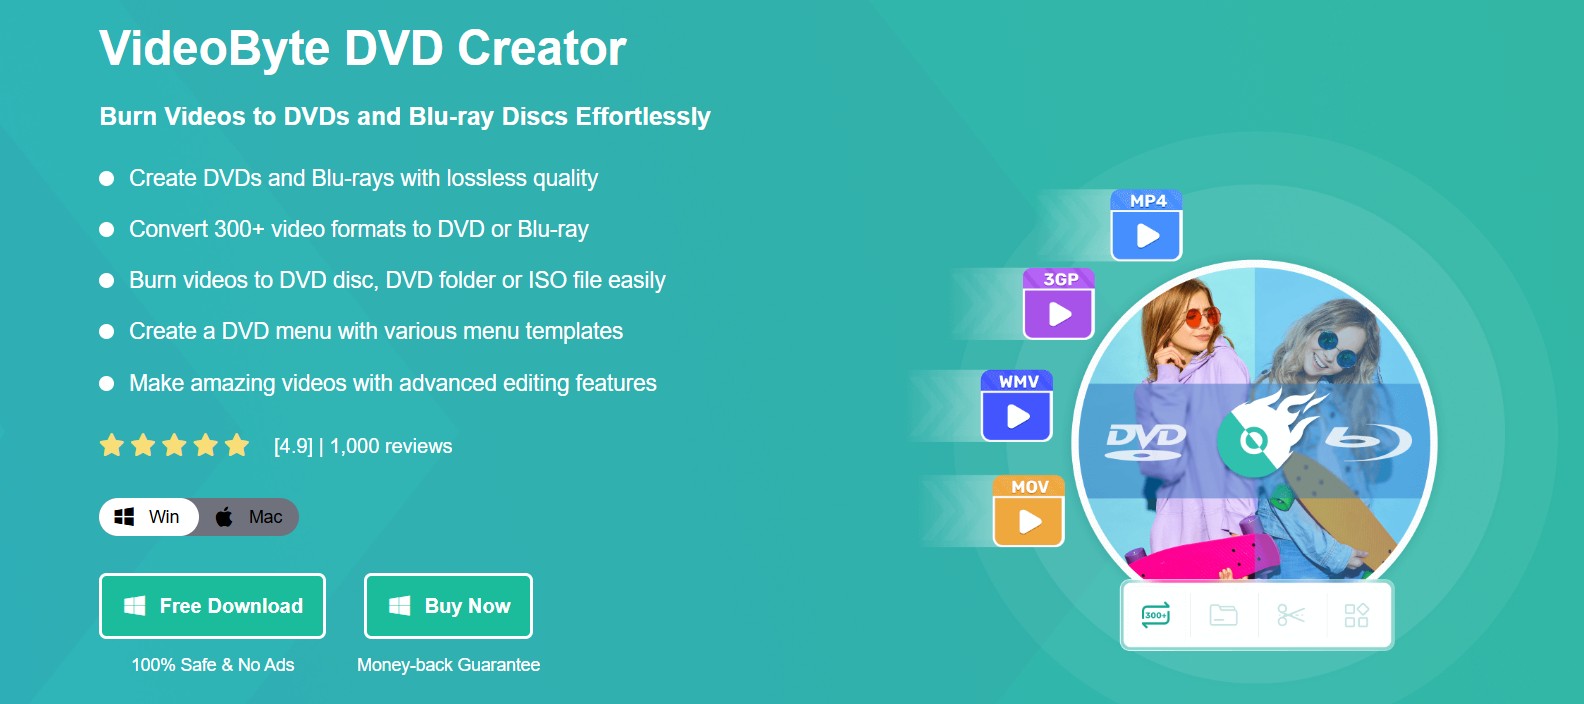
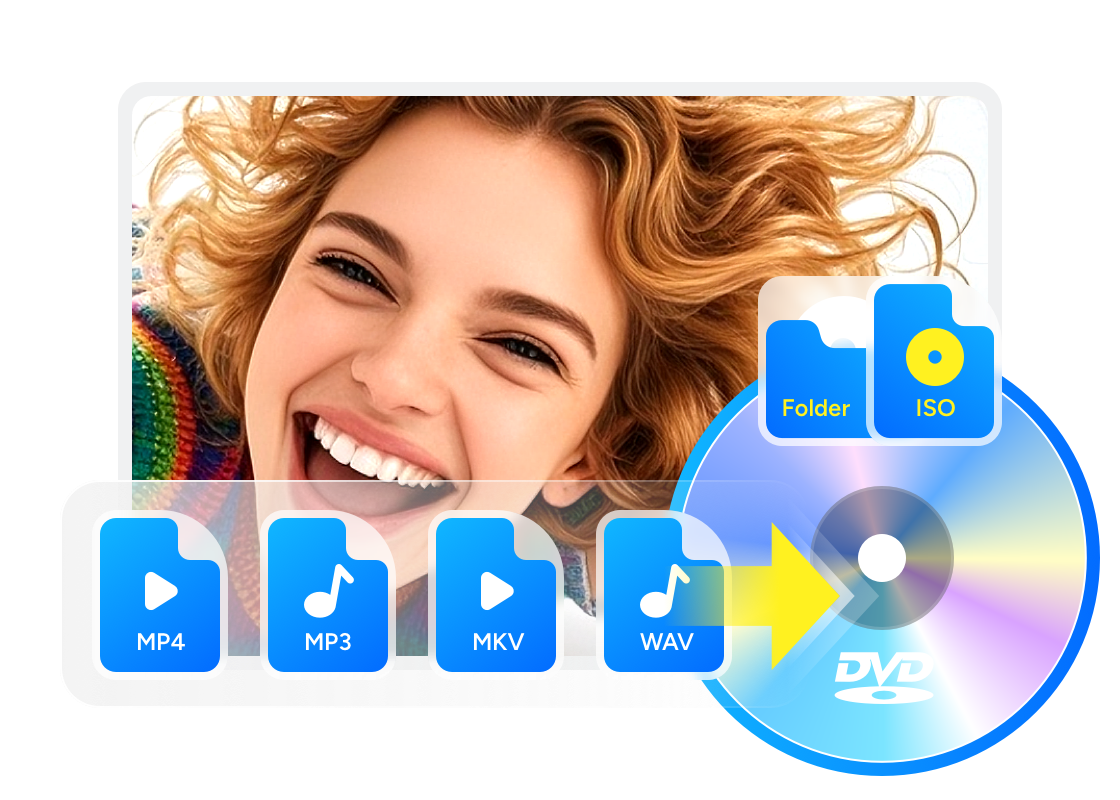
VideoByte DVD Creator is a powerful program used for creating DVDs and Blu-ray discs. It allows users to burn common video formats such as MP4, MOV and AVI to DVDs, Blu-ray Discs, folders, and ISO files. Whether you're converting downloaded videos or creating backups of personal content, this tool offers an easy way to compile your digital videos into physical, polished DVDs whicha are compatible for most of DVD players.
In addition to its burning capabilities, VideoByte DVD Creator is also able to author a DVD and provides basic video editing tasks. Users can add effects, watermarks, and even edit DVD menus. The software also supports adding subtitles to videos, allowing for a more personalized touch to your own DVDs or Blu-ray Discs.
VideoByte DVD Creator is an ideal tool for a wide range of uses, from creating playable discs for your own recorded videos to making ISO files and folders of your DVDs for backup. Whether for home use or more specialized needs, VideoByte can meet your requirements while simplifying the DVD and Blu-ray creation process.
💡Related Reading: VideoByte BD and DVD ripper review
Price and Subscription Plans of VideoByte DVD Creator
VideoByte DVD Creator offers several subscription options to suit different scenarios, along with a free trial version that allows users to try the software with some limitations before make the final decision.
- One Month Subscription ($24.95): This option gives you a month's worth of full access to all of VideoByte DVD Creator's features. It's perfect for users who want to test out the software before committing to a longer-term plan and require temporary access.
- Single License ($49.95): This one-time purchase gives users lifetime access to VideoByte DVD Creator. For people who prefer a long-term solution for DVD and Blu-ray creation and feel troublesome to deal with recurring payments, this option is ideal, which also includes regular updates.
- DVD Creator + DVD Copy Bundle ($66.43, Regular Price: $94.90): This bundle is a great deal for users who require both DVD creation and copying capabilities. It offers consumers a complete solution at a reduced cost by combining the features of VideoByte DVD Creator and VideoByte DVD Copy.
VideoByte DVD Creator offers a free trial that lets users create DVDs with certain limitations, such as adding forced watermarks and limiting the number of DVDs they can create. Before choosing to upgrade to a paid plan, users can also test the software for ten days using the free version.
Key Features of VideoByte DVD Creator
VideoByte DVD Creator clearly packs a lot of features. Taken together, they cover most everyday needs for creating high-quality DVDs and Blu-ray discs. Below is a feature list to help you see exactly what this software can do for you.
1. Multi-format Support
VideoByte DVD Creator supports over 300 video formats, including AVI, MP4, MKV, FLV, and MOV. This lets you pull footage from cameras, phones, and downloads straight into a disc project without extra tools.
2. Support for DVD and Blu-ray Creation
VideoByte DVD Creator allows you to author DVD-5/DVD-9 and BD-25/BD-50, with support for recordable and rewritable media (BD-R and BD-RE). Output can be a physical disc or a DVD/Blu-ray folder or ISO image. However, the Mac version currently doesn't support Blu-ray features.
3. Lossless Quality
The burning process preserves the original video quality without forced re-encoding, maintaining the sharpness and the detail of the original images.
4. Advanced Video Editing Tools
With its built-in editor, you can rotate, crop, and trim, as well as adjust brightness, contrast, and saturation, which gives you the flexibility to fine-tune your project.
5. HD Video Burning
VideoByte DVD Creator supports multiple resolutions, including 720p, 1080p, and 4K, to suit a variety of players and viewing environments. If your player supports 3D playback, you can also author 3D discs.
6. DVD Menu Customization
VideoByte DVD Creator has themed, pre-made menu templates (family, holiday, travel, and more) for you to customize buttons, frames, and text. For a more cinematic feel, you can add background music and even an opening film to the menu.
7. Preview Before Burning
VideoByte has a built-in media player. You can preview your DVD project before burning to make timely adjustments and avoid wasting discs.
8. User-friendly Interface
An intuitive and easy-to-navigate interface makes it simple for both beginners and experienced users to create DVDs and Blu-rays.
9. Cross-Platform Compatibility
VideoByte offers Windows and Mac versions, both supporting DVD creation and output. Blu-ray authoring (disc/folder/ISO) is currently not available on Mac.
These features make VideoByte DVD Creator a comprehensive solution for anyone looking to create or burn high-quality DVDs and Blu-ray discs with ease and precision.
VideoByte DVD Creator: Pros & Cons
How to Use VideoByte DVD Creator: A Step-by-Step Guide
Just follow these instructions to create a DVD with VideoByte DVD Creator:
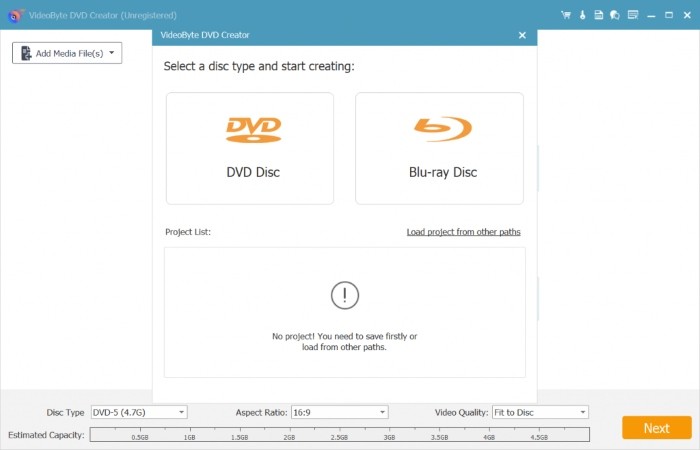
Step 1: Open VideoByte DVD Creator and click "DVD Disc" to burn DVDs. Blu-ray disc/folder/ISO creation isn't available on Mac. On macOS you can create DVDs only.
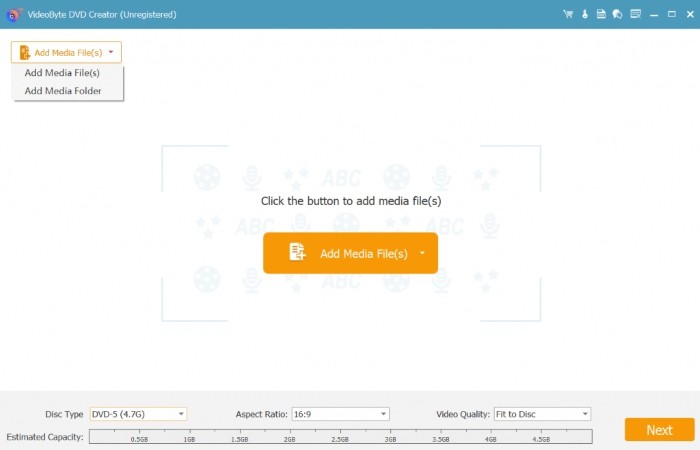
Step 2: Click "Add Media Files" to import the videos you want to burn. If you need to bring in an entire folder, use the folder option at the top-left. Once your clips are in the right order, click "Next" to move to the edit/menu area.
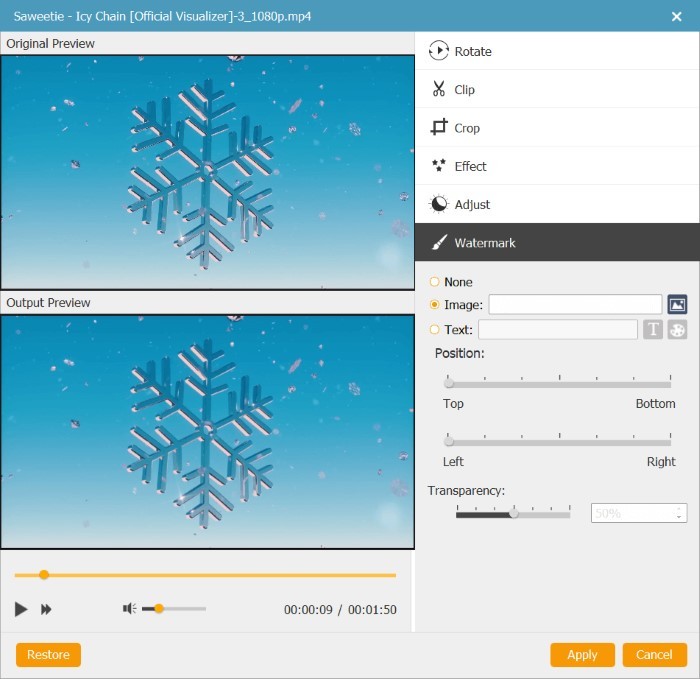
Step 3: To polish the footage, select any clip and click "Video Edit." In the pop-up window you can trim heads, tails and any clips you don't want to keep, crop black bars, rotate vertical footage, and adjust brightness, contrast, saturation, and hue. You can also add a light watermark if you need it. Use the built-in preview as you tweak, then click "Apply" to save the changes. If you want a menu, switch to the Menu section on the right, click "Edit Menu," pick a theme (for example Family, Holiday, or Travel), and customize buttons and titles.
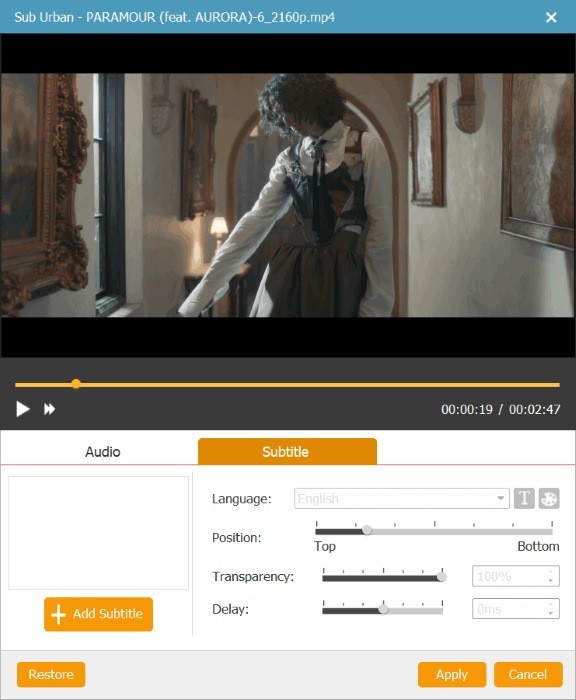
Step 4: Choose which subtitles and audio you want to keep in the DVD output. Click "Audio Track" to add an external audio file or select an existing track. Then you can add subtitle files and check their timing and position on the "Subtitle" tab. Click "Apply" to save your changes.
Step 5: Click "Preferences" on the top-right cornor to choose the final output format, quality, and other settings, then on the main screen select the destination folder and disc type. When everything looks good, click "Burn" to start the process.
Other Worthy VideoByte DVD Creator Alternatives to Consider
DVDFab DVD Creator
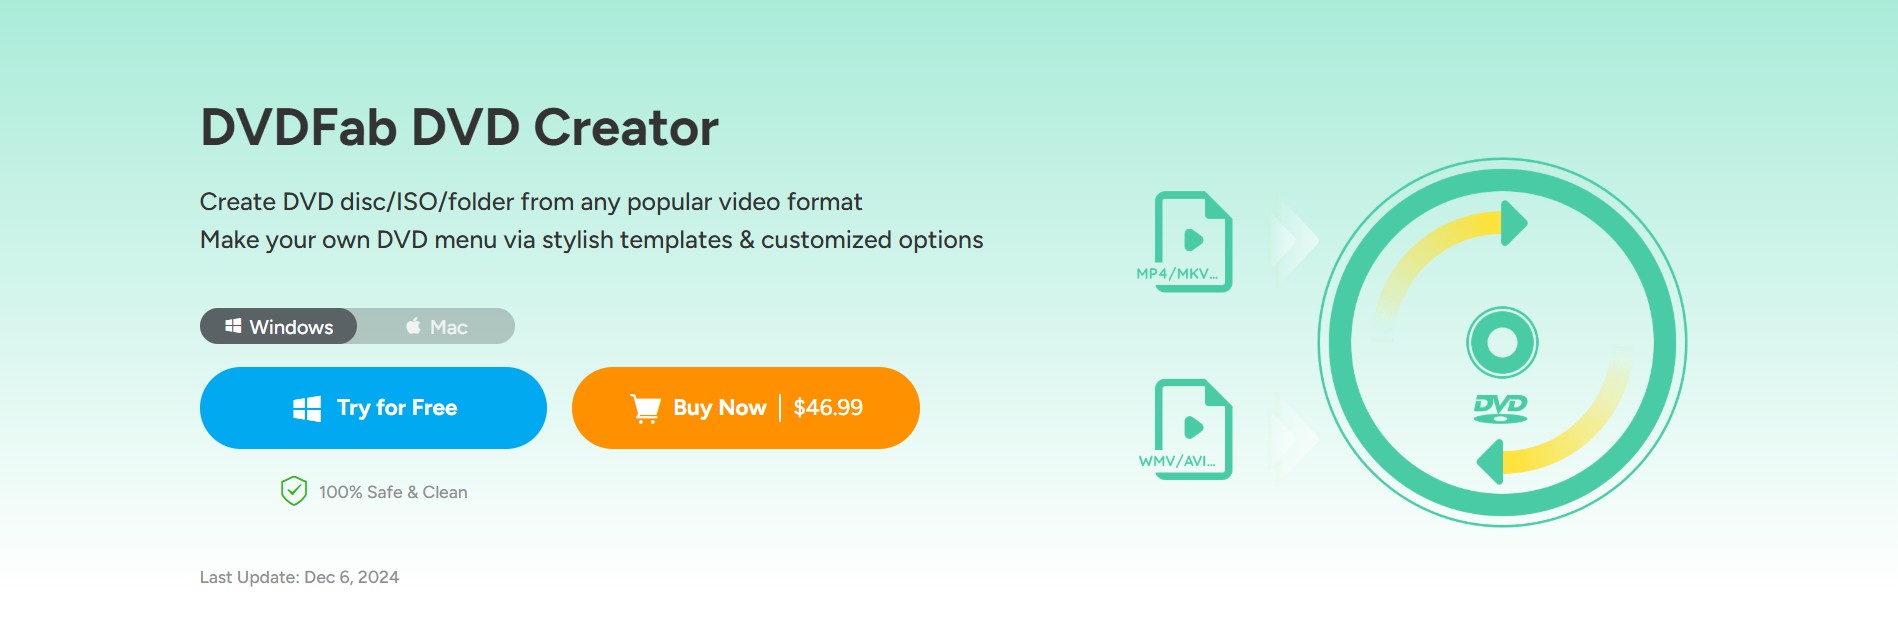
DVDFab DVD Creator is one of the best DVD creator to create DVDs from over 200 formats including AVI, MP4, MKV, M2TS, FLV, MOV, VOB, Xvid, TS, etc, ISO images or folders. It has customizable DVD menu designs with adjustable features. This tool supports various disc formats including DVD-9, DVD-5, DVD±R/RW and DVD±R DL so you can create DVDs on any blank discs.
How to Use DVDFab DVD Creator: A Step-by-Step Guide
Follow these steps to create DVDs with DVDFab DVD Creator for the best results.
Step 1: Download and open DVDFab, and then, add the input videos
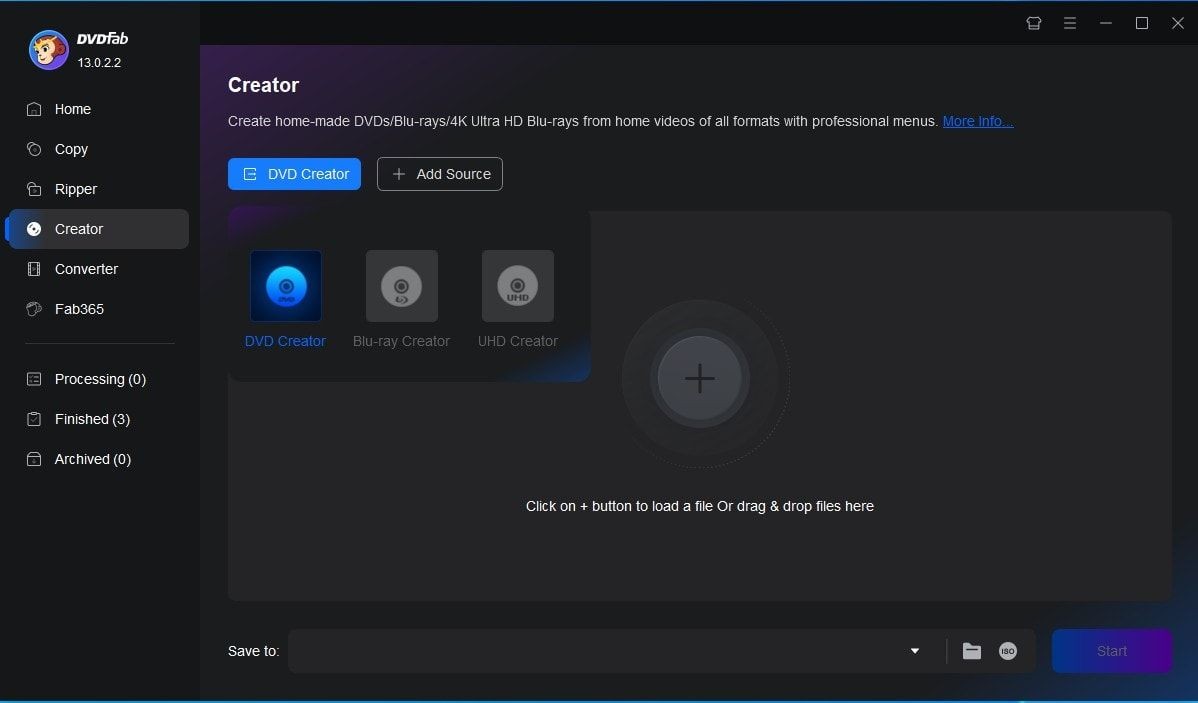
- Go to Creator > DVD Creator after opening DVDFab 13.
- Click Add on the home page to add your video, or just drag & drop the file into the home page.
Step 2: Personalise your DVD by creating a menu.
- Once the video is loaded, all the input and output data will be displayed on the main interface. Here you can add external subtitles or choose audio tracks and subtitles.

- To choose the size and quality of your output, click Advanced Settings.
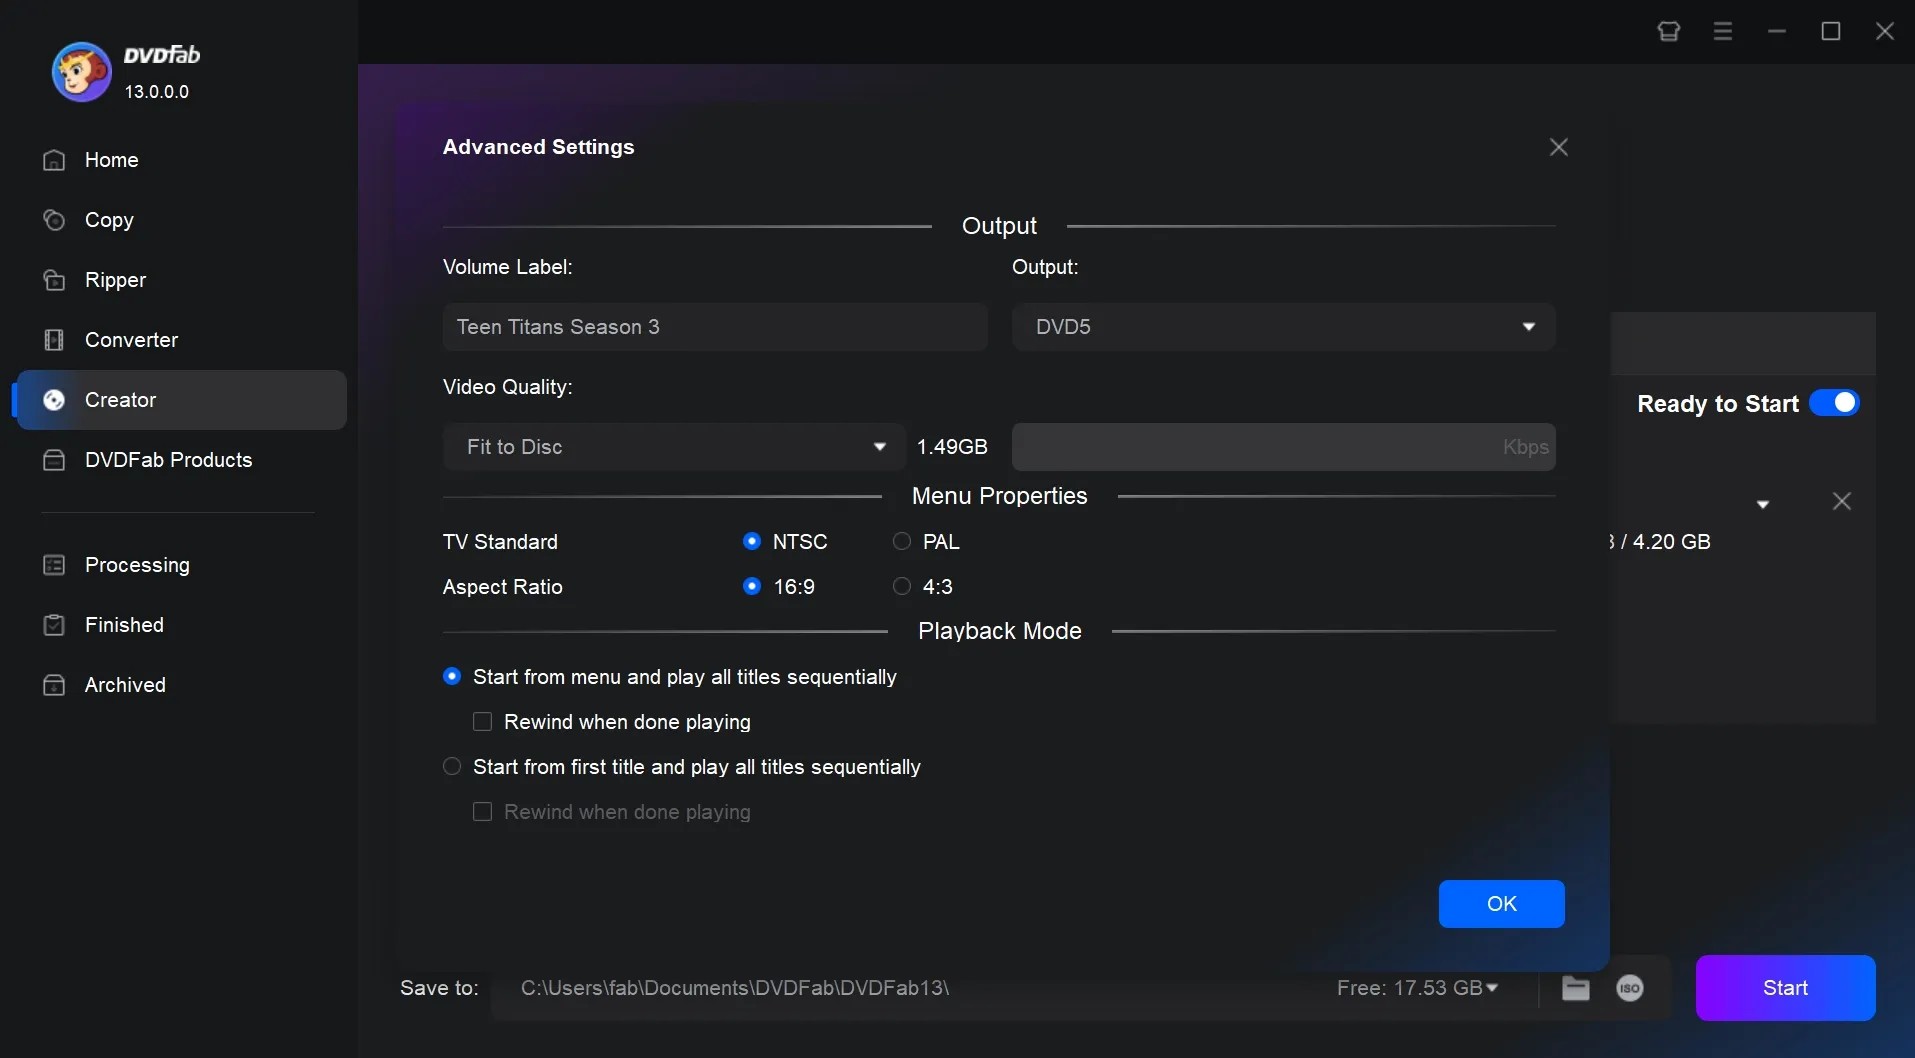
- You can choose and modify your menu by clicking Menu Settings.
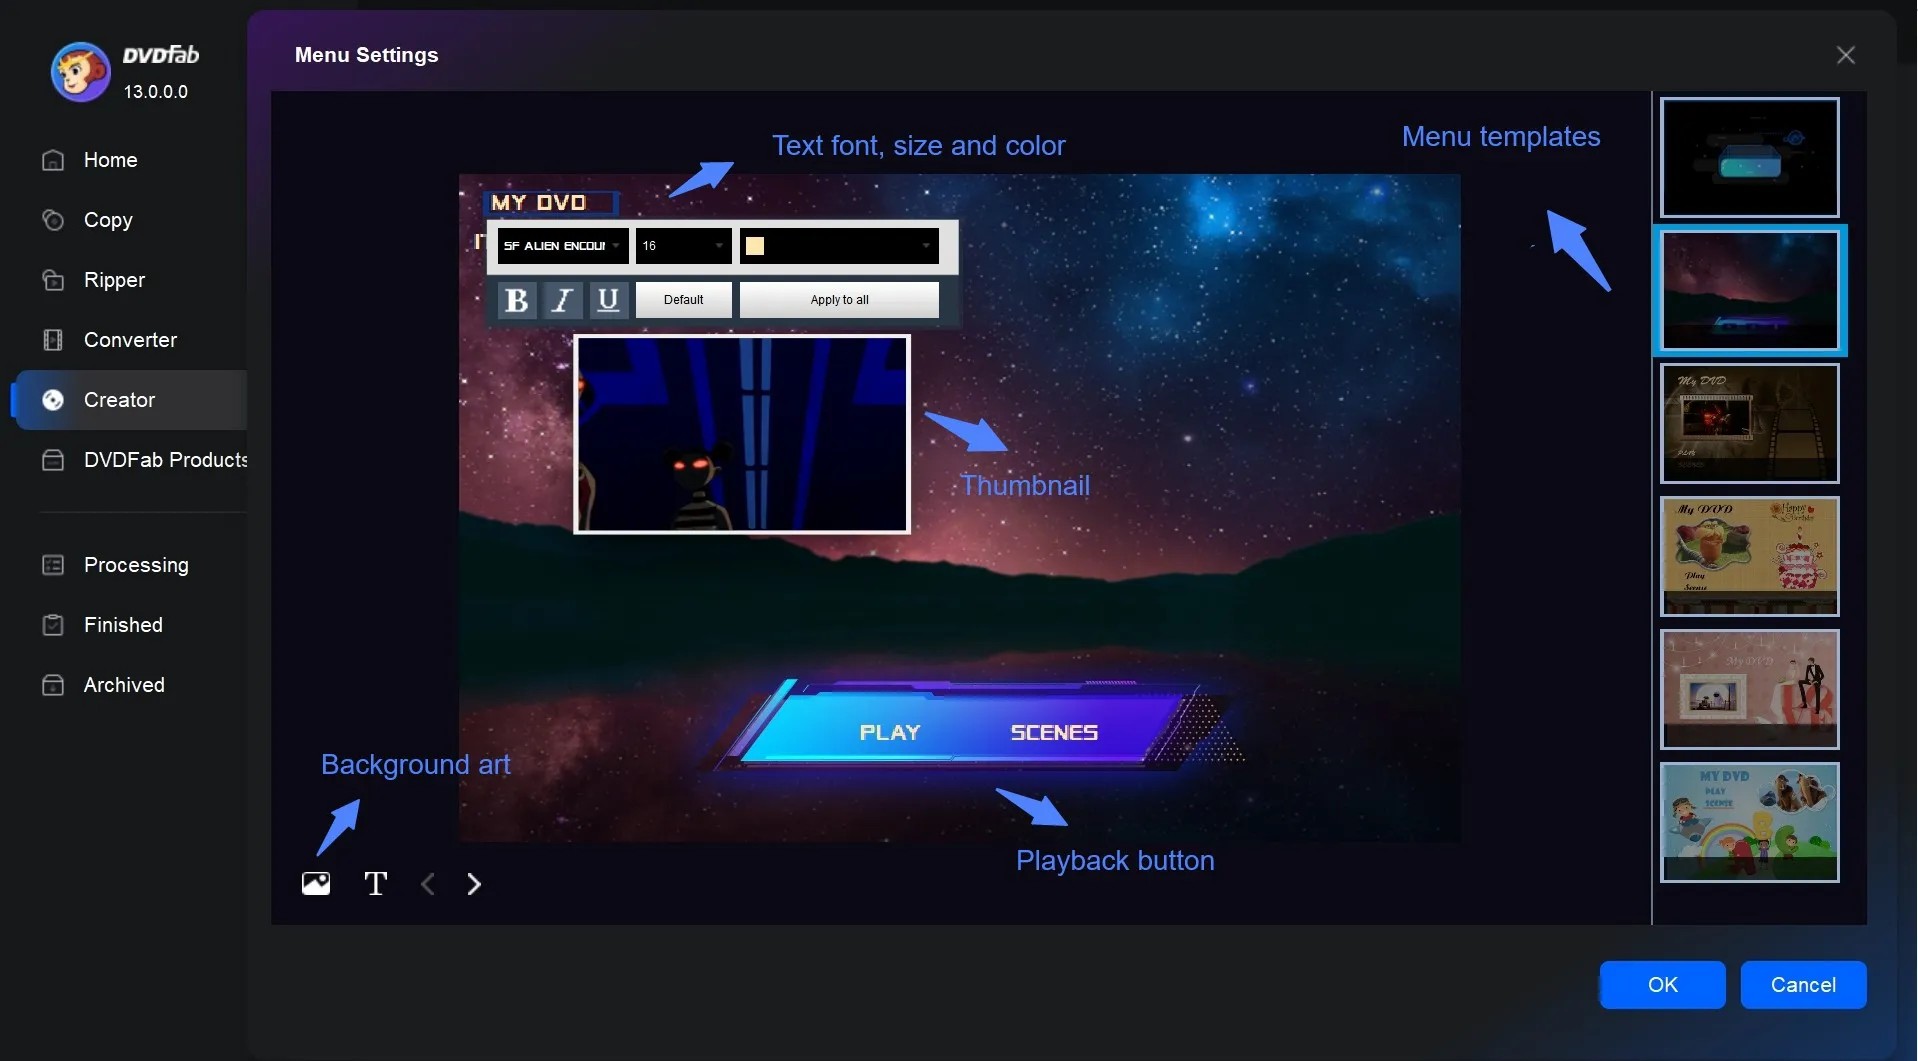
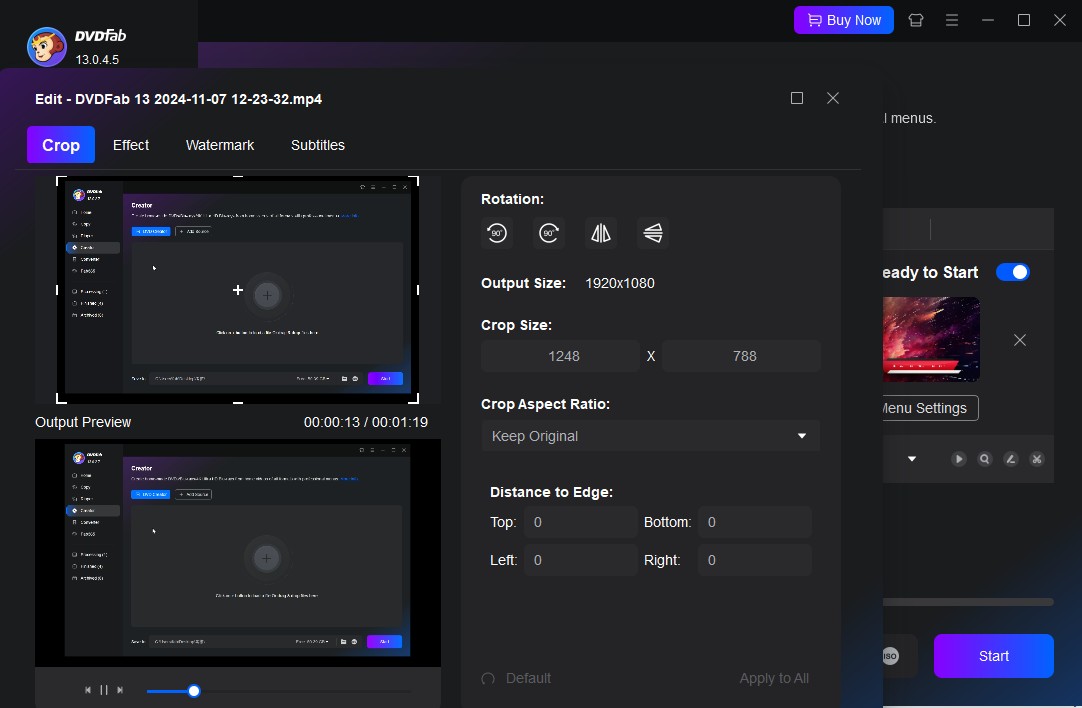
- After completing your initial configuration, you can make additional edits to your video using the program's built-in video editor. This tool allows you to crop segments to remove any unwanted portions, fine-tune visual elements such as brightness, saturation, or sharpness, and efficiently add or delete watermarks and subtitles.
Step 3: Start burning DVDs quickly and for free.
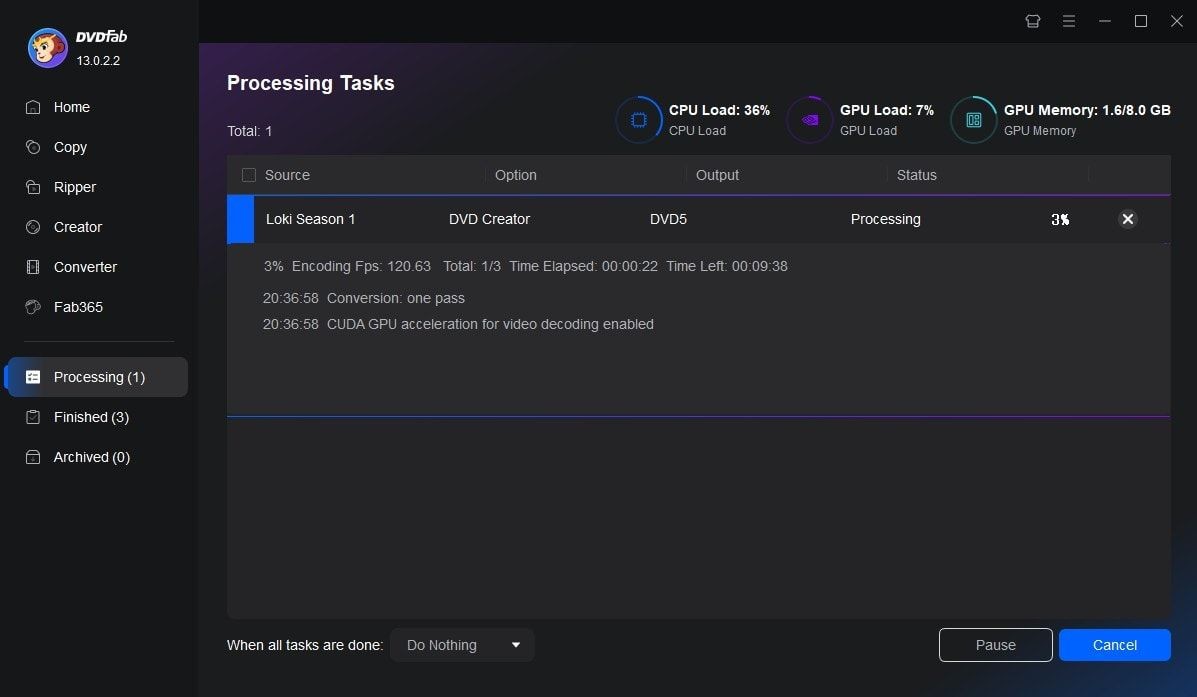
- Click Start after selecting the output directory in Save to.
- DVDFab Creator will provide comprehensive status reports at every stage.
DVDStyler
DVDStyler is free, open-source DVD authoring software that you can use to create DVDs with menu navigation. In addition to supporting multiple input formats, it offers sophisticated features such as custom DVD menus and high-quality video burning. For those who want to make DVDs with personalized menus and professional-looking results at no cost, DVDStyler is ideal because it's user-friendly and flexible. Note, however, that this DVD creator does not support Blu-ray output.
How to Create DVD Using DVDStyler
Now let's get started with DVDStyler. Follow these steps to create your DVD.
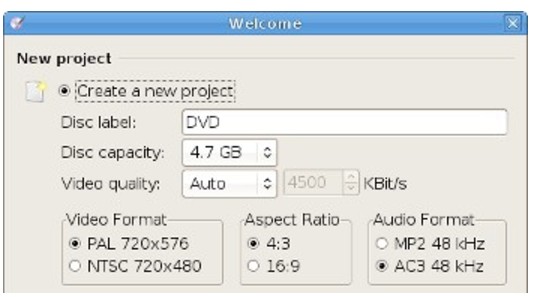
Step 1: Install and launch DVDStyler, then go to "File < New" to start a new project. Then give your disc a label, pick the disc capacity, and select the video standard. Click OK to proceed.
Step 2: Add your video file
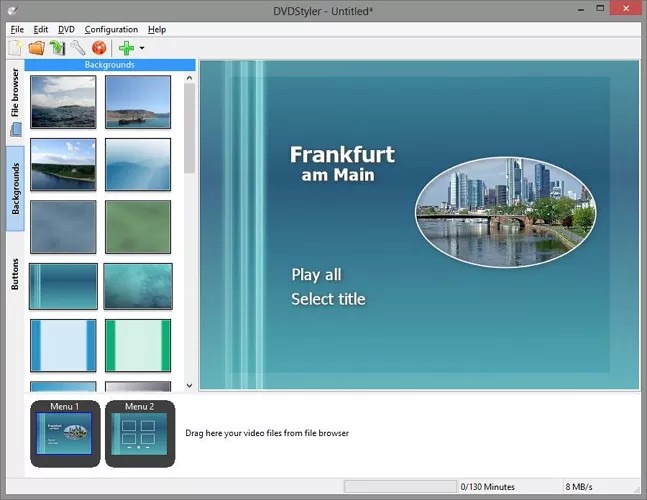
Open the File Browser tab on the left, navigate to your folder, and drag clips onto the Titleset Manager at the bottom; you can also use the file dialog to add media. Keep an eye on the status bar for available disc space as you build the project.
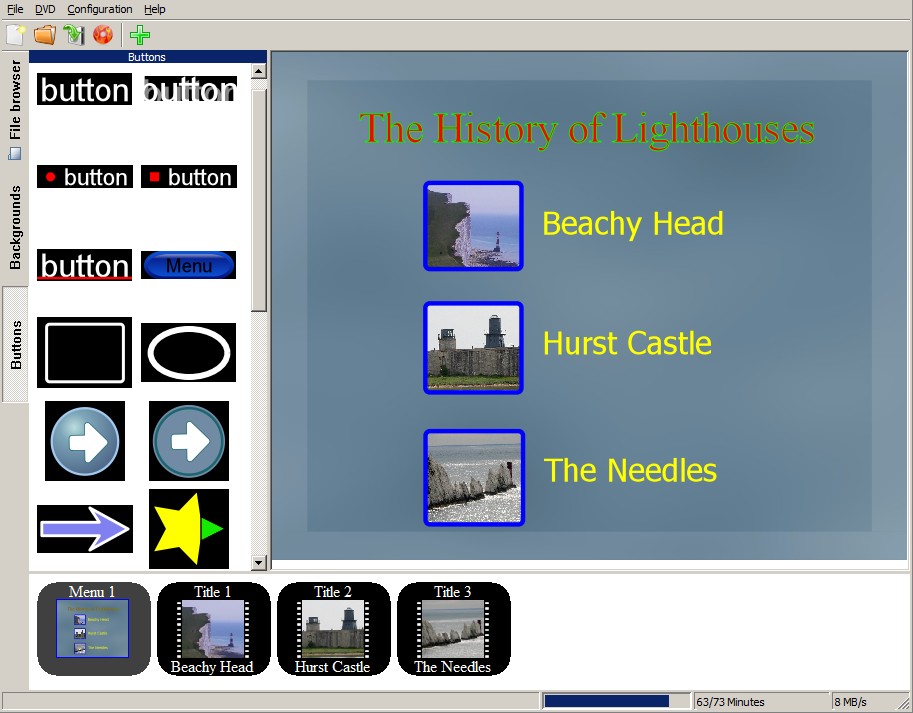
Step 3: Customize the DVD menu (optional)
If you want, you can make a custom DVD menu by choosing a template and make some edits. Choose a background from the Backgrounds tab or double-click your own image from the File Browser. Add a title via right-click "Add < Text", then adjust fonts and position. Drag buttons from the "Buttons" tab into the menu and double-click them to set actions, titles, colors, and fonts; confirm with "OK".
Step 4: Add chapter markers (optional)
Place the playhead where you want a chapter to begin and insert a chapter point. You can later link menu buttons to specific chapters.
Step 5: After you've made changes to the menu or chapters and preview the DVD, you can start burning.
Insert a blank DVD disc into the computer's DVD drive. Then click "Burn" to start the DVD burning process.
Burn
Burn is a free DVD creator aka DVD burner for Mac that burns video and audio files to DVDs. Prior to burning, media files are converted to MP3 and MPG. Besides DVD burning, Burn can also burn Cue/Bin, ISO, DMG and copy disc data and images. Additionally, it's excellent for burning CDs, making audio CDs from your preferred songs.
How to Create a DVD Using Burn
So, how to create a DVD using the Burn app? Follow the below steps to burn and create your disc.
Step 1: Download and install Burn.
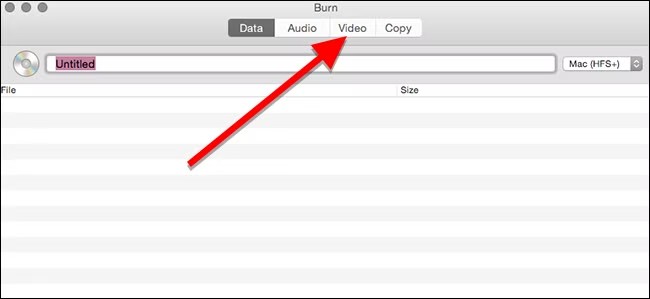
- Open the app and click "Video" on top.
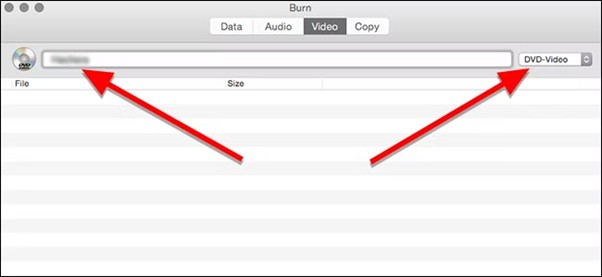
Step 2: Name your disc
- At the top name your disc and select "DVD-Video" from the dropdown on the right.
Step 3: Add a video file
- At the bottom of the window, click the plus(+) symbol. In the window that appears, select the video you want to burn and click Open.

Step 4: Convert the DVD content
- DVDs are in VIDEO_TS and AUDIO_TS folder format. Your videos are probably not in this format so Burn will ask you to convert them. Click Convert to start the process.
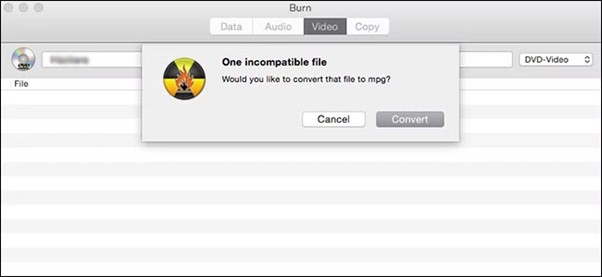
- Burn will show you a progress bar while it converts.
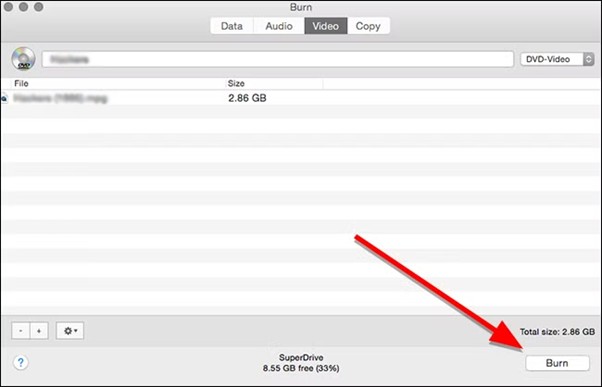
- Once converted, your video will show up in the list of files to be burned.
Step 5: Burn DVD
- Click the Burn button at the bottom right.
- Choose the disc drive to burn to and the speed in the resulting dialogue. Then click Burn.
VideoByte DVD Creator vs. Alternatives
| Features/Products | VideoByte DVD Creator | DVDFab DVD Creator | DVDStyler | Burn |
| Input Format | 300+ | 200+ | MP4, MOV, and AVI | Limited |
| Output Format | Video & Data DVD/ISO/Folder | Video & Data DVD/ISO/Folder | Video & Data DVD/ISO/Folder | Video & Data DVD |
| Conversion Quality | Very High | Very High | High | High |
| GPU Acceleration | Yes | Yes | No | No |
| Conversion Speed | High speed | 50x faster burning speed | Slow speed | High speed |
| DVD Menu Editing | Yes | Yes | Yes | Yes |
| Support New Encrypted Discs | Yes | Yes | No | No |
| Price |
-Free trial |
-Free trial |
Free | Free |
FAQs
Is VideoByte DVD Creator safe?
Downloading VideoByte DVD Creator from its official website is totally safe. Although it may occasionally sent promotional messages, it doesn't pose any security risk. However, downloading a cracked version could infect your computer with malware or allow attackers to steal information stored on your device.
What should I do if the DVD or Blu-ray burning fails?
Failure can happen if the burn speed is too quick; if your software allows it, try lowering the speed to match the disc's capabilities. Problems can also come from the disc itself, so check for scratches or fingerprints. And while burning, avoid running other apps that consume lots of memory to keep performance smooth.
Does VideoByte DVD Creator offer any customization options for the DVD menu?
Yes. VideoByte DVD Creator provides a range of menu presets of different themes (for example, holidays, family, and travel). You can personalize them by changing fonts, background pictures, buttons, and text.
Conclusion
VideoByte DVD Creator is a dedicated burner that burns videos to Blu-ray and DVD discs. It stands out as an option for both novice and expert users for its intuitive interface and comprehensive functions. If you're still undecided after reading this VideoByte DVD Creator review, you can try other best DVD burner software with a free trial first and then make your decision.
 7 Best & Free DVD Menu Creators in 2026: How to Make a DVD Menu on Windows & MacBy Diana Smith - Jul 16, 2026
 How to Make DVDs on Mac and Windows with Easy Steps?By Wenny Yan - Jul 13, 2026
 How to Burn MP3 to DVD: Best Audio DVD Creators Compared (2026)By Wenny Yan - Jul 10, 2026
 How to Burn Video_TS to DVD on Windows and Mac: 4 Methods That WorkBy Diana Smith - Jul 1, 2026