How to Rip DVDs & Blu-ray to iTunes for Free: 3 Methods & Guide
Summary: Looking to rip DVDs or Blu-rays to iTunes and watch on iPhone or Mac? This guide covers three practical ways, from one click utilities to free tools, with the exact settings iTunes and the Apple TV app accept. The article also provides quick steps for converting Blu-ray to iTunes so your entire collection stays in one library.
Table of Contents
If you've switched to an all-Apple setup but still have shelves of DVDs and Blu-ray discs, you're not out of luck. The best way to enjoy these movies on your iPhone/iPad, Mac, or Windows PC is by digitizing them and adding the files to iTunes (or the Apple TV app on Mac). This keeps everything in one organized library, ready for streaming or syncing.
That's why you should learn how to rip DVDs and Blu-rays into iTunes (or the Apple TV app on Mac). The right method not only digitizes DVDs and Blu-rays on your Windows and Mac, but also ensures the files sync smoothly with iTunes and play perfectly on all devices. In this guide, I'll show you three best ways to make it happen—based on tools I've actually tested.
How to Rip DVDs and Blu-rays to iTunes with DVDFab Ripping Software
When it comes to putting DVDs & Blu-ray into iTunes, DVDFab DVD Ripper and DVDFab Blu-ray Ripper are the most complete option I've tried. It doesn't just turn discs into MP4 or M4V files that iTunes accepts, it also gives you control over video quality, audio tracks, subtitles, and file size.
- • Convert DVDs/Blu-rays into over 1000 video and audio formats, all ready for iTunes or the Apple TV app
- • Preserve 1:1 video quality with support for AC3 5.1, or downsize files with lossless compression for smaller devices
- • Remove copy protections including RC, CSS, and APS, ensuring compatibility with both older and newer discs
- • Choose from ready-made profiles such as 4K, 3D, or Passthrough, or fine-tune settings like codec, resolution, frame rate, and bitrate
- • Select preferred audio tracks and subtitles, or embed them permanently into your video
- • Take advantage of GPU acceleration up to 50x faster, plus built-in video editing tools
With these features, DVDFab DVD Ripper and DVDFab Blu-ray Ripper make it simple to build an iTunes library out of your physical collection while keeping full control over how your movies look and sound.
💻For DVDs:
💻For Blu-rays:
Method 1: Transfer to iPhone or Mac by selecting the device
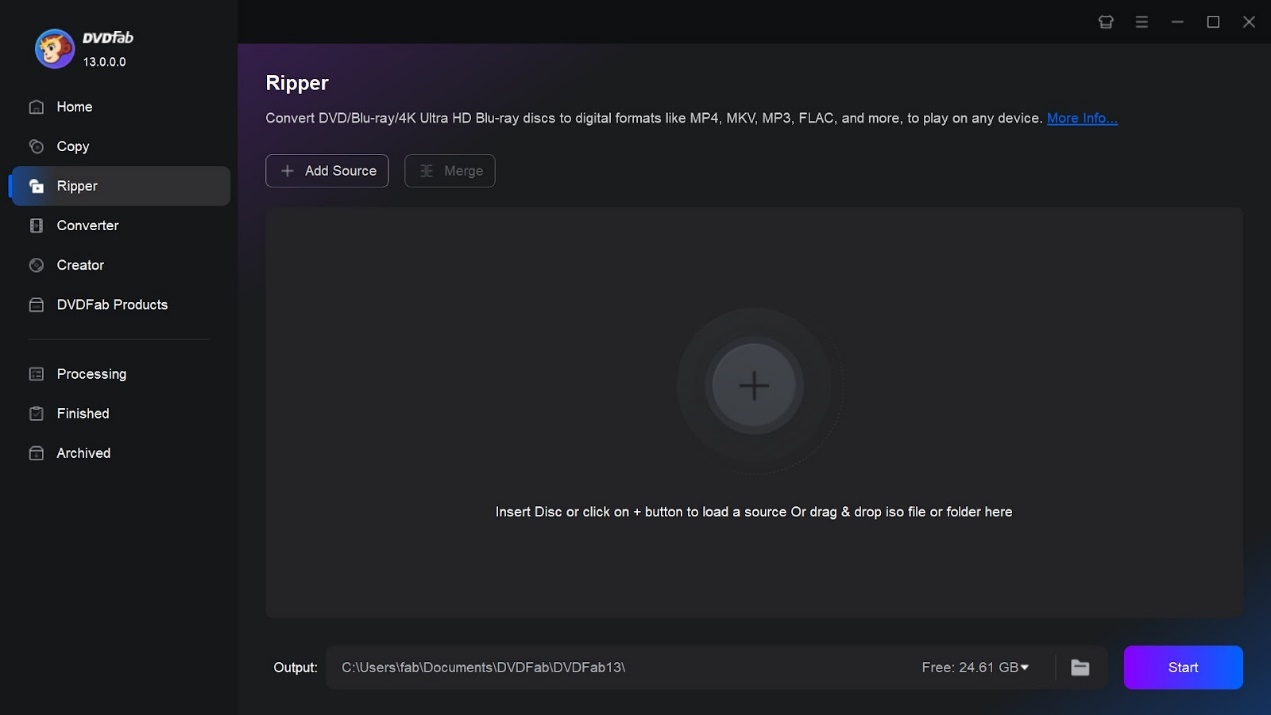
Step 1: To learn how to transfer DVDs/Blu-rays to iTunes, you need to download DVDFab 13. Launch this software on your Windows or Mac system > Select the Ripper module. Then, insert a physical DVD into your system's optical drive. The DVDFab program will automatically recognize and load it.
Step 2: Once the loading is complete, start customizing the output profile, depending on your choice. You can rip the entire DVD or any part of it by selecting the "Choose Other titles". For customization, you can also select audio tracks, subtitles, chapters, add external subtitles, etc.
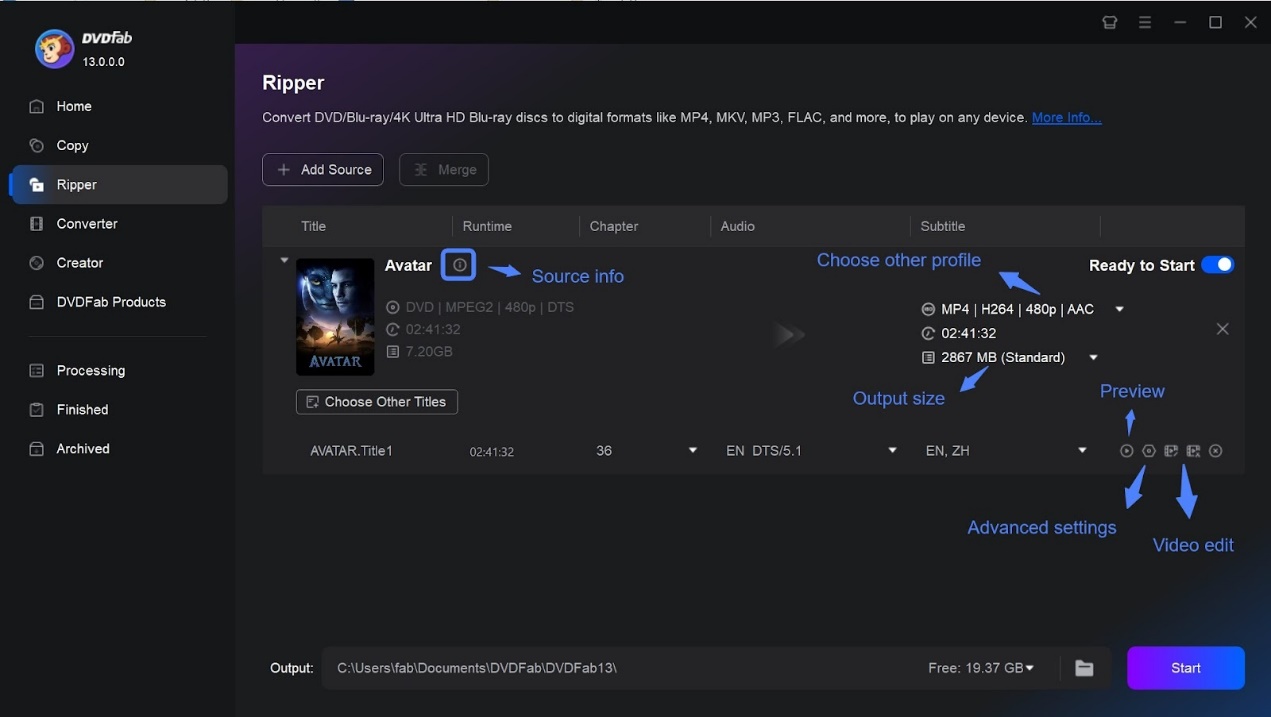
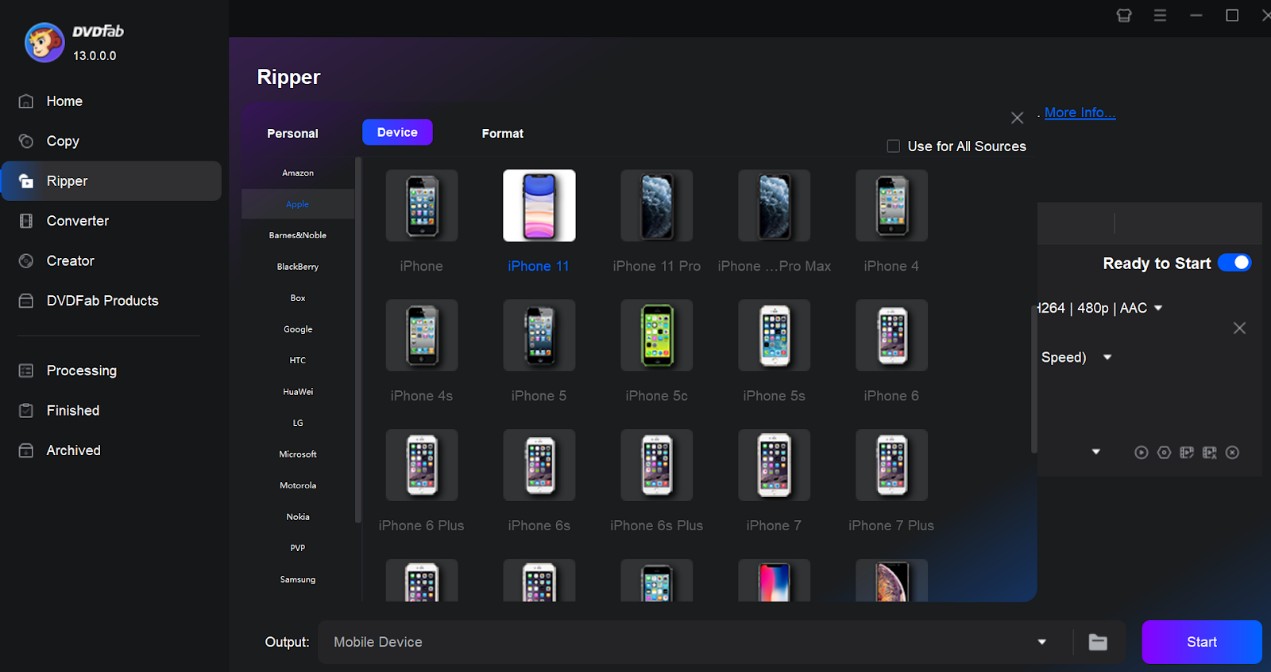
Step 3: To go to the Profile library, you need to select the Choose Other Profile option. Then select the "Device" or "Apple" option to locate your desired iPhone or Mac option as the output profile. This tool supports ripping DVDs to multiple versions of iPhone or Mac.
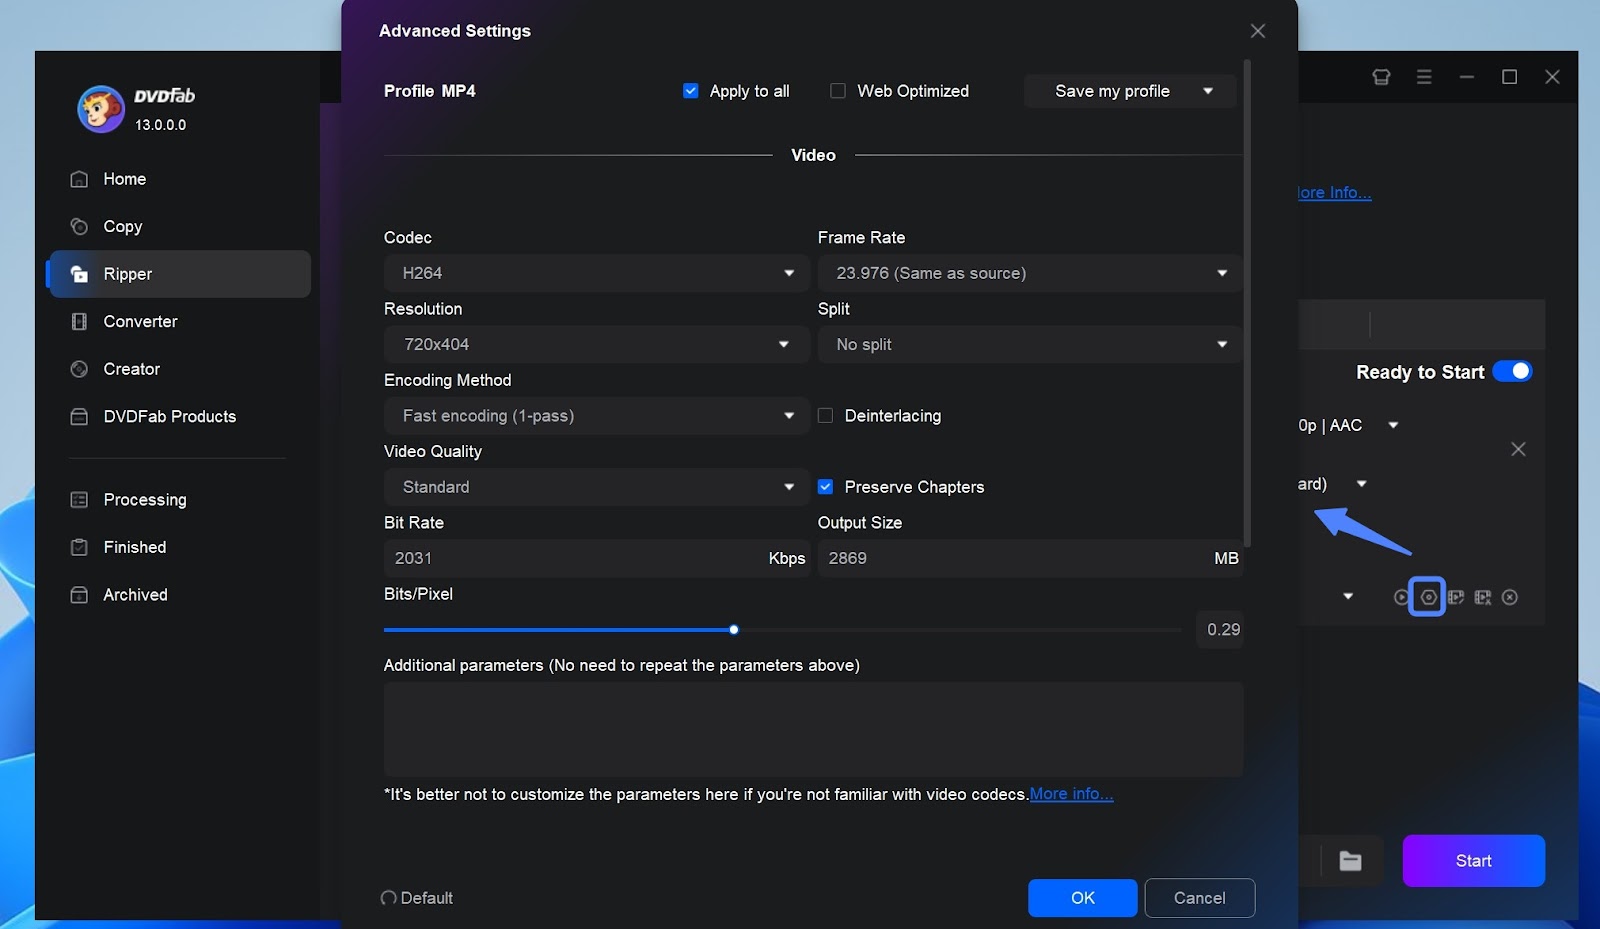
Step 4: Select "Advanced Settings" to customize various audio-video parameters as output profiles. Select output quality as your requirements. For video editing requirements of the output profile, head to the built-in "Video Editor" section to explore various trimming, cutting, cropping, and saturation adjustment functions.
Step 5: Next, select the output directory option. You can save the ripped DVD to your system's hard drive or mobile device. Once done, select the "Start" option to convert the DVD to an iPhone or Mac, depending on what device you have selected before for the lightning-speed conversion.
Method 2: Choose an iTunes Compatible Format
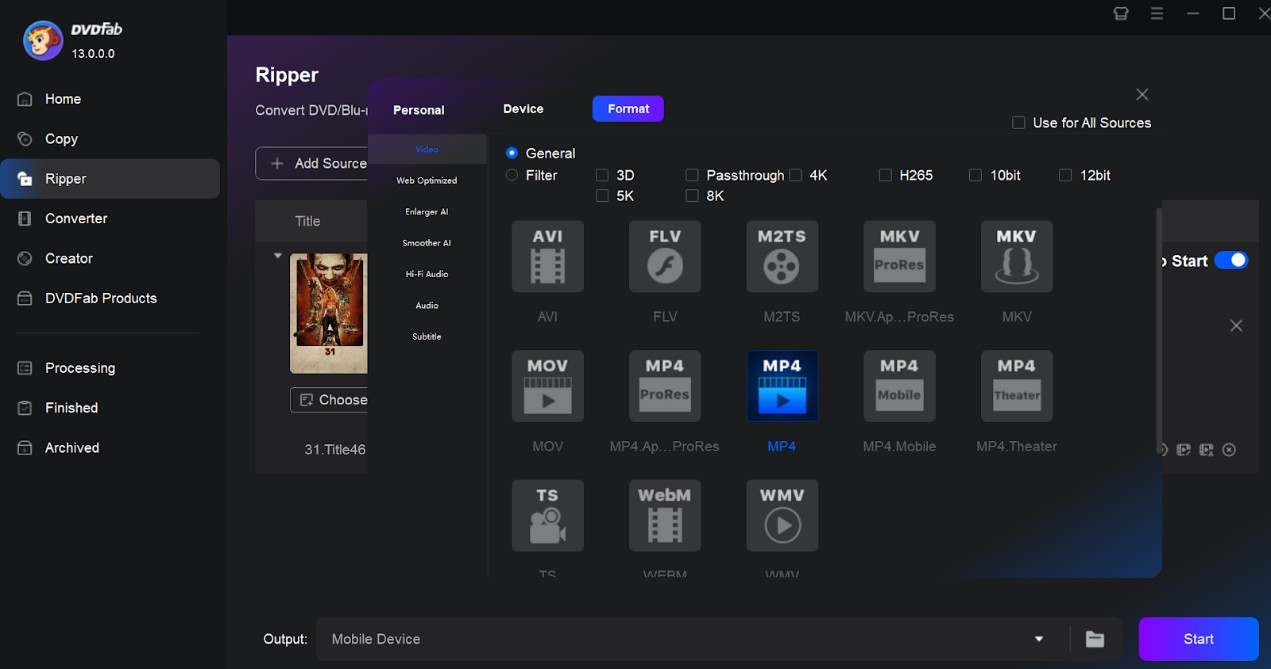
Step: In this method, you have to follow the Method 1 steps from the beginning till to the Choose Other Profile library option. After that, instead of selecting the "Device" or "Apple" option, you need to select the "Format" or "Video" option to rip DVD to MP4 or any other format that is supported by your iPhone or Mac device. After that, you must follow the same steps of Method 1 from Advanced Settings customization until the end.
How to Import DVD Movies into iTunes
Now that you have rip DVDs into an iTunes-compatible format, the final step is to add those files into your media library. The process is slightly different on Windows and Mac. Follow the instructions below.
On Windows (with iTunes)
- Make sure you are running the latest version of iTunes for Windows.
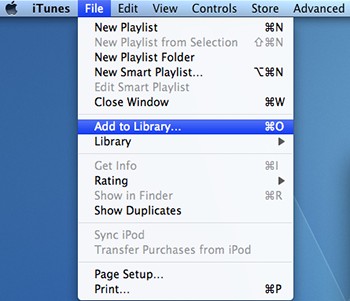
- Press the Alt key to open the menu bar, then go to File > Add File to Library or Add Folder to Library.
- Browse and select the DVD video files you just converted. You can also drag and drop them directly into the Movies section of iTunes.
- Once imported, the movies will appear under Home Videos. You can then sync them to your iOS device through iTunes using Wi-Fi or a USB cable.
on Mac (with Apple TV app and Finder)
Starting from macOS Catalina, iTunes has been replaced by the Apple TV app and device sync happens in Finder.
- Open the Apple TV app on your Mac. From the top menu, choose File > Import, then select your converted DVD movies. They will be categorized under Home Videos.
- Connect your iPhone or iPad via USB cable (or enable Wi-Fi sync). Open Finder, select your device from the sidebar, and click the Movies tab.
- Check the boxes next to the imported Home Videos you want, then click Apply to sync.
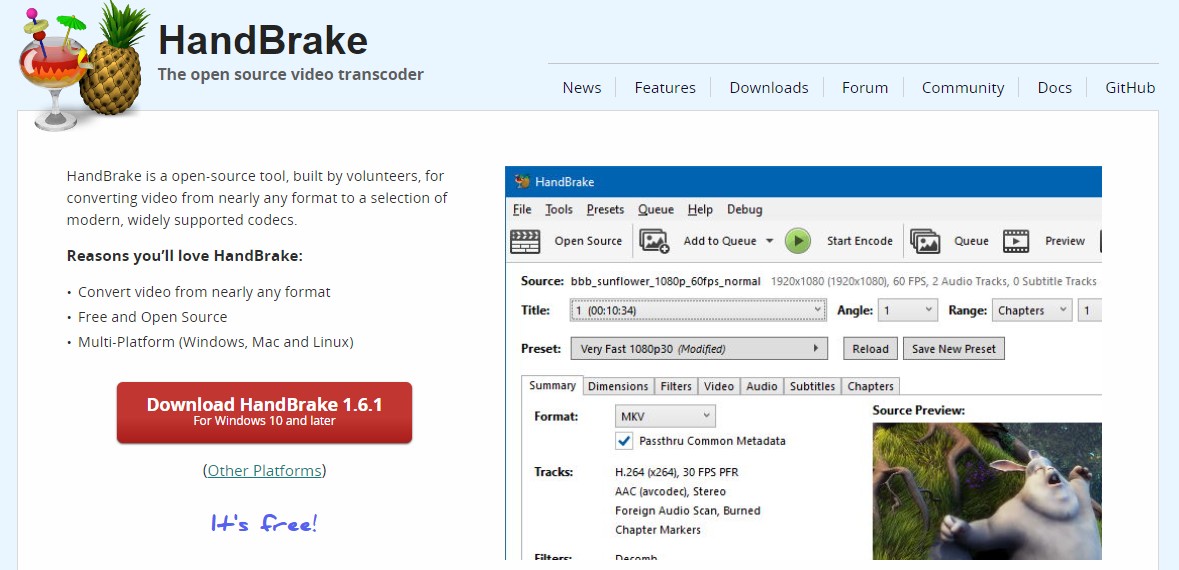
How to Rip DVDs and Blu-rays to iTunes for Free with HandBrake
If you're looking for a free and open-source solution, HandBrake is perhaps the best choice. It is one of the most popular options for converting DVDs into formats that work with iTunes or the Apple TV app. Lightweight and flexible, it is also quite beginner-friendly for those who don't know how to choose output formats and codecs, because it comes with ready-made device presets. There is one important thing to note: HandBrake is unable to bypass copy protections. For commercial discs with advanced encryption, you need additional software before ripping them with HandBrake. If the DVD is protected with basic CSS encryption, you can install libdvdcss and use it together with HandBrake to handle decryption.
Pros of HandBrake:
- Free, open-source, and compatible with multiple operating systems
- Converts DVDs to formats and codecs supported by iTunes, such as MP4/M4V with H.264/H.265 codecs
- Comes with built-in presets optimized for playback on Apple devices, such as Apple 720p
- Lets you choose chapters, chapter markers, and batch queueing
- Offers video filters like deinterlace, denoise, deblock, cropping, and more
Cons of HandBrake:
- It won't work with encrypted commercial discs directly.
- It only has normal filters, not advanced video editing tools.
Steps to Rip DVDs/Blu-rays for iTunes with HandBrake
Step 1: Launch HandBrake on your computer. Insert your DVD. The program will scan the disc immediately.
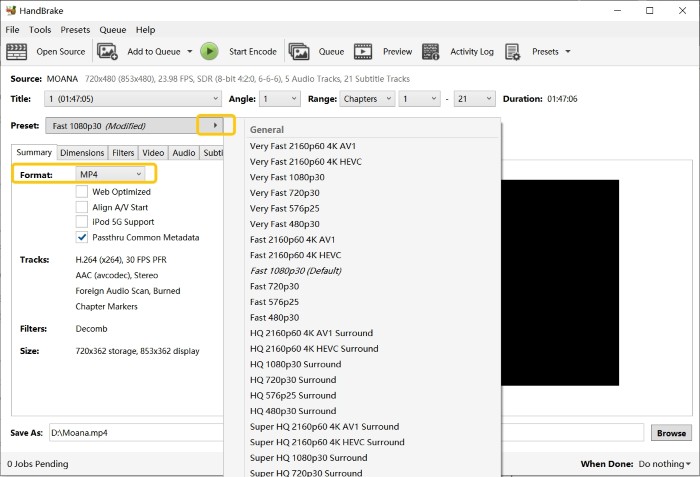
Step 2: Once the layout of DVD titles appears in the interface, go to Presets > Devices and select an Apple-friendly option such as Apple 720p. This ensures compatibility with iTunes and iOS playback.
Step 3: You can adjust settings in the Video and Audio tabs—choose codec (H.264/265), set frame rate, bitrate, or pick subtitle tracks.
Step 4: Once you are done with the Settings, choose an output folder and click Start Encode to begin the conversion. A progress bar will show the remaining time.
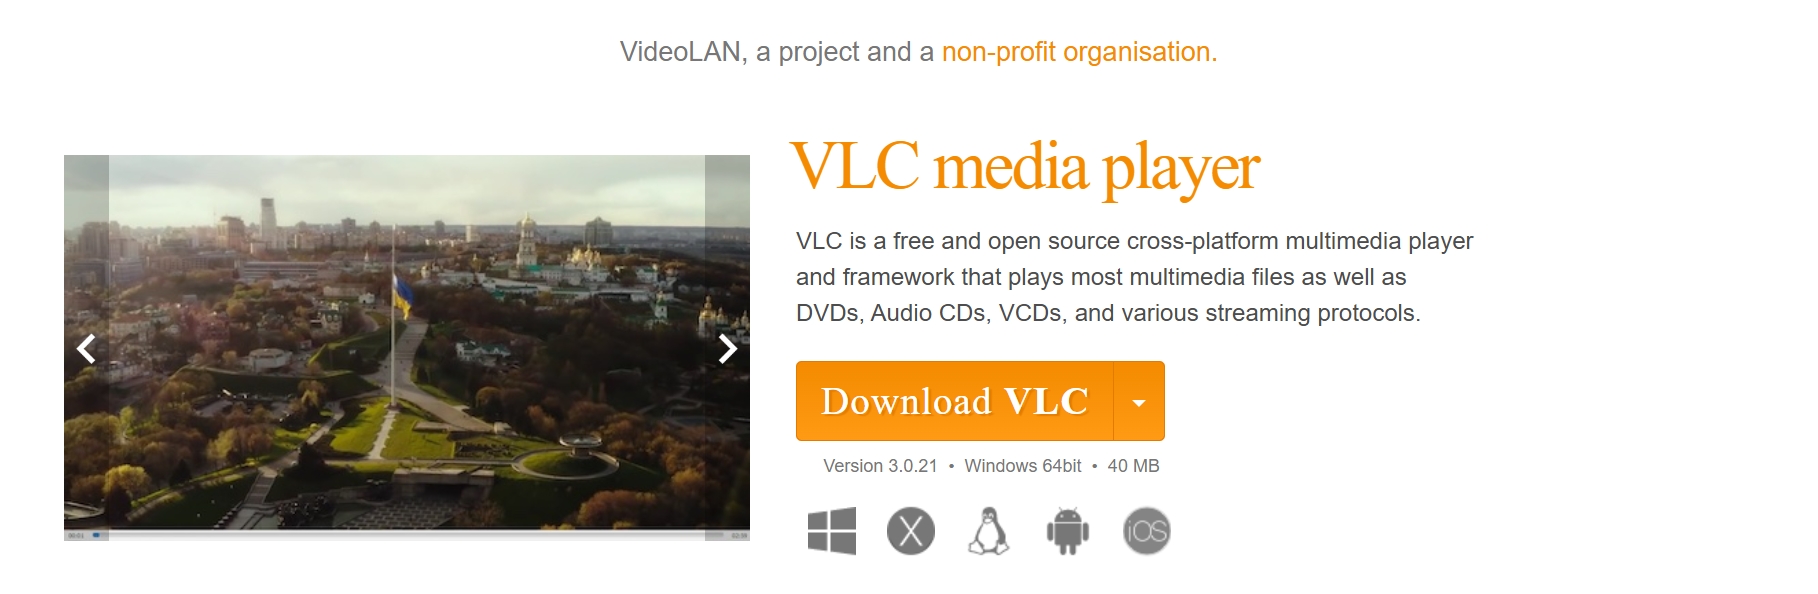
How to Convert DVD and Blu-rays to iTunes with VLC Media Player
People recognize VLC Media Player as a free player that can play practically any audio or video file. But a lot of people don't know that they can rip DVDs with VLC and extract DVD contents into digital formats, like MP4. So it's convenient for you to transfer these videos to iTunes or upload them to the Apple TV program after converting them. This way, you can play your DVD videos on your iPhone, iPad, or Mac without any problems.
But VLC is not a professional ripping program. Its conversion options are quite limited compared with dedicated tools – for example, it cannot handle decryption, and the ripping speed is relatively slow.
Pros of VLC:
- Allows you to rip DVD to MP4 on Mac, Windows, and Linux OS
- Doesn't consume many system resources
- Manages both the re-encoding and playback of DVDs.
- Includes extra functions including screen recording and simple trimming
Cons of VLC:
- Cannot decrypt copy-protected DVDs/Blu-rays directly
- Conversion is slower since there is no GPU acceleration
- Output quality can be inconsistent compared with professional rippers
Steps to Rip DVDs for iTunes with VLC
Step 1: Download VLC and run it on your computer. Then, insert your DVD into the computer's drive.
Step 2: In the top menu bar, click Media and choose Convert / Save. In the pop-up window, go to the Disc tab and make sure your DVD drive is selected.
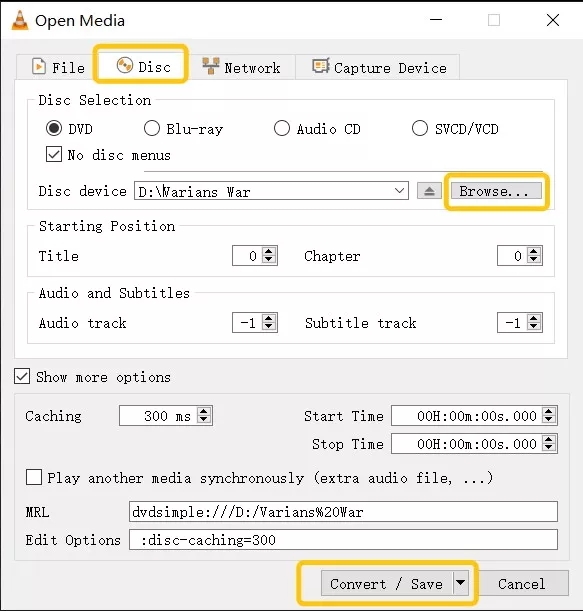
Step 3: In the Convert window, select an iTunes-compatible format, such as MP4 (H.264 + AAC). In the same place, you can also adjust video and audio settings like resolution, bitrate, or audio track.
Step 4: Click Browse to choose where the converted video will be saved and give the file a name. Once everything is set, click Convert / Save to start ripping.
When the process finishes, open iTunes (Windows) or the Apple TV app (Mac), go to File > Add to Library, and import the MP4 file. You can then sync it to your iPhone or iPad through iTunes or Finder.
FAQs About Ripping DVDs and Blu-rays to iTunes
Use an MP4 or M4V container with H.264 for maximum compatibility, or HEVC/H.265 for smaller files on newer devices, and set the audio to AAC or AC-3 (choose 5.1 surround sound if it's available).
DVD: 480p (or upscale to 720p) with a modest bitrate for space savings. Blu-ray: 1080p is a great balance; raise bitrate for high-motion titles. Use HEVC if storage is tight and devices support it.
Conclusion
If you want your movies within easy reach on iPad/iPhone, Mac, or PC, the most practical route is to convert your discs to iTunes/Apple TV–friendly files and add them to a single library. DVDFab DVD Ripper gives you fine-grained control over quality (H.264/HEVC), subtitles, and audio so playback is smooth across Apple devices. And if you own Blu-ray titles, use DVDFab Blu-ray Ripper following the Blu-ray quick guide in this article to convert them to the same formats and library, keeping your DVD and Blu-ray collection unified—so everything plays from one place.
 How to Convert ISO to MKV: Lossless Remux vs H.265 Re-encodeBy Wenny Yan - Jun 3, 2026
 How to Compress ISO Files: 4 Methods for Storage, Playback, and ArchivesBy Diana Smith - Jun 2, 2026
![How to Convert DVD to AVI Free and Easily [2026 Updated]](https://r6.dvdfab.cn/upload/resource/en/dvd-to-avi-QL6y.jpg) How to Convert DVD to AVI Free and Easily [2026 Updated]By Diana Smith - Jun 2, 2026
How to Convert DVD to AVI Free and Easily [2026 Updated]By Diana Smith - Jun 2, 2026![Top 12 DVD to MP4 Converter Software for Win & Mac [2026 Tested]](https://r3.dvdfab.cn/upload/resource/convert-dvd-to-mp4-p2X3.jpeg) Top 12 DVD to MP4 Converter Software for Win & Mac [2026 Tested]By Diana Smith - May 22, 2026
Top 12 DVD to MP4 Converter Software for Win & Mac [2026 Tested]By Diana Smith - May 22, 2026