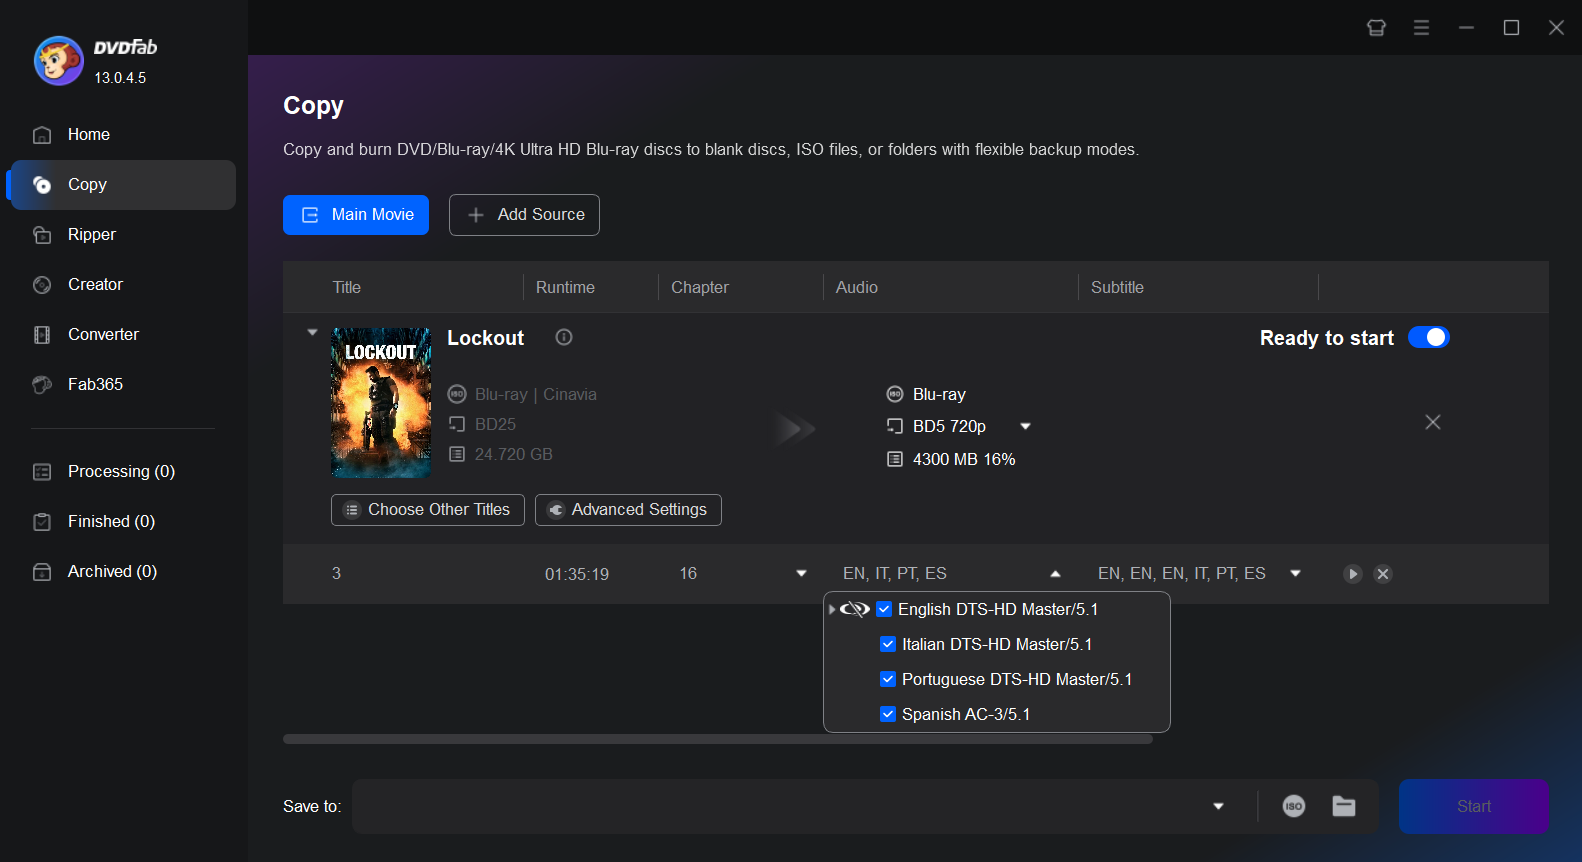
Step 2. Select the Cinavia-protected audio track for removal
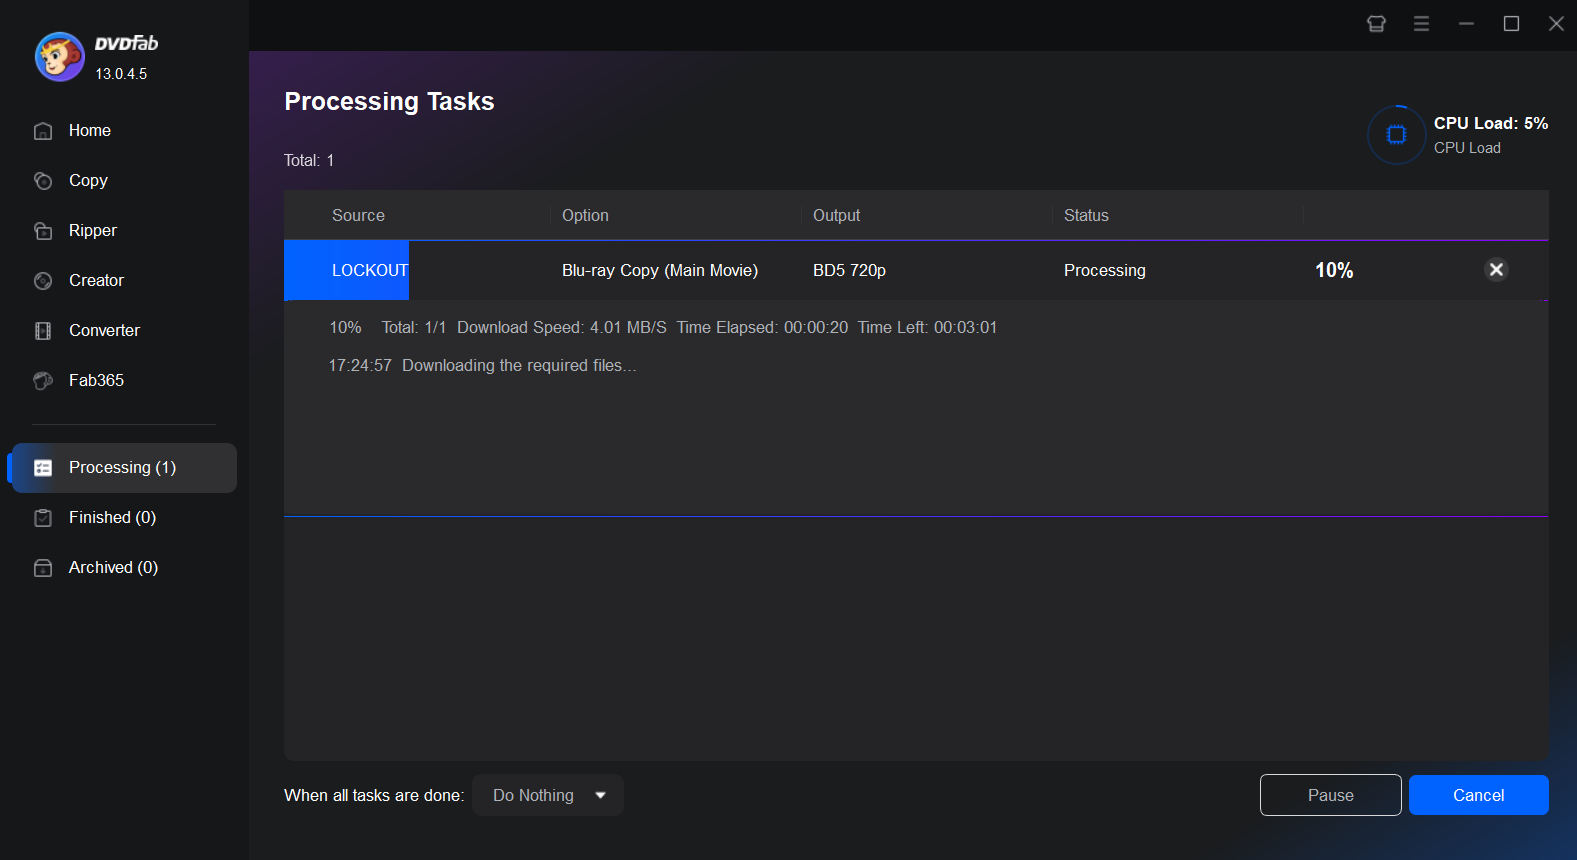
In the audio selection box, choose the audio track affected by Cinavia protection. Then, click the Cinavia logo until a red slash appears across it, indicating that the removal feature is enabled. Select the desired output size (BD-50 or BD-25), and specify the output path to begin the backup process.
If you are using Blu-ray to DVD Converter, you can further personalize the output DVD by customizing the playback menu, playback mode, volume label, and more.


 How to Remove Cinavia Protection on Blu-ray: Fix Message Code 3By Wenny Yan - Dec 11, 2025
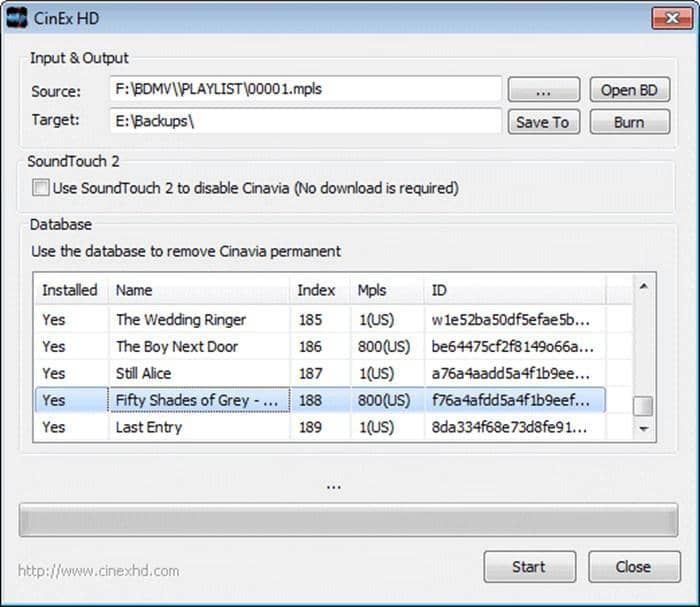 Reviews on CinEx HD Utility and DVDFab Cinavia RemovalBy Diana Smith - Dec 9, 2025
![How to Remove Copy Protection from DVD Easily [2026 Update]](https://r5.dvdfab.cn/upload/resource/en/remove-dvd-copy-protection-gAlQ.jpg) How to Remove Copy Protection from DVD Easily [2026 Update]By Diana Smith - Apr 30, 2026
How to Remove Copy Protection from DVD Easily [2026 Update]By Diana Smith - Apr 30, 2026