


Tips & Tricks for Easy DVD Ripping
![How to Convert DVD to MP4: 12 Best & Free Methods [2025]](https://c3.dvdfab.cn/upload/resource/convert-dvd-to-mp4-p2X3.jpeg) DianaMar 26, 2025
DianaMar 26, 2025How to Convert DVD to MP4: 12 Best & Free Methods [2025]
Converting DVD to MP4 lets you enjoy your favorite movies on a tablet, smartphone, or TV. This article reviews the 12 best free converters for 2025, enabling you to back up and rip DVDs to MP4 or other popular digital files with just a few clicks.
 DianaMar 6, 2025
How to Convert ISO to MP4 Free on Win & Mac? Try the 8 Best Ways
This article will guide you on how to convert ISO to MP4 formats, enabling you to enjoy your preferred media seamlessly on any device. Check the following 8 best ISO to MP4 converters including free and online tools and choose your preferred one.
 DianaApr 26, 2025
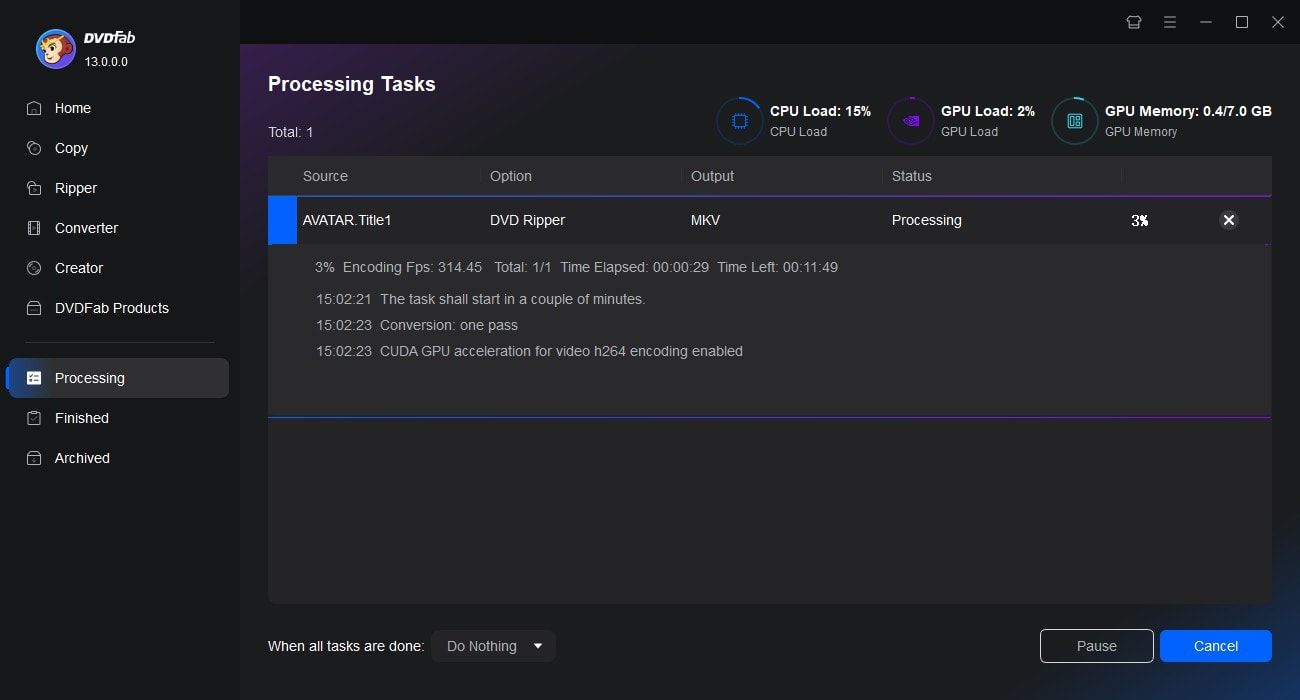
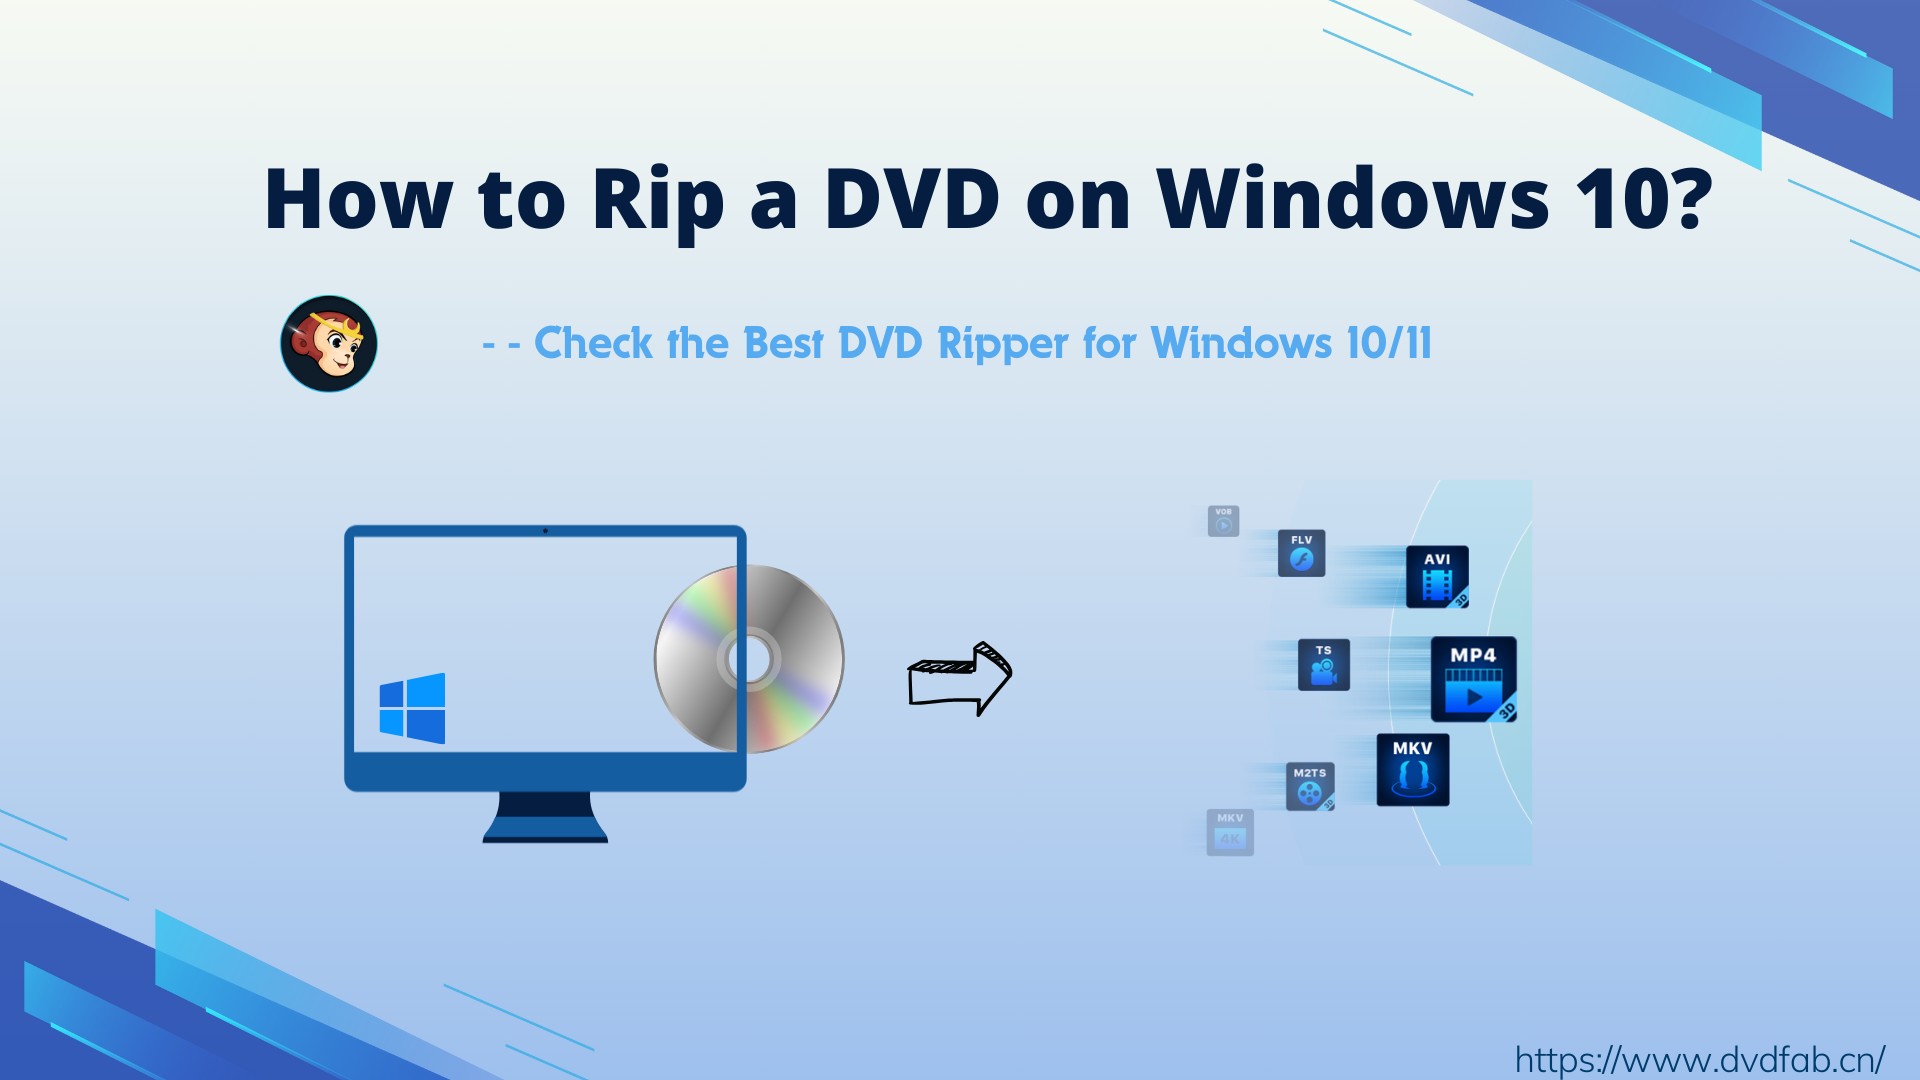
8 Free DVD Rippers for Windows 10/11: Best Tools & Step-by-Step Guide
How to rip a DVD on Windows 10 so that you can enjoy your favorite movies on your computer or mobile device? This article lists the best DVD rippers for Windows 10/11/8/7 and guides you through the entire process step by step.