
 Unlock 5x Speed Recording: How RecordFab Redefines Efficiency
Seeking a faster, more reliable way to archive long-form videos? 5x video recording leverages browser cache capture, GPU acceleration, and advanced asynchronous processing to deliver efficient, high-quality results for streaming media, courses, and webinars across academic, professional, and creative fields.
By Yuki - Aug 25, 2025
 How to Download Disney Plus Movies on Laptop/PC in 2025 (HDR Support)
Disney Plus official app does not open the download function for laptop users, but we can still achieve this by using an assistant tool. This post will guide you in details on how to download movies from Disney+ on your laptop.
By Jacob - Aug 7, 2025
 How to Download Netflix Episodes on Any Device in 2025 (Official & Alternatives)
Want to binge your favorite Netflix series offline while traveling or commuting? Depending on your device, Netflix offers different ways to download episodes—but with some recent changes, things are no longer as simple, especially on PC or Mac. This guide walks you through the latest official methods, explains what’s changed, and introduces alternative download tools when needed.
By Jacob - Jul 21, 2025
 The Real StreamFork Review: Is It Worth to Purchase?
StreamFork is an OnlyFans downloader (formerly OnlyFans-DL) that supports DRM videos and mobile downloads but limits free users to 720p resolution and requires payment for batch downloads. A better alternative is StreamFab OnlyFans Downloader, which offers 1080p quality, batch/auto-downloads, and more stable performance without restrictive paywalls.
By Jacob - May 8, 2025
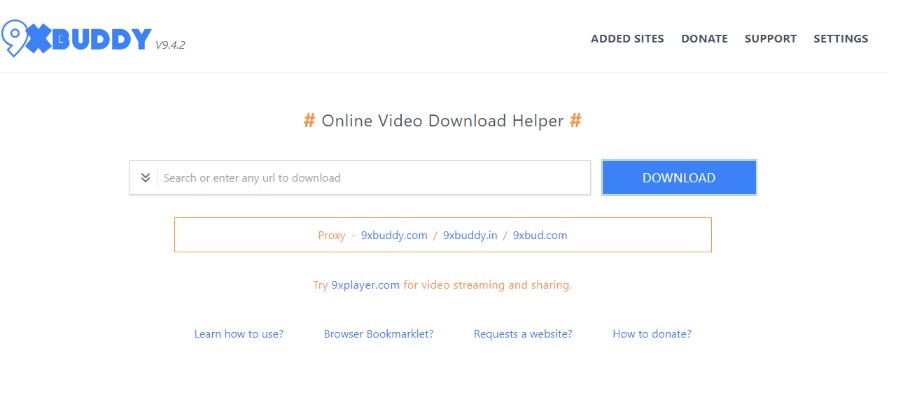 All About 9xbuddy Downloader Review, Alternatives & Comparison
When offline streaming is not an option but a compulsion to save internet expenses, 9xbuddy downloader offers maximum support to save any online video from various websites.
By Jacob - Jan 14, 2025
 TOP 8 Verified Amazon Video Downloader Reviews | Win & Mac 2025
The market is flooded with a multiple Amazon video downloader options, how can one choose the most cost-effective one? This article will provide a detailed evaluation and comparison.
By Nicole - Jan 9, 2025
 Download Album for Free: Top 15 Album Downloaders With Features [2025]
When the web world is an ocean of musical orchestras, download albums for free for your internet & device dependency-free offline listening.
By Jacob - Dec 31, 2024
 CleverGet OnlyFans Downloader Review: Safety & Purchase Value
CleverGet OnlyFans Video Downloader is an invaluable tool designed for downloading videos from OnlyFans. In this article, we will meticulously explore its advantages and disadvantages, reviews, personal impressions after use, and its overall worth.
By Erika - Dec 16, 2024