What is HandBrake Web Optimized and Anamorphic: Details and Guide
Summary: HandBrake has two settings that are easy to confuse: Web Optimized and Anamorphic. Web Optimized is for MP4/M4V fast start, so it is worth enabling when the video will be played from a website, CDN, cloud link, or browser. Anamorphic is for display shape, especially with DVD sources that may look stretched or squeezed after conversion. Use Web Optimized for online MP4 playback; adjust Anamorphic only when the output aspect ratio needs to stay correct.
Table of Contents
Two HandBrake settings often look minor until the output video behaves differently from what you expected. An MP4 may take too long to start when opened from a browser link, or a DVD conversion may come out with people looking too narrow or too wide. In those cases, the settings I check first are Web Optimized and Anamorphic.
They do not solve the same problem, and turning on the wrong setting will not fix a slow-starting web video or a stretched DVD rip. In this article, I will show what are HandBrake Web Optimized and Anamorphic, when it is worth using, and how to set them without mixing up playback speed, file size, and display shape.
What is Handbrake Web Optimized?
HandBrake Web Optimized means that HandBrake writes an MP4 or M4V file in a layout that is easier to start playing over the web. In a normal MP4, some playback information may sit near the end of the file. With Web Optimized enabled, that information is placed near the front, so a browser or online player can begin playback sooner.
This setting is also known as Fast Start. It does not re-edit the video, change the resolution, improve sharpness, or choose a smaller bitrate. It mainly changes where the MP4 playback metadata is stored.
HandBrake Web Optimized or Not: When Should You Enable It?
Enable Web Optimized when the finished file is an MP4 or M4V that people will play online. It is useful for self-hosted videos, website uploads, CDN delivery, online lessons, client previews, and cloud links that open in a browser.
| Scenario | Use Web Optimized? | Reason |
| Uploading an MP4 to a website or CDN | Yes | The video can start sooner during progressive playback. |
| Sharing an MP4 through a browser-based cloud link | Yes | The viewer may not need to wait for the whole file to download. |
| Embedding a video on a landing page or course page | Yes | Fast start helps the playback feel more responsive. |
| Keeping the file on a computer, USB drive, or local NAS | Usually no | Local playback does not depend on web-style progressive download. |
| Exporting to MKV or WebM | No | HandBrake’s Web Optimized option is for MP4/M4V-style fast start. |
| Uploading to a platform that re-encodes videos | Optional | The platform may process the file again, so this setting may not be the deciding factor. |
My practical rule is simple: if the final MP4 will be opened from a web page or browser link, I turn Web Optimized on. If the file is only for local playback, I do not spend time on this setting.
How to Use the HandBrake Web Optimized Feature?
To use this feature, you must need to download and install the tool on your Windows, Linux, or Mac device. Once you are done installing, open it and follow the below steps to use this feature.
Step 1: Open HandBrake
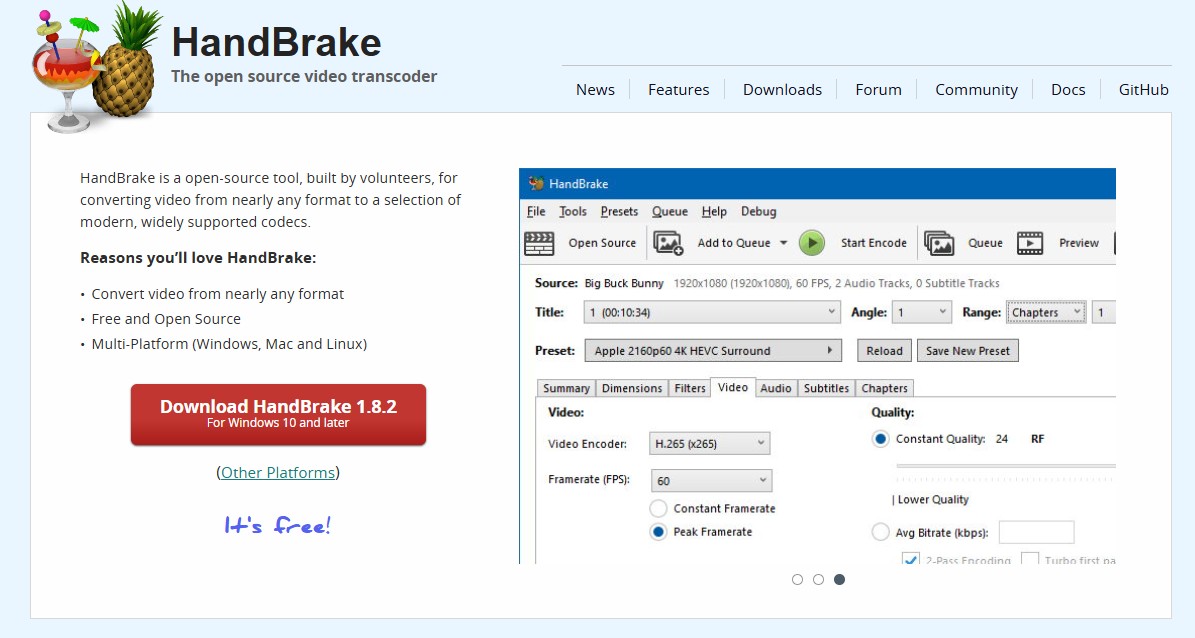
Launch HandBrake on your computer.
Step 2: Load Your Video Source
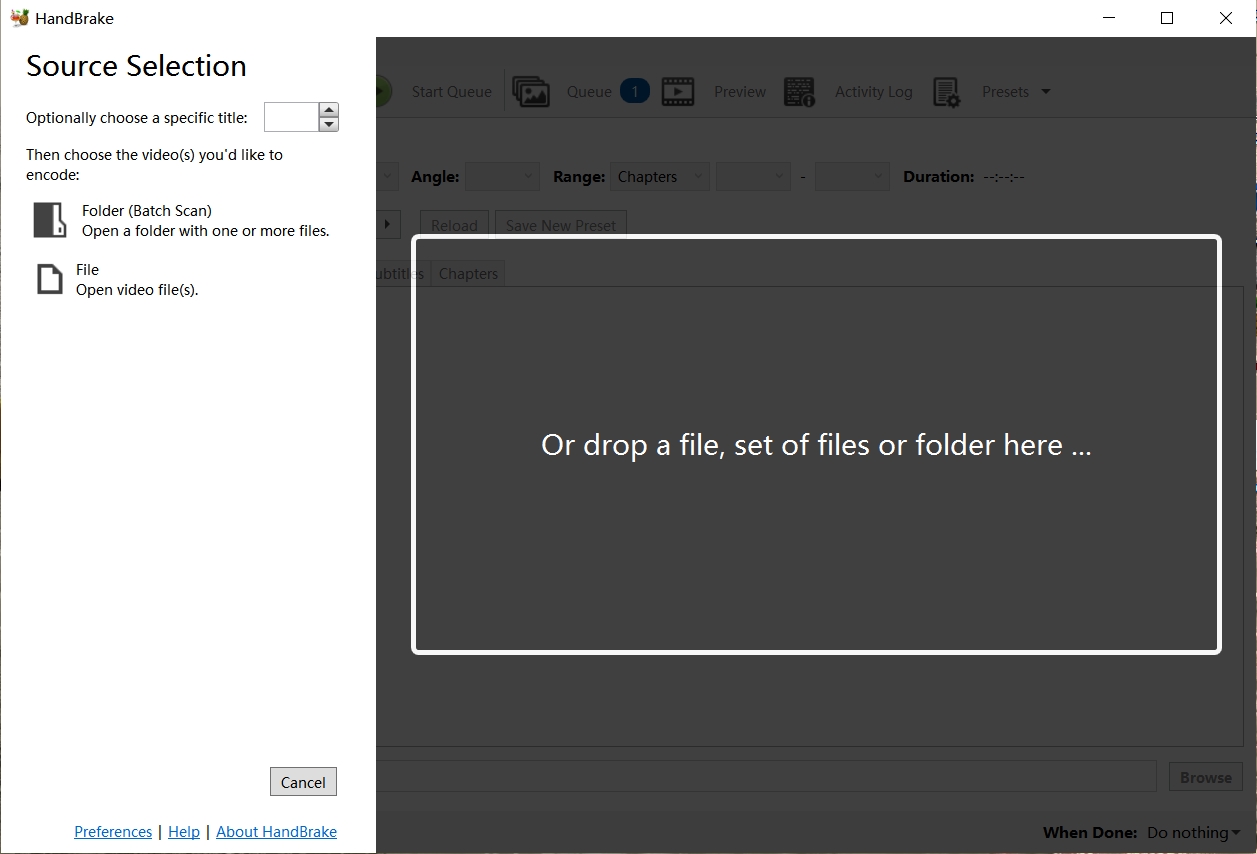
Click on the "Open Source" button to select the DVD, video file, or folder you want to process.
Step 3: Choose a Preset
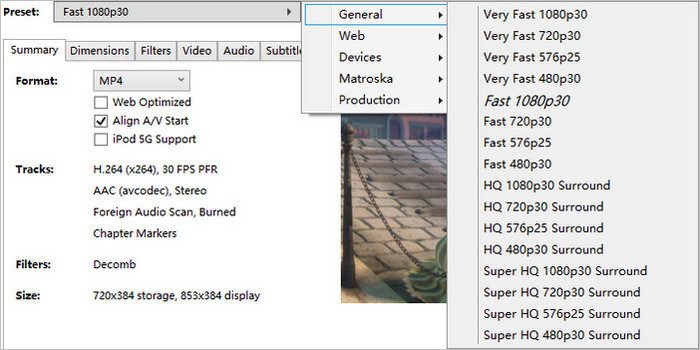
On the right side of the interface, select a preset that suits your needs. For example, you can choose a preset like "Fast 1080p30" for high-quality video output.
Step 4: Adjust Output Settings
Under the "Summary" tab, you'll see several options. Ensure you select the desired output format (e.g., MP4 or MKV).
Step 5: Enable Web Optimized
Scroll down in the "Summary" tab and check the "Web Optimized" box.
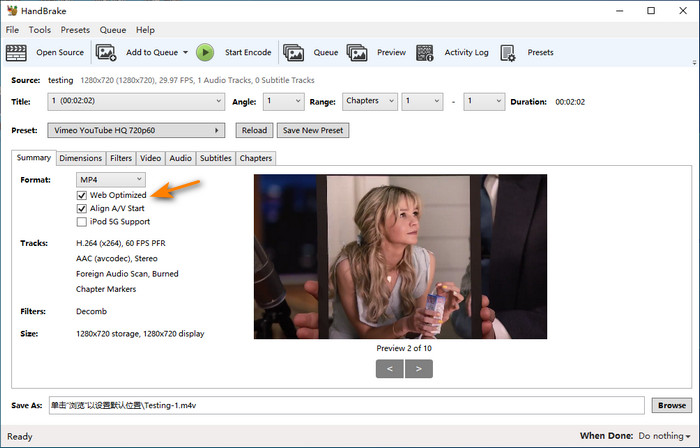
This option rearranges the file structure so the video can start streaming more quickly when hosted online, by placing the metadata at the beginning of the file.
Step 6: Select Destination
Click on "Browse" next to the "Save As" field to choose the destination folder and name for the output file.
Step 7: Start the Conversion
Click the Start Encode option to start optimizing and transcoding video for web.
What is Handbrake Anamorphic?
HandBrake Anamorphic controls how a video's stored pixels are displayed on screen. This is most common with DVD sources. A DVD may store a widescreen movie in a narrower frame, then use display information to stretch it back to the correct shape during playback.
Anamorphic helps prevent a movie from looking squeezed, stretched, or shaped incorrectly after conversion. If your source already uses square pixels and looks correct, you may not need to change this setting. If you are converting an older DVD or a source with non-square pixels, Anamorphic can help preserve the intended display aspect ratio.
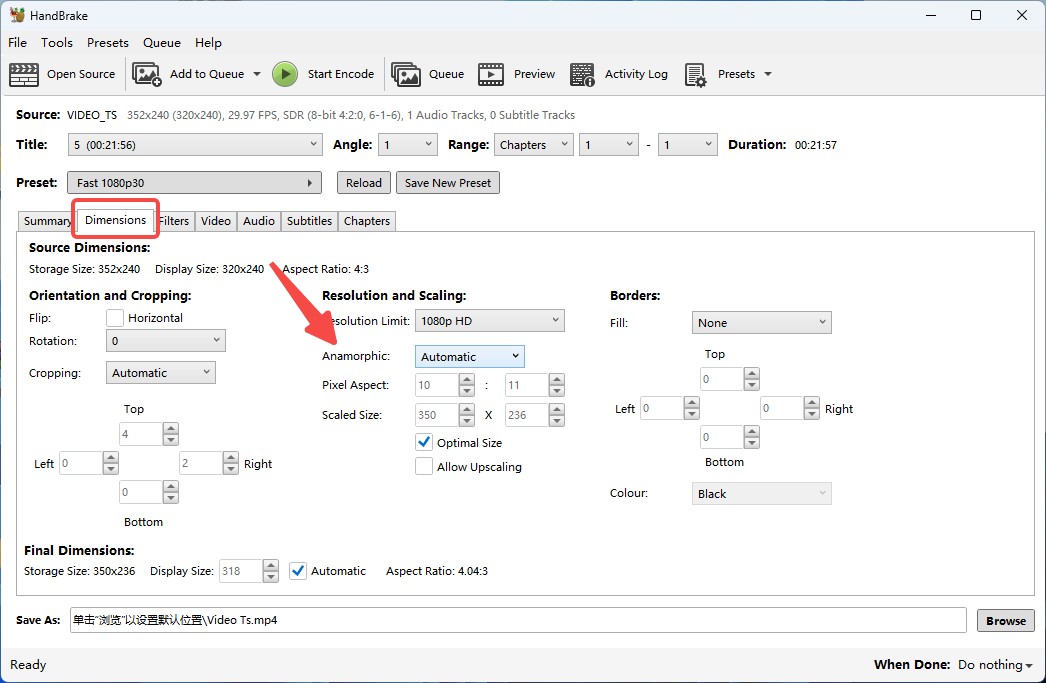
How to Use HandBrake Anamorphic Settings
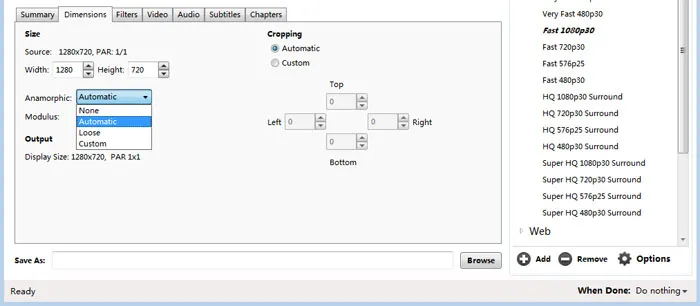
Open the Dimensions tab in HandBrake to find the Anamorphic setting. The exact options may vary by version, but you will usually see choices such as None, Automatic, Loose, and Custom.
- Automatic: A safe choice for most users. HandBrake chooses settings that preserve the source’s intended display shape.
- Loose: Useful when you want HandBrake to keep the correct aspect ratio while rounding dimensions to values that work well with the encoder.
- None: Turns off anamorphic display handling. Use it only when you are sure the output should use square pixels and the displayed shape is already correct.
- Custom: Lets experienced users set the storage size, display size, and pixel aspect behavior manually.
For most DVD conversions, I would start with Automatic. If the output looks stretched or the dimensions look unusual, encode a short preview before converting the whole video.
Web Optimized vs Anamorphic: What Is the Difference?
Web Optimized and Anamorphic are easy to mix up because both appear in HandBrake settings, but they solve different problems.
| Setting | Where you see it | What it changes | When it matters |
| Web Optimized | Summary tab | MP4/M4V file layout for faster web start | Online playback, website hosting, CDN, browser links |
| Anamorphic | Dimensions tab | Pixel aspect ratio and display shape | DVD sources, widescreen video, stretched or squeezed output |
If your question is whether a hosted MP4 starts quickly in a browser, look at Web Optimized. If your question is why a DVD rip looks too narrow, too wide, or stretched, look at Anamorphic and the Dimensions settings.
Bonus: Use DVDFab DVD Ripper to Change DVD Video Parameters
HandBrake's Web Optimized and Anamorphic settings are useful, but they can be difficult for many users to judge correctly, especially when the output involves web playback, DVD aspect ratio, subtitles, audio tracks, or device compatibility. If you prefer a more visual interface with ready-made format and device profiles, DVDFab DVD Ripper can be a simpler option for DVD conversion.
DVDFab DVD Ripper lets you choose preset formats and device profiles, so you can convert a DVD without manually adjusting every video parameter. If you need more control, you can still customize settings such as resolution, codec, frame rate, quality, audio tracks, and subtitles in Advanced Settings. DVDFab is a reliable DVD Ripper that can help you convert any protected DVDs with ease.
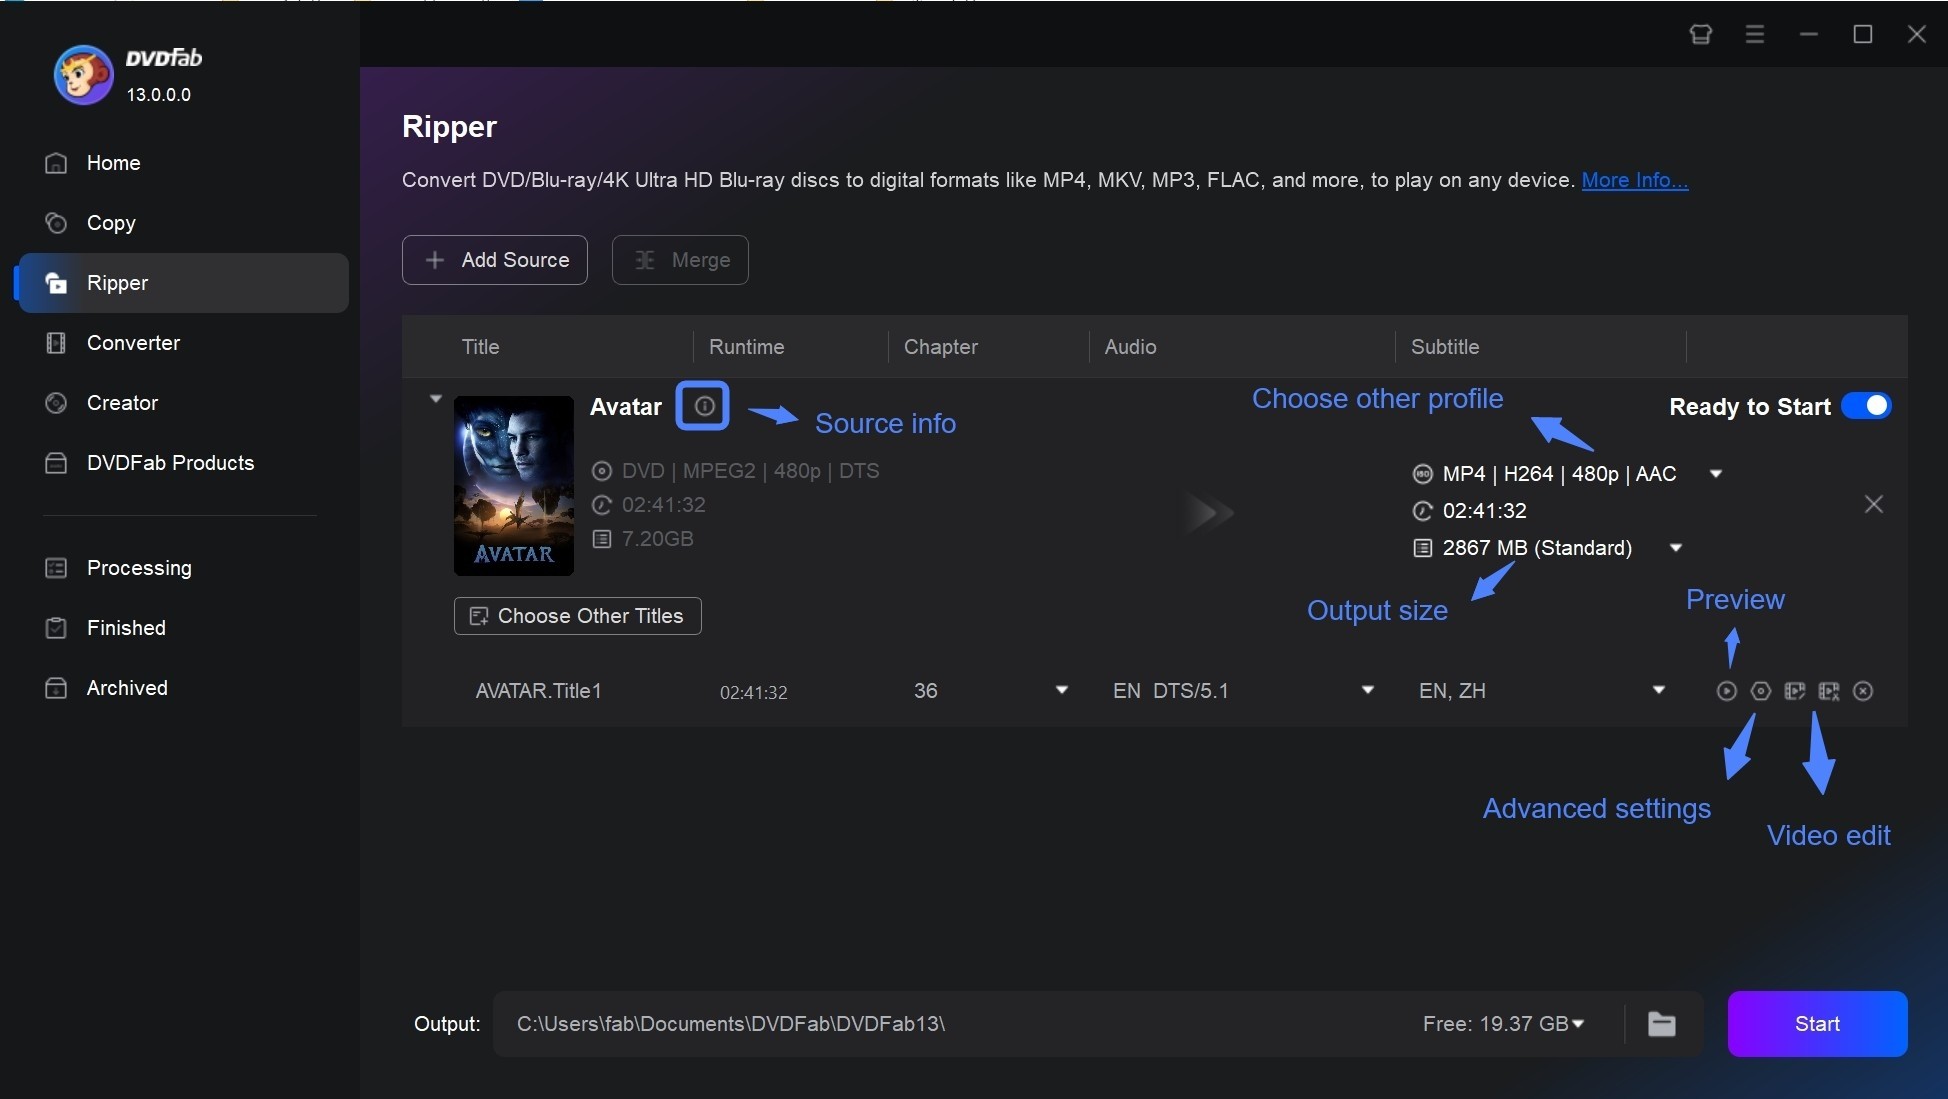
Step 1: Download and install DVDFab 13
Open DVDFab and click the Ripper module on the main screen. Load a DVD disc, ISO file, or VIDEO_TS folder. You can click the + button, drag and drop the source, insert a DVD into the drive, or use the Add option.
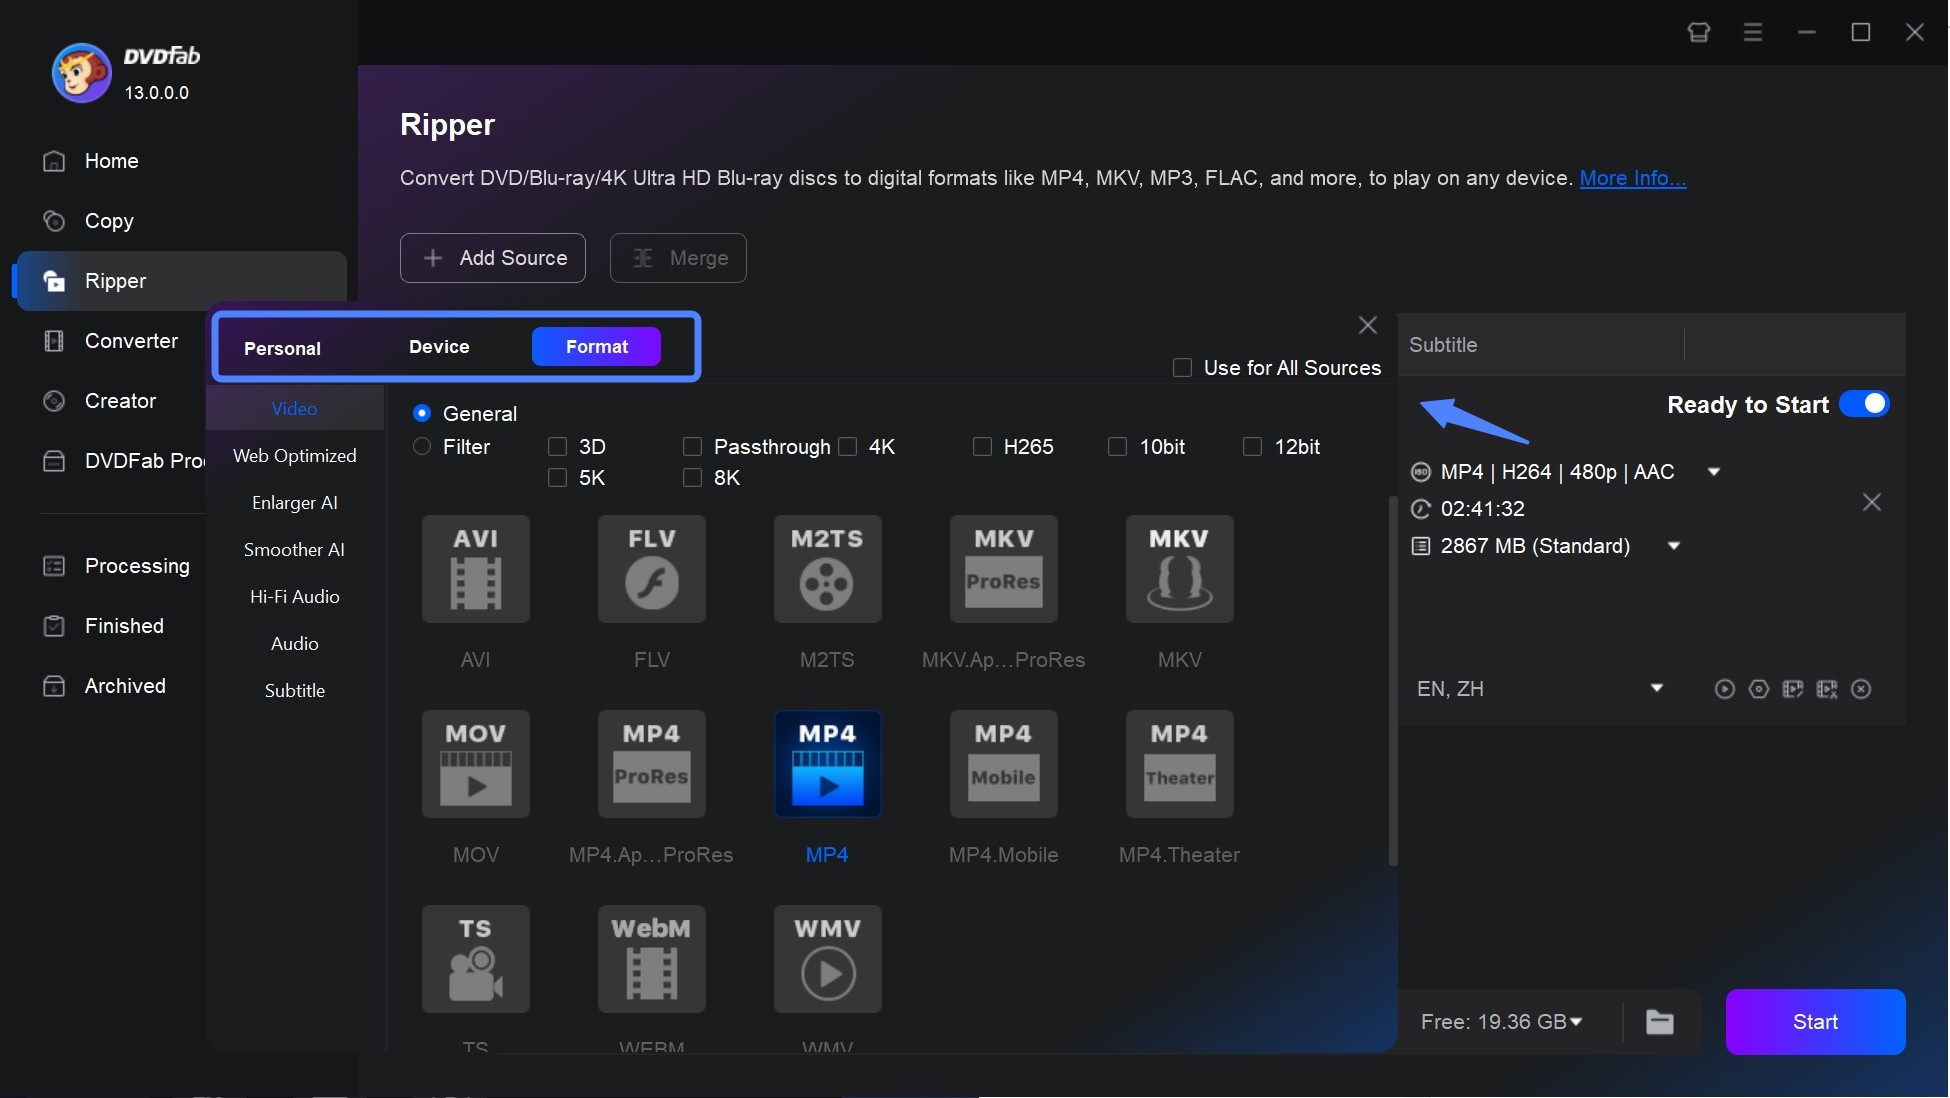
Step 2: Choose an output profile
Click Choose Other Profile and select the output format or device profile you need. You can convert DVD to digital files such as AVI, MKV, MP4, and WMV.
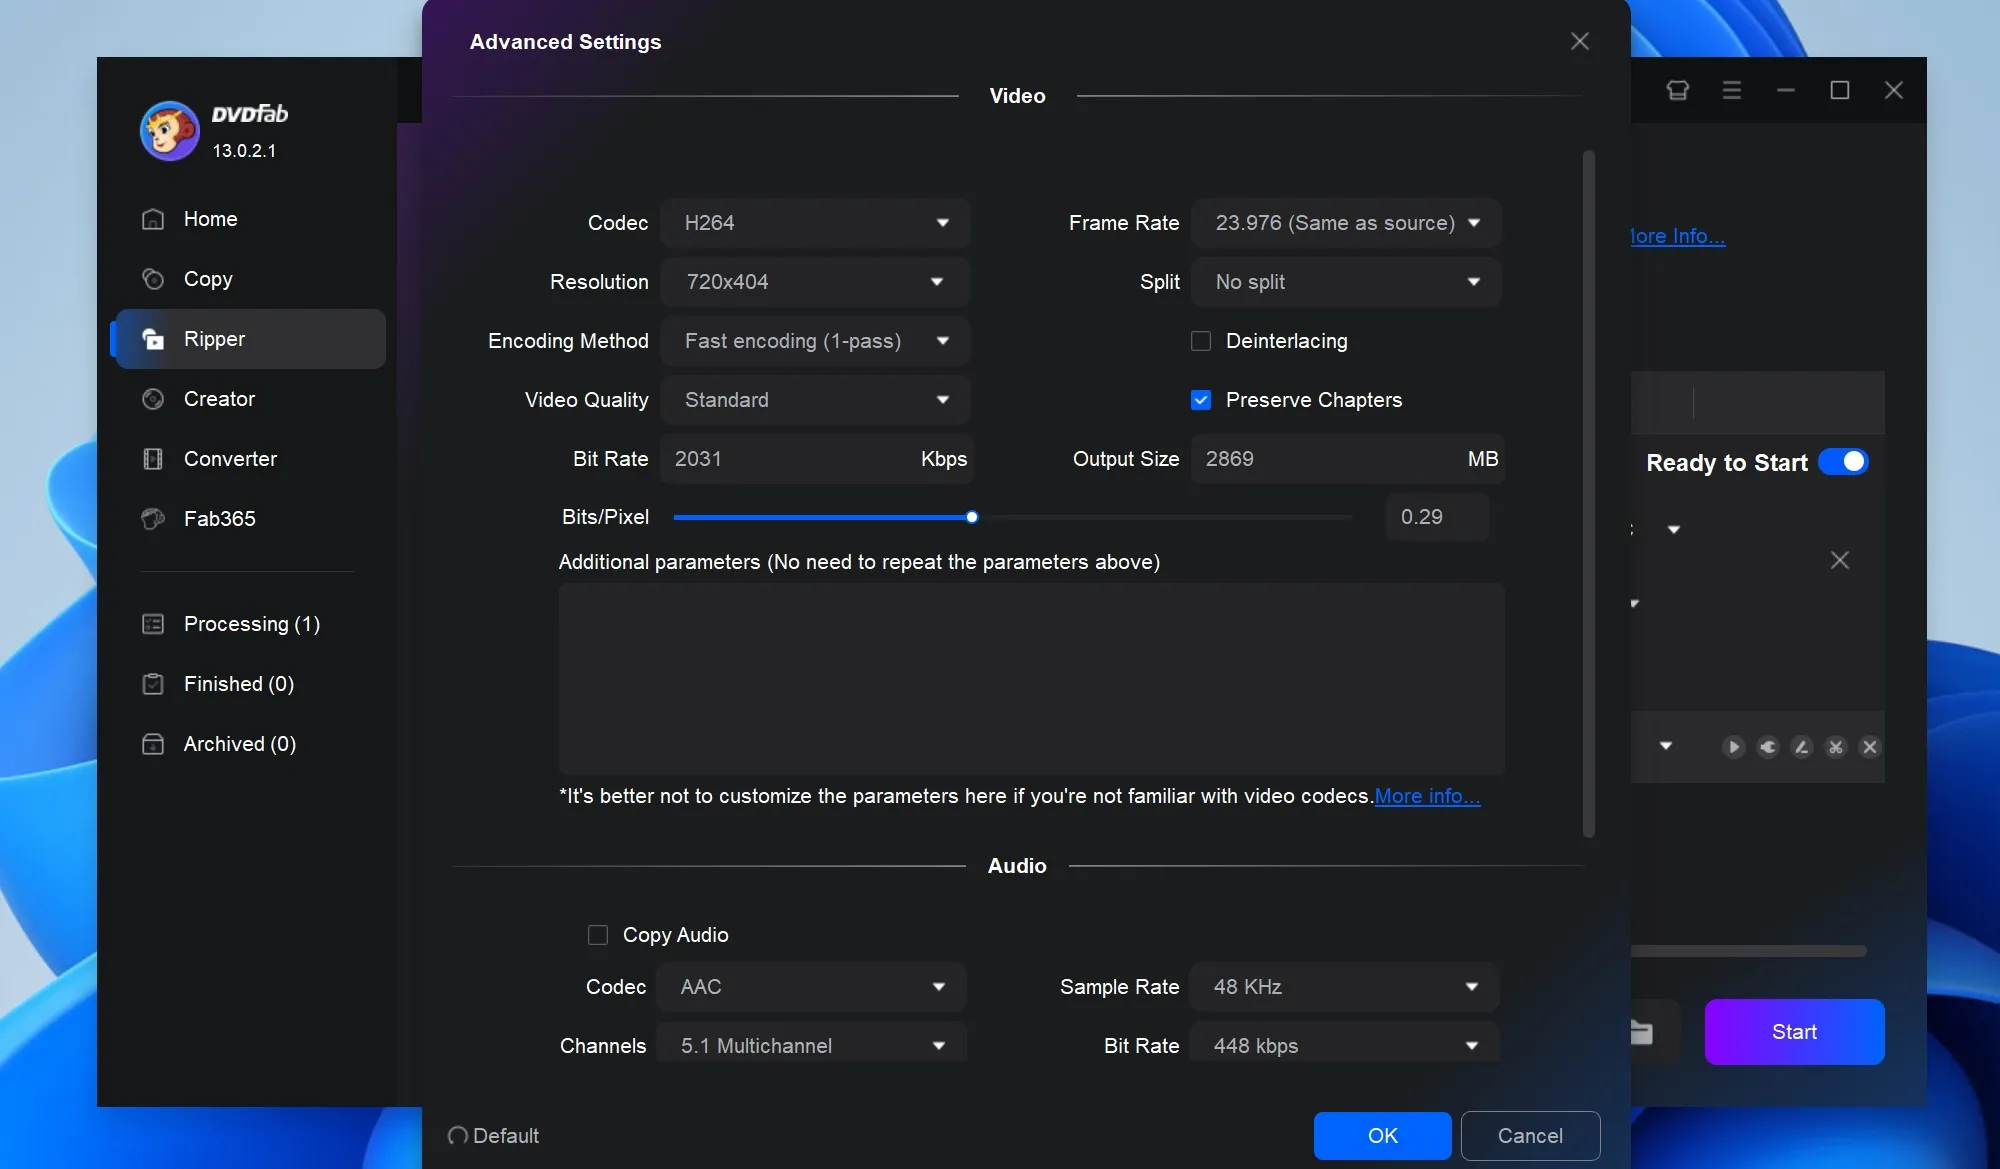
Step 3: Adjust video, audio, and subtitle settings
Open Advanced Settings if you need to adjust video parameters such as resolution, codec, frame rate, or quality. You can also select audio tracks, choose subtitles, extract subtitles to SRT, or add external subtitles when needed.
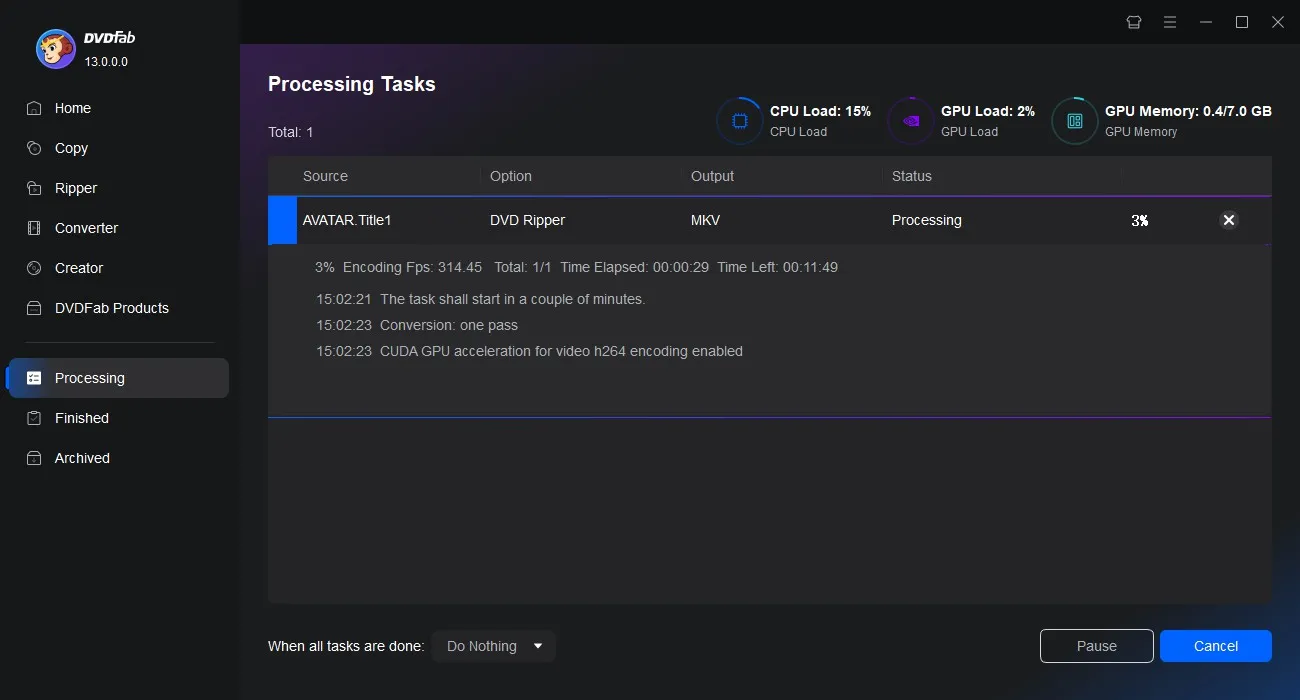
Step 4: Start the conversion
After adjusting the output settings, click Start to begin the ripping process.
Does HandBrake Web Optimized Change Quality or File Size?
No. Web Optimized does not directly improve video quality or reduce file size. It is mainly a file-layout setting for MP4/M4V playback over the web.
FAQs
Does HandBrake Web Optimized reduce file size?
No. Web Optimized is not a compression setting. To reduce file size, adjust the quality/RF value, resolution, encoder, preset, frame rate, or audio settings.
Does Web Optimized affect video quality?
No. Web Optimized does not directly change image quality. Video quality is mainly affected by settings such as RF/quality, encoder, resolution, bitrate, and preset.
Why is Web Optimized not available for MKV?
HandBrake's Web Optimized option is mainly for MP4/M4V fast start. If you choose MKV or WebM, use the container because it fits your playback or subtitle needs, not because of this MP4 fast-start setting.
What is an anamorphic aspect ratio?
Dubbed as anamorphic widescreen format, 2.39:1 is the broadest aspect ratio widely used in modern cinema. It generates an aesthetic usually related to premium dramatic feature movies. Its wide field of view makes it the ideal ratio for recording scenic landscapes.
Is anamorphic widescreen better?
The end output image has much better resolution since more film area is being utilized to project the same picture. This method works the same when applied to DVDs. Traditional analog televisions come with an aspect ratio of 1.37:1 or 4x3, and hence have the same issue accommodating widescreen pictures as 35mm film.
What is PAR on Handbrake?
PAR or Pixel Aspect Ratio is used to multiply the storage width by a ratio. By default, the PAR is 1:1. With this ratio, what users see is what they get—square pixels. The video is saved and displayed with the same dimensions while using PAR.
Conclusion
The right HandBrake setting depends on the problem you are trying to avoid: slow online playback or an incorrect display shape. Use Web Optimized when the issue is how an MP4 starts online, and check Anamorphic when a DVD source may display with the wrong aspect ratio. If you want fewer manual adjustments, a preset-based DVD converter such as DVDFab DVD Ripper can be a more direct option.
 How to Rip and Transfer DVD to iPad/iPhone: Free and Paid Options in 2026By Wenny Yan - Jun 24, 2026
 Best DVD to USB Converter in 2026: Tested WaysBy Diana Smith - Jun 18, 2026
 Top 6 ISO to MP4 Converters in 2026: Tested & GuideBy Diana Smith - Jun 18, 2026
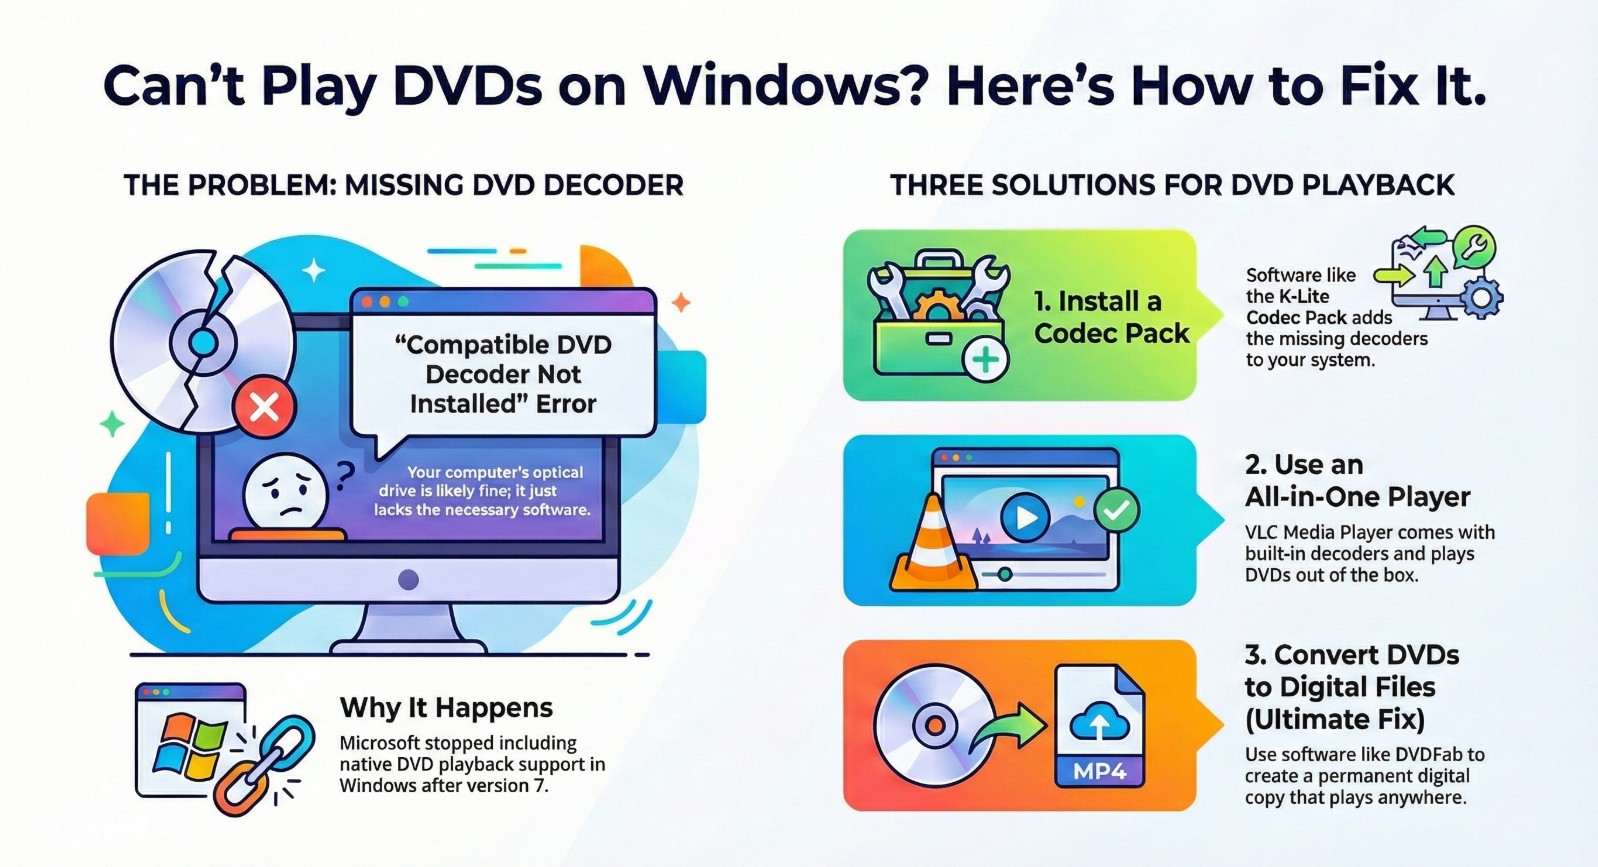 Best Free DVD Decoders for Windows XP/8/10/11: Fix DVD Playback ErrorsBy Diana Smith - Jun 17, 2026