
How to Rip and Extract Hi-Fi Audio from Blu-rays Easily?
Blu-ray discs are well-known for their high-definition video quality, but they can also contain high-quality audio tracks in various formats such as Dolby TrueHD and DTS-HD Master Audio. If you're an audiophile who wants to enjoy the purest form of high-fidelity (Hi-Fi) audio from your Blu-rays, then converting them to Hi-Fi audio files is a great option. In this article, we will explore how to rip audio from Blu-rays with DVDFab Blu-ray Ripper.
Introduction to Blu-ray Audio
Blu-ray Audio is an advanced audio format designed to deliver a high-quality listening experience to audio enthusiasts. It is an evolution of the traditional CD and DVD audio formats, offering improved audio resolution, clarity, and depth.
Introduced in 2006, Blu-ray Audio utilizes the same disc technology as Blu-ray movies, providing ample storage capacity for high-resolution audio files. Blu-ray Audio supports a wide range of audio formats, including lossless and high-resolution codecs such as PCM, Dolby TrueHD, and DTS-HD Master Audio. These codecs allow for the playback of uncompressed, studio-quality recordings, ensuring that listeners can hear the music as the artist intended.

- To enjoy Blu-ray Audio, you need a compatible player capable of decoding the high-resolution audio codecs. Or you can extract audio from high-definition Blu-ray discs. DVDFab Blu-ray Ripper is a powerful Blu-ray audio extractor that not only ensures lossless output quality, but also has a customized built-in editor.
How to Extract Blu-ray Audio with DVDFab Blu-ray Ripper?
Step 1: Launch DVDFab 13 and Select the "Ripper" Module
Download and install DVDFab 13 and then select "Ripper" in the top menu. After the 30-day free trial expires, you can continue to use our free product DVDFab HD Decrypter.
Step 2: Load Your Source Music Blu-ray
DVDFab 13 attempts to automatically load any disc in your drive. If you’re working with a Blu-ray iso file or folder, you can use the big “+” or the “+Add” button in the upper left corner. Alternatively, you could also just simply drag & drop the source anywhere inside the user interface.

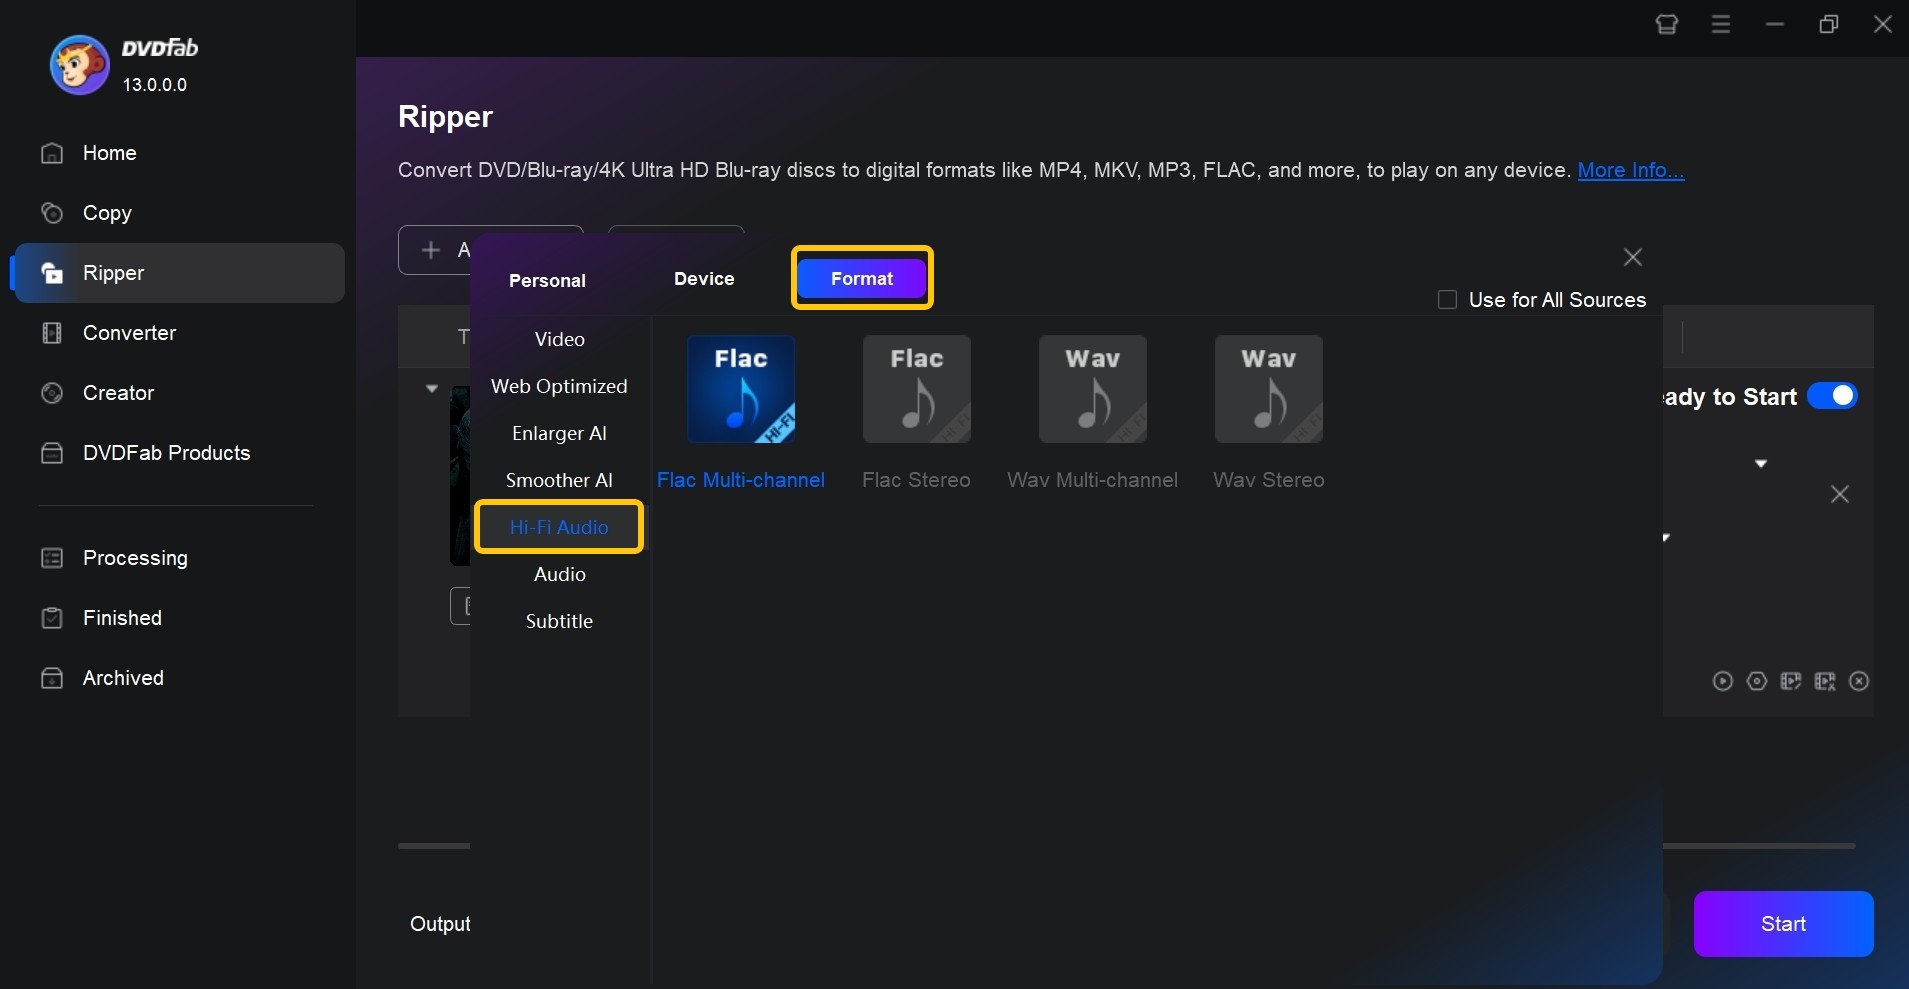
Step 3: Choose a Hi-Fi Audio Profile
Click the "Choose Other Profile" option which brings up the built-in Profile Library, where you will notice three different tabs – Format, Device, and Personal. Click "Format" and then select the "Hi-Fi Audio" category.
Here are four distinct conversion profiles – Flac Multi-channel, Flac Stereo, Wav Multi-channel, and Wav Stereo. In order to achieve the best possible quality it is recommended that you select the profile that best matches your sound system. If your system supports surround sound you’ll probably want to go with one of the multi-channel options.
Step 4: Customize the Output Audio
Clicking the little wrench icon will open up the "Advanced Settings" menu where you can make certain changes to your file. Some of the options found here are static, such as the codec, bit rate or bit depth. These are tied to the profile you pick and can’t actually be modified. However, you can select a different sample rate (up to 192 kHz High-Definition Output), channels, and use the slider to adjust the volume.
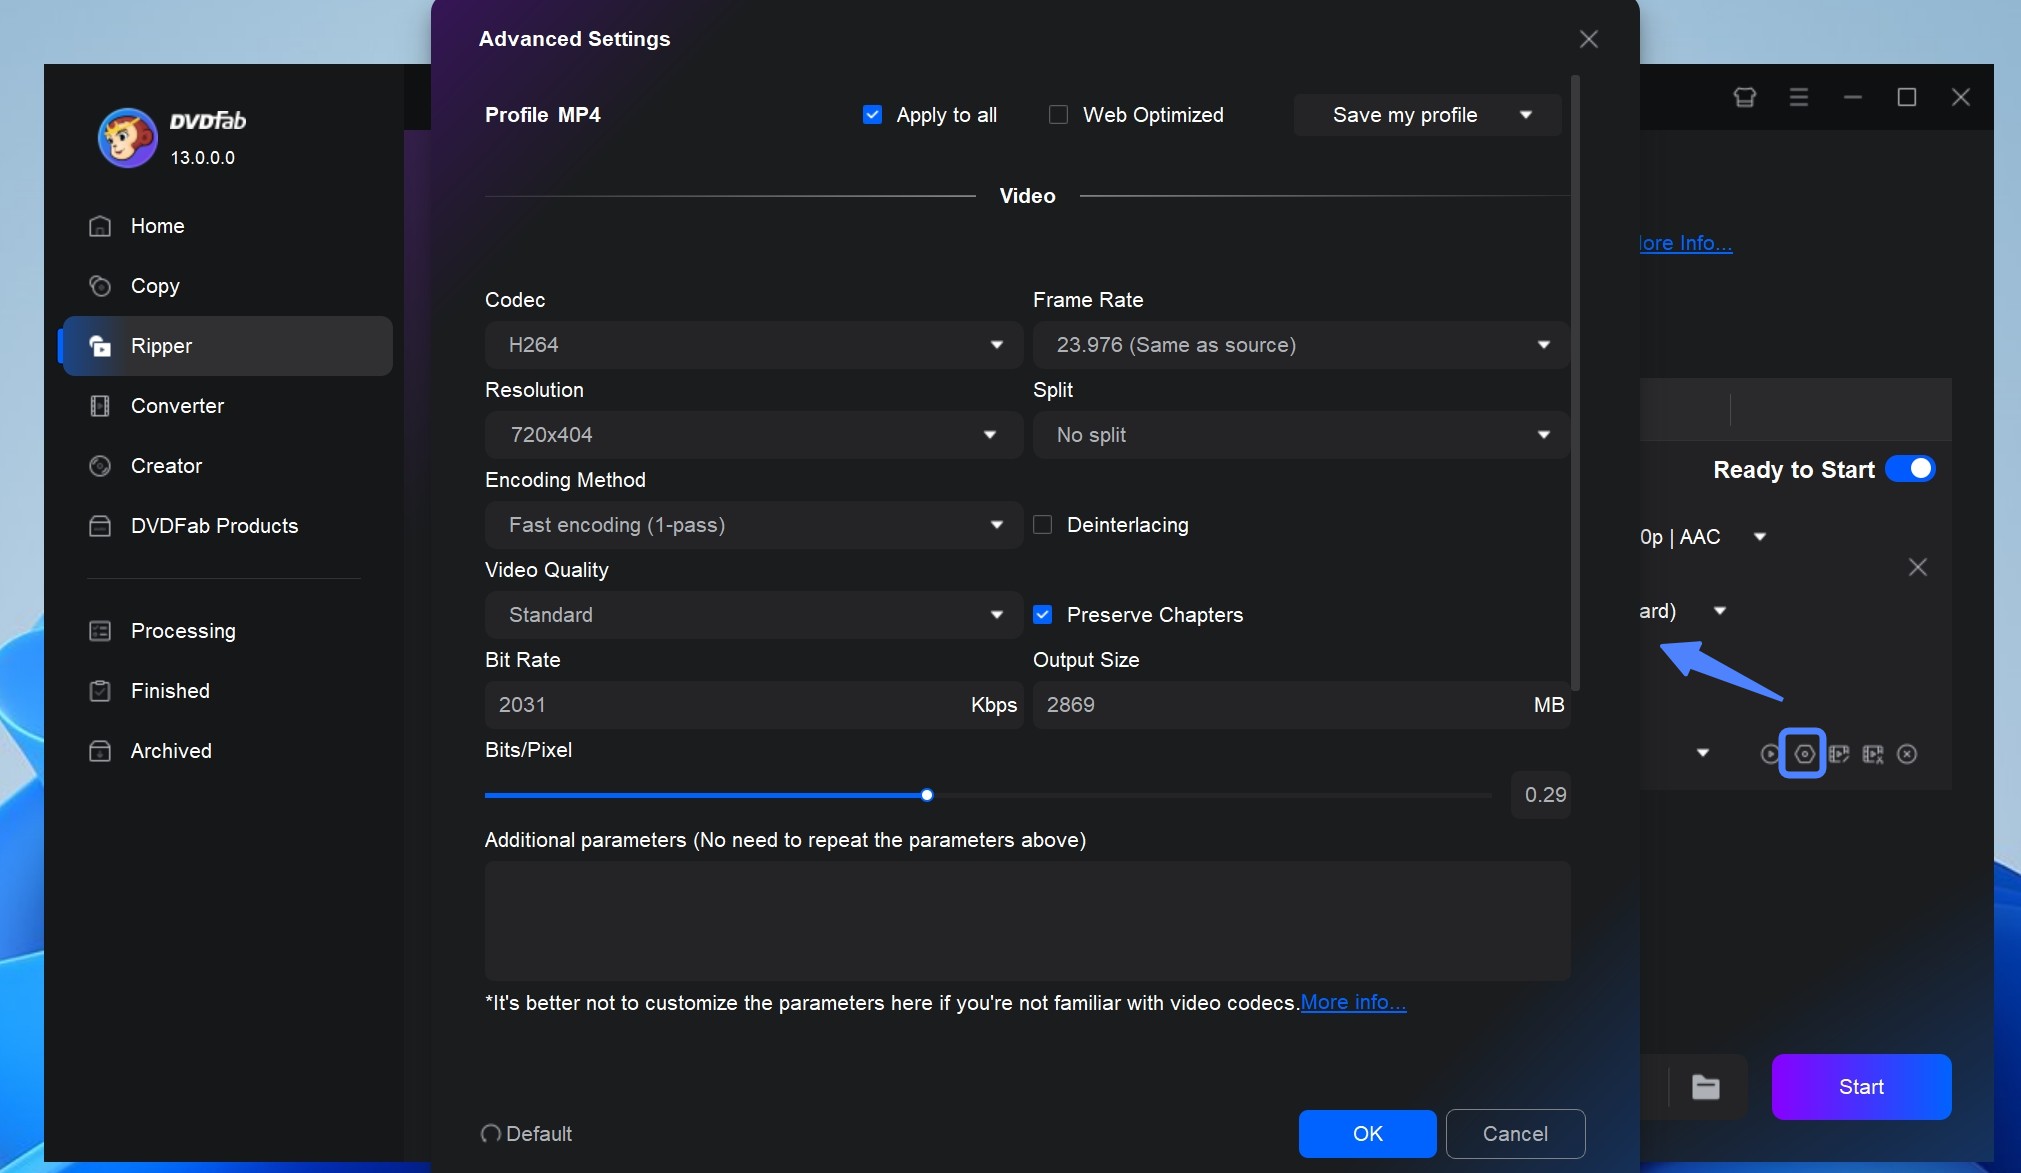
The other remaining option is called "Split" which allows you to split the Blu-ray by chapters. If you leave the "No Split" option on, DVDFab Hi-Fi Audio Converter will output the entire contents of the Blu-ray onto a single audio file.
Besides, you can find a few more customized options. Here, you can change the name of the file or select the titles and chapters you want to convert. You can also pick between any available audio tracks and subtitles. You’re probably not going to use some of these options if you’re converting a concert or album but they do come in handy when using the tool to rip audio from Blu-ray movies.
Note: If your Blu-ray is Cinavia protected, you're in a bit of trouble. We covered how to remove Cinavia from Blu-ray, so you can enjoy a clean Blu-ray audio tracks.
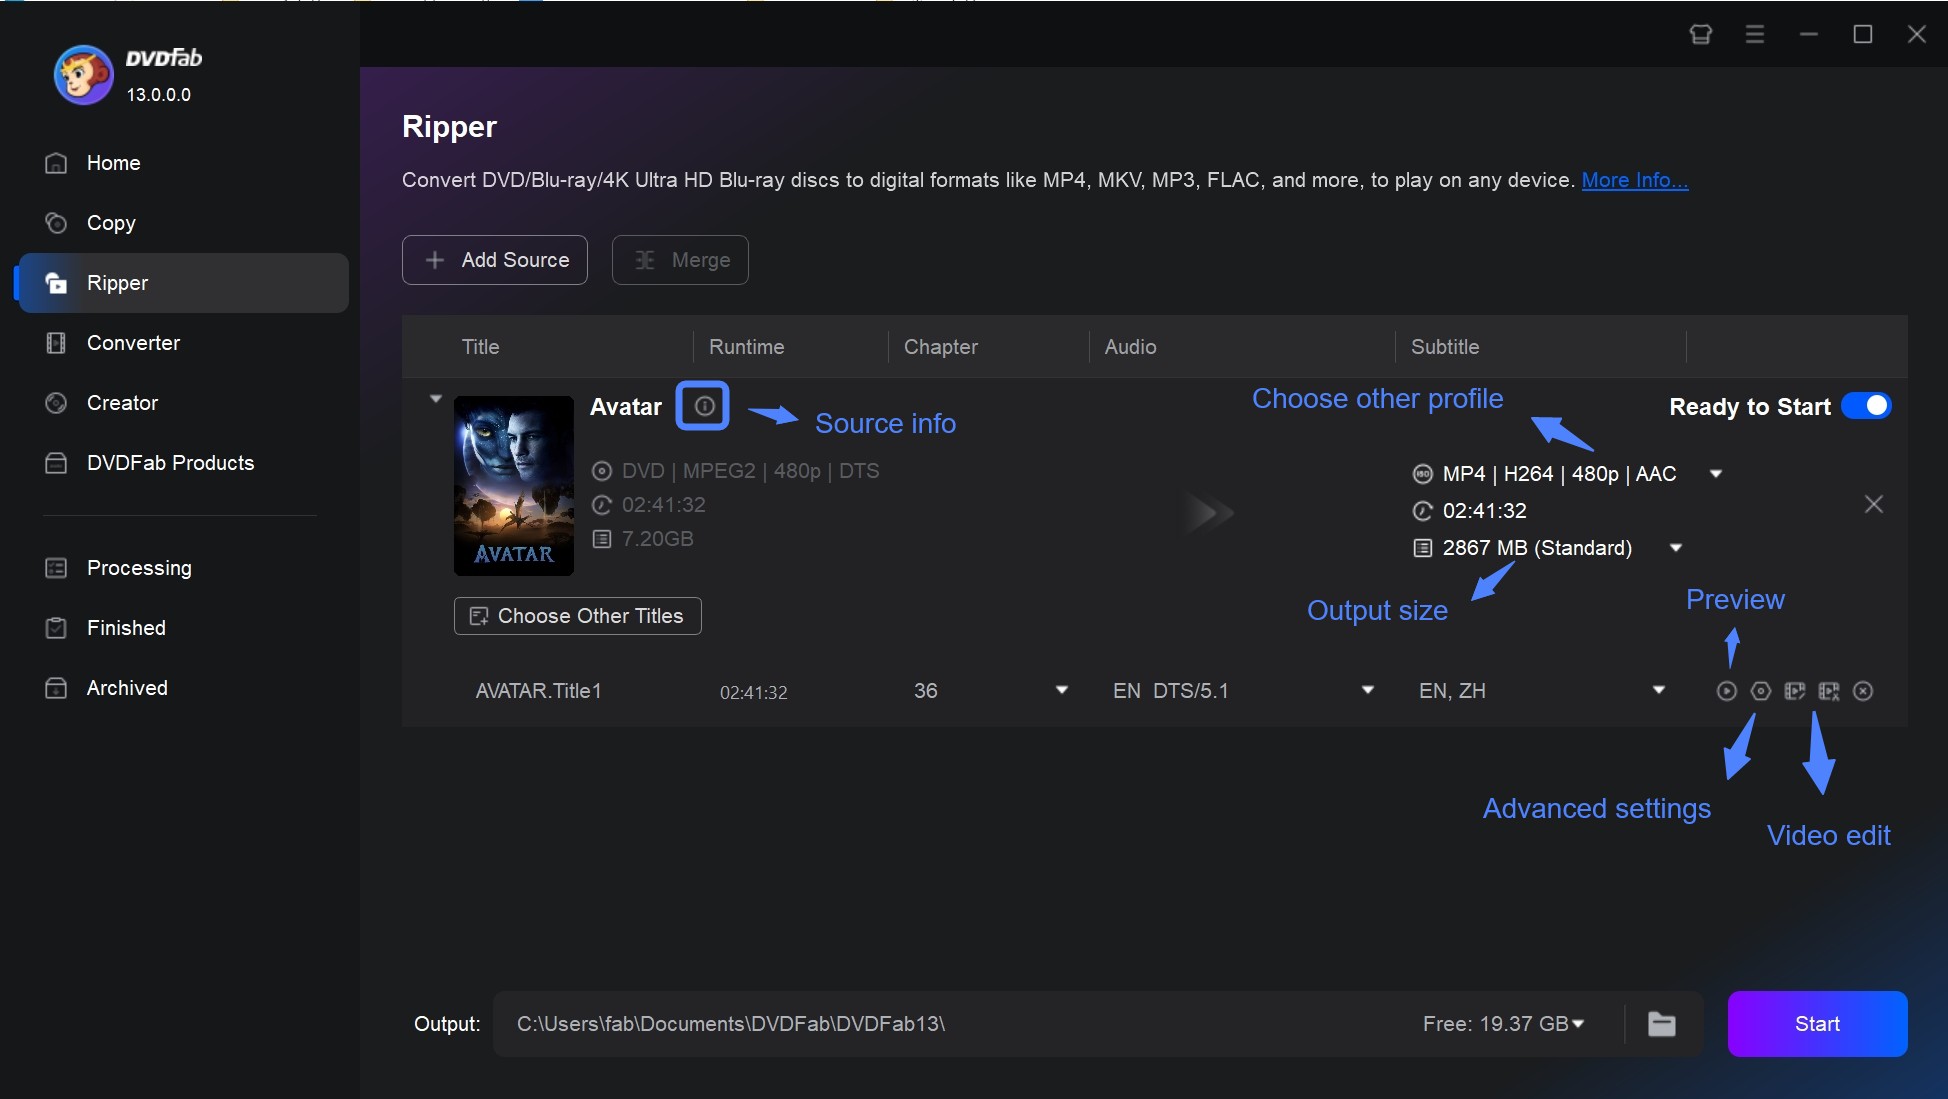
Step 5: Choose the Output Destination
There’s one last step is to choose a destination for our output. DVDFab Bluray Ripper selects a destination for you by default but you can change it. If your preferred destination is not already found in the menu, you can add it manually by clicking the "Folder" icon found right next to it.
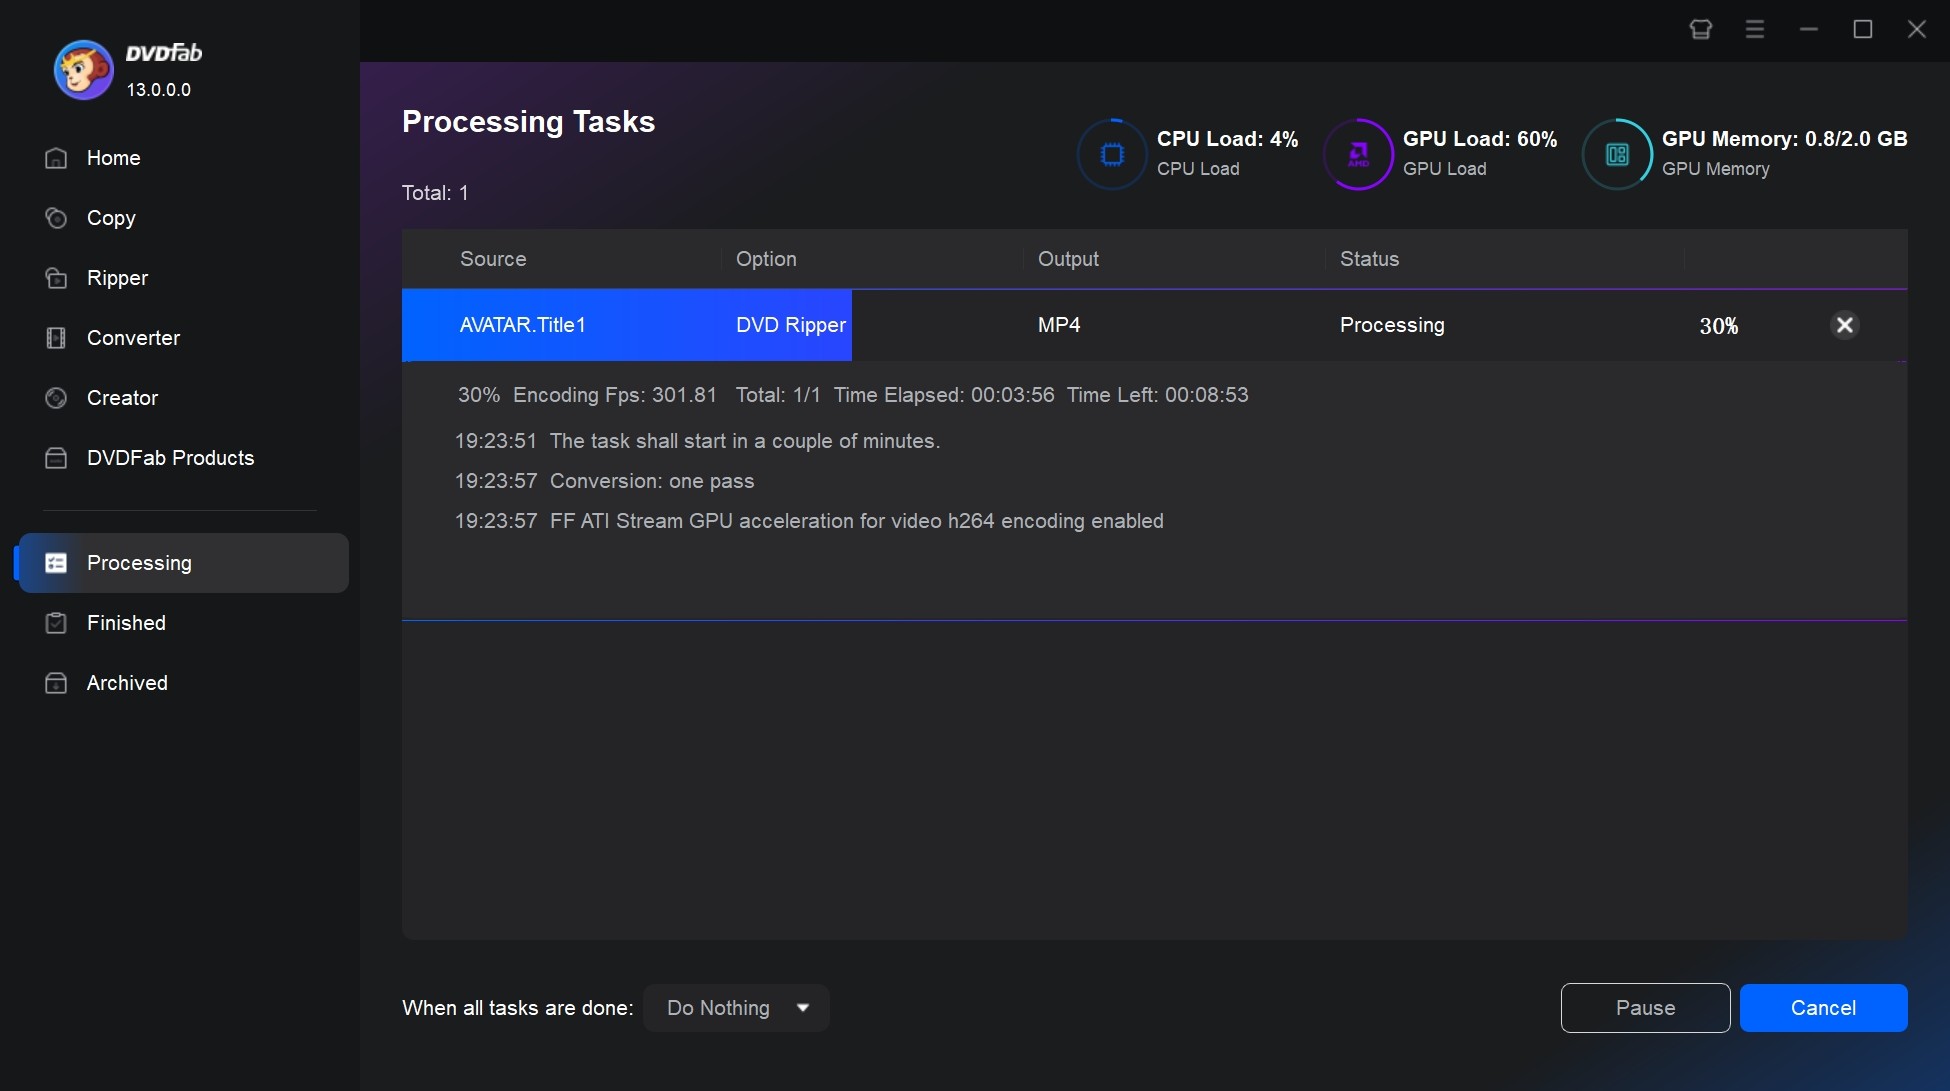
Step 6: Start the Ripping and Conversion Process
With everything else taken care of, it’s now time to start ripping and converting our Blu-ray Audio. To begin, simply click the "Start" button.
Finally, in the lower left corner you will notice a new dropdown menu. You can use these to shut down or hibernate your computer once all current tasks have been completed. There’s also an option that simply closes the program once there are no more tasks left to process.
Final Thoughts
Physical discs eventually degrade over time so having digital backups of your favorite songs is a great way to preserve your music Blu-ray collection. After reading our step-by-step guide you should have a pretty good idea of how to convert Blu-rays to Hi-Fi audio files with DVDFab Blu-ray Ripper quickly and easily.
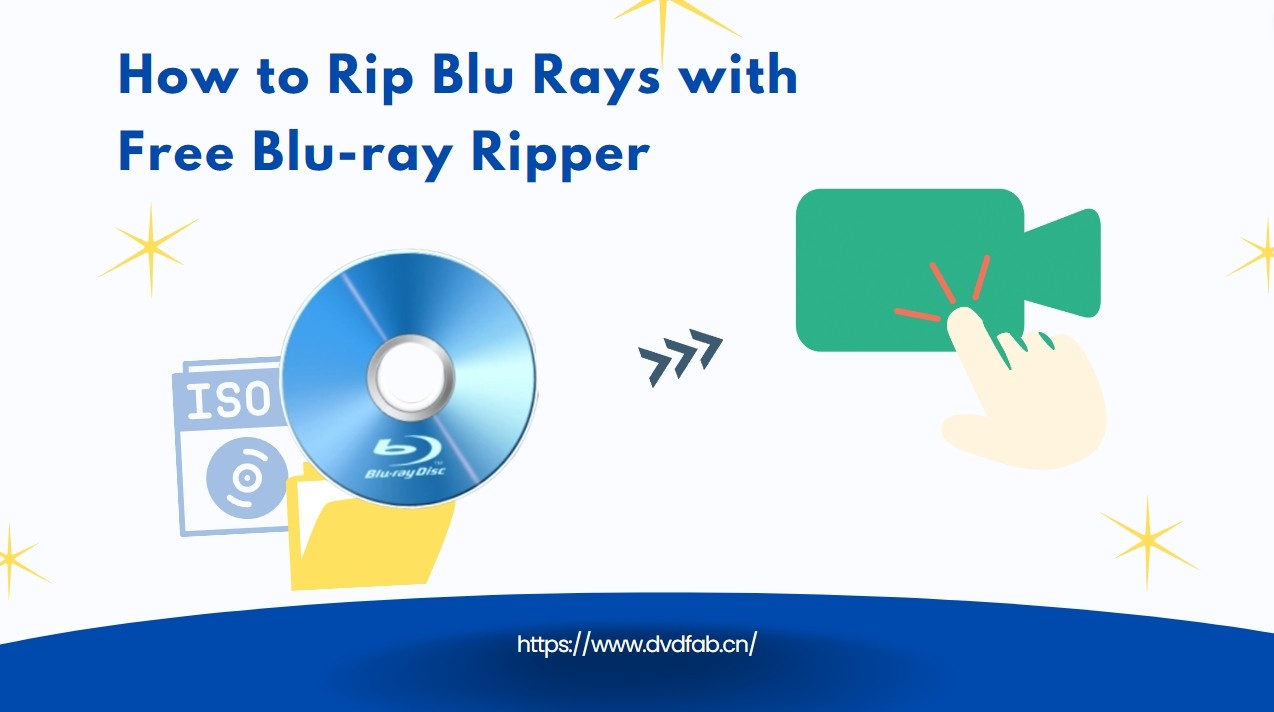 How to Rip Blu-ray Discs : Top 8 Tools for Beginners and Pros
In this article, we will guide you through how to rip Blu-ray using the best free Blu-ray ripper available in the market. Not only will this help preserve your beloved Blu-ray movies and shows, but it also offers increased accessibility and convenience in viewing them.
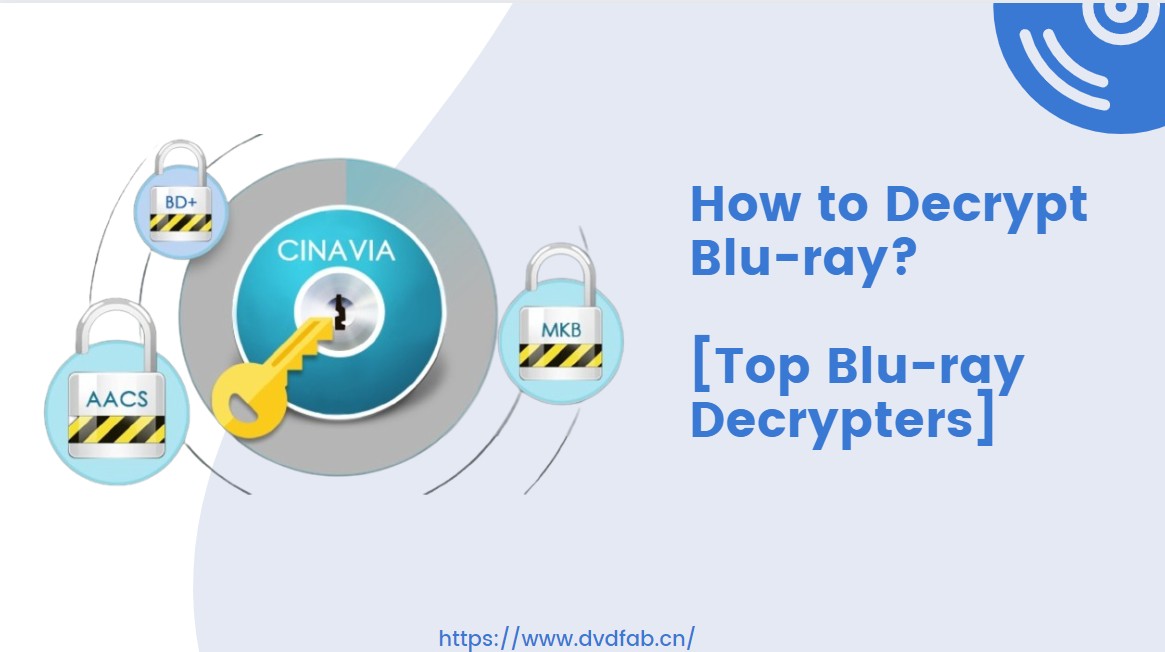 Top 5 Free Blu-ray Decrypters for Legal Use [2025]
Blu-ray Discs are a superior way to enjoy high-definition movies at home. However, its embedded encryption technology makes it challenging to access the content. This guide features 5 of the best free Blu-ray decrypters to help you easily unlock Blu-ray protection. Read on to find your solutions!
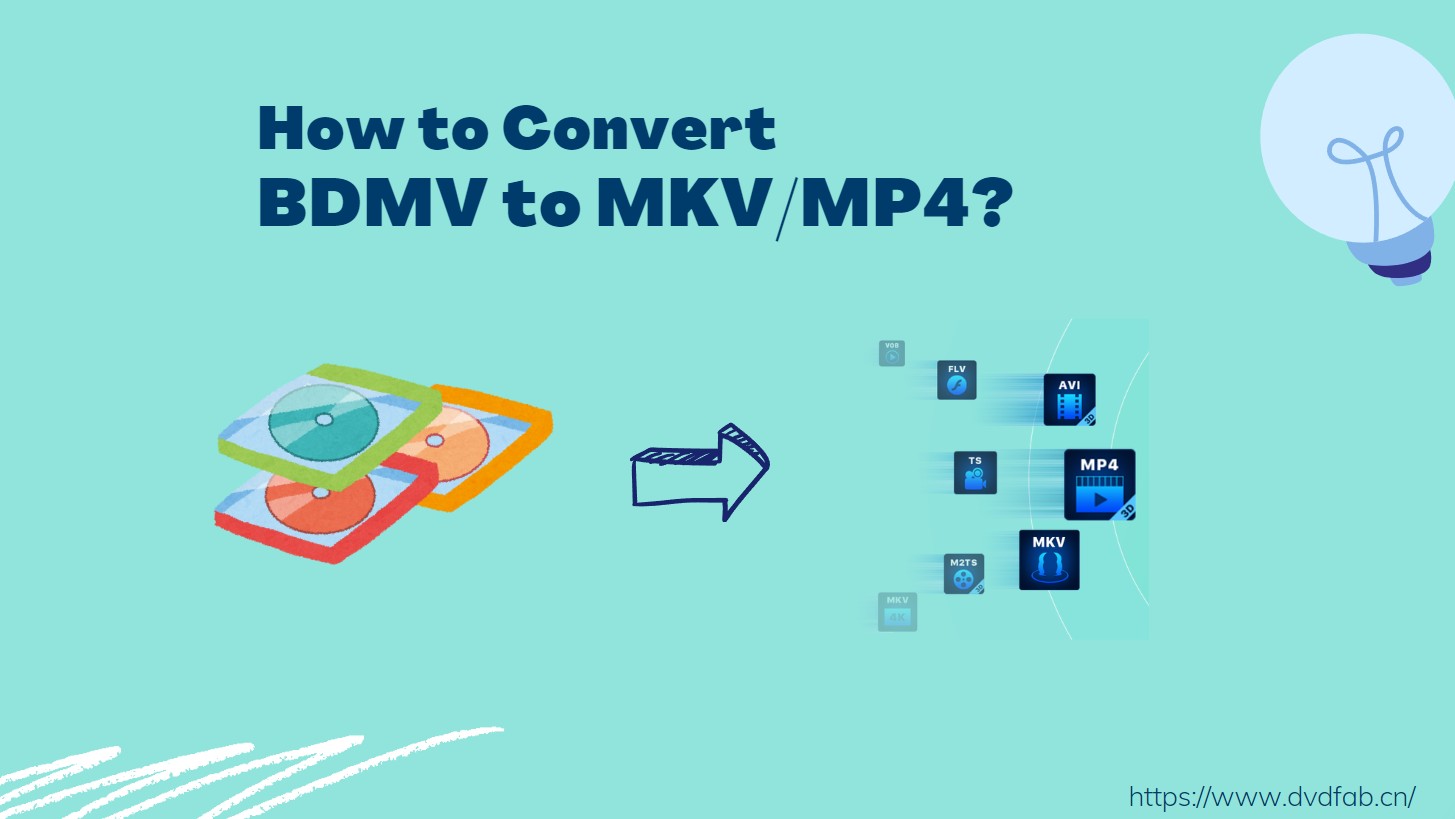 5 Best Tools for Converting BDMV to MKV/MP4 on Windows or macOS
This article highlights the top 5 converters available for converting BDMV to MKV or MP4 formats. These software offer efficient and effective conversion processes, allowing users to easily transform BDMV files to more widely supported video formats for enhanced compatibility and playback convenience.
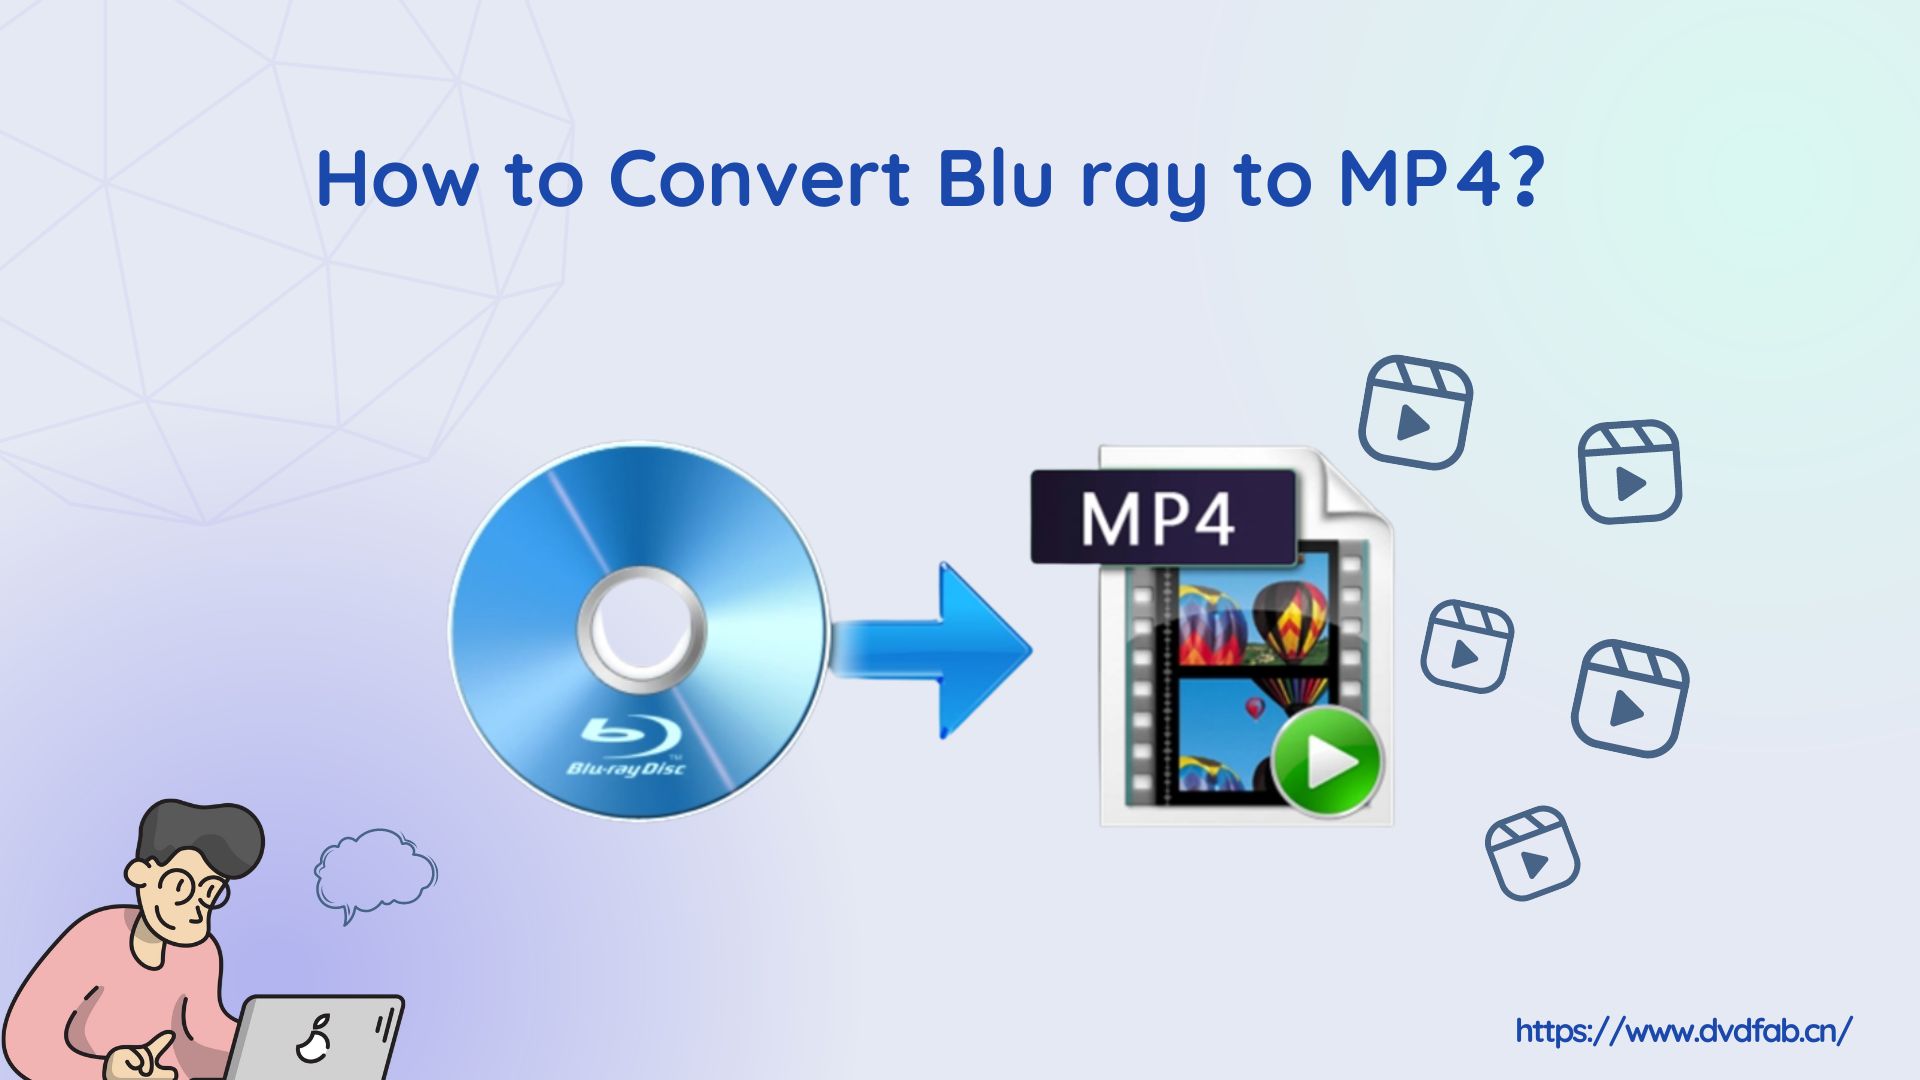 How to Convert Blu-ray to MP4 on Windows & Mac: Top 6 Converters
Converting Blu-ray to MP4 is the optimal solution for enjoying high-definition movies on devices like iPads, TVs, and tablets. This process preserves original quality while enhancing compatibility across platforms. Our comprehensive guide reveals the top 6 converters for seamless Blu-ray to MP4 conversion on both Windows and Mac systems.