
How to Fix Scratched DVD: Clean and Repair
Summary: To fix a scratched DVD, first clean it with a microfiber cloth and wipe from the center outward. Use non-gel toothpaste or mild polishing only for shallow surface scratches. Deeper damage may need professional resurfacing or quick digitizing once readable. Disc rot, cracks, and label-side damage cannot be fixed at home.
Table of Contents
Scratches are one of the most common reasons a DVD stops playing. Your player may freeze, skip scenes, or fail to recognize the disc at all. For anyone who keeps old home videos, recordings, or important data on DVDs, this can be especially worrying.
This article explains what you can do when a DVD becomes unreadable, from simple cleaning and repair methods to options for backing up and digitizing the content before the damage gets any worse.
How to Fix a Scratched DVD: Quick Answer, Limits, and Stop Points
The safest repair order is: confirm whether the problem is the disc or the drive, clean the DVD, test it again, try a mild surface repair only for shallow scratches, and use professional resurfacing if the scratch is deeper but still limited to the clear plastic layer. If the disc shows signs of disc rot, label-side damage, cracks, or delamination, polishing will not restore the missing data.
| What you see | What to try first | When to stop |
|---|---|---|
| Fingerprints, dust, oily smudges, light haze | Microfiber cloth with distilled water or isopropyl alcohol; wipe from center to edge | Stop once playback returns; do not polish a clean disc unnecessarily |
| Fine surface scratches on the shiny side | Non-gel toothpaste, mild disc polish, or a temporary filler such as wax or Vaseline | Stop after one careful attempt if readability does not improve |
| Deep grooves, cracks, or scratches on the label side | Professional resurfacing only if the disc is not cracked and the data layer is intact | Do not sand or bend the disc; data loss may already be permanent |
| Bronzing, pinholes, cloudiness, edge separation, or flaking | Try to read the disc in another drive and back up what still reads | This is likely disc rot or layer failure; home scratch repair will not fix it |
Before you decide what to do with old DVDs or start polishing, run these checks:
- Wash and dry your hands. Hold the disc by the outer edge and center hole to avoid adding oil to the read surface.
- Check whether the drive is the problem. Try the scratched DVD in another player, then try a different DVD in the same drive.
- Use a tray-loading drive for recovery. Slot-loading drives can add pressure or scrape the disc during insertion and ejection.
- Wipe in straight lines. Clean from the center ring toward the outer edge. Do not wipe in circles, because circular scratches can follow the laser path and cause repeated read errors.
- Stop once the disc reads. The goal is to recover the content, not to make the disc look new.
Step-by-Step Home Repairs for Light DVD Scratches
Clean the disc thoroughly before using any abrasive method
Dust and fingerprints can cause the same symptoms as scratches, including skipping, freezing, and “disc not recognized” errors. Cleaning is the lowest-risk first step.
Instructions:
- Place the DVD on a clean, soft surface with the shiny side facing up.
- Dampen a microfiber cloth with distilled water. For oily residue, use a small amount of isopropyl alcohol on the cloth, not directly on the disc.
- Wipe from the center hole toward the outer edge in straight lines.
- Use a dry microfiber cloth to remove moisture, again moving from center to edge.
- Let the disc air-dry completely before testing it.
Try DIY surface repairs only on shallow scratches
Option 1: Non-gel toothpaste
A plain, non-gel toothpaste can lightly polish the clear plastic surface of a DVD. This may help if the scratch is shallow and only interferes with how the laser passes through the plastic. It will not repair damaged data, cracks, or disc rot.
How to use:
- Apply a pea-sized amount of plain white toothpaste to the scratched area.
- Use a soft microfiber cloth to rub gently from the center toward the edge in straight lines.
- Keep the pressure light and avoid repeated scrubbing.
- Rinse with clean water and dry with a microfiber cloth.
- Test the DVD once. If it reads, back it up before using it again.
💡Avoid whitening, charcoal, gritty, or heavily abrasive toothpaste. These formulas can add fine scratches instead of reducing read errors.
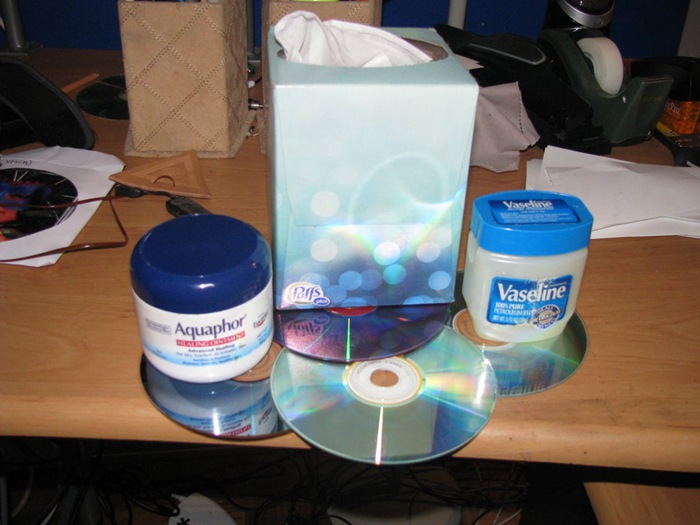
Option 2: Vaseline, wax, banana, or other temporary fillers
Vaseline, car wax, furniture wax, or even banana residue may temporarily fill very shallow scratches and reduce light scattering long enough for a drive to read the disc. These are temporary rescue methods, not permanent repairs. Remove residue carefully before putting the disc into a drive.
- Clean the disc first to remove dust or fingerprints.
- Apply a very thin layer of Vaseline, wax, or banana residue to the scratched area.
- Gently work it across the scratch from the center toward the edge.
- Use a clean, dry microfiber cloth to remove nearly all residue.
- Test the disc in a tray-loading drive and back up the content if it reads.
Option 3: Mild polishing compound
A dedicated disc polish or a very mild automotive plastic polish can help with light-to-moderate surface marks. Use it sparingly, follow the product instructions, and avoid aggressive sanding. Removing too much plastic can make the disc thinner and harder to read.
Use a commercial DVD repair kit or professional resurfacing for deeper surface scratches
If cleaning and one careful home repair do not help, a commercial repair kit or a local disc resurfacing service is safer than repeated DIY polishing. Products such as SkipDr or JFJ Easy Pro, along with many kits sold online or in retail stores, are designed to polish or resurface the disc's polycarbonate layer, reducing visible surface scratches and improving the chance of playback.
What is usually included?
- A mild abrasive or polishing solution
- Manual or motorized disc polishing machine
- Polishing pad or soft wiping discs
- Cleaning cloth and sometimes even a disc protector
What not to do when repairing a scratched DVD
- Do not wipe in circles.
- Do not use paper towels, tissues, rough cloth, acetone, window cleaner, or strong solvents.
- Do not heat the disc with a hair dryer or sunlight.
- Do not bend the DVD to “flatten” it.
- Do not keep polishing after the disc becomes readable; move to backup instead.
When It Is Not Just a Scratch: Disc Rot, Deep Damage, and Read Errors
Disc rot is different from a scratch
Disc rot is a failure of the disc's data or reflective layer, often caused by oxidation, material breakdown, adhesive failure, or layer separation. It is not a surface scratch, so toothpaste, wax, polishing compound, and repair kits cannot rebuild the damaged data layer.
Common signs of DVD disc rot include:
- Bronze, brown, cloudy, or uneven discoloration
- Tiny pinholes when the disc is held up to light
- Peeling, bubbling, or separation near the edge
- Flaking or damage on the label side
- The same read failure across several players or drives
If you suspect disc rot, stop polishing. Try to read the DVD gently in another drive and copy whatever still reads as soon as possible.
Try reading the disc before attempting another repair
Some damaged DVDs fail in one drive but read in another. Before using a more abrasive method, try these recovery steps:
- Use a different tray-loading optical drive. A desktop or external tray-loading drive may handle damaged discs more gently than a slot-loading laptop drive.
- Reduce the read speed if your software or drive utility allows it. Slower reading can reduce errors on marginal sectors.
- Clean the drive lens with an approved lens cleaner. A dusty laser can make a scratched disc look worse than it is.
- Copy the most important files first. Do not spend repeated full-disc read attempts before rescuing irreplaceable content.
- Test another disc in the same drive. This helps confirm whether the drive itself is failing.
If you are comparing drives because of a scratched-disc problem, look for stable tray loading, careful disc handling, and reliable low-speed reading options rather than assuming one drive can recover every damaged disc.
After recovery, store the original disc in a clean case, away from heat, sunlight, and humidity. For long-term organization and protection, these DVD storage ideas can help reduce future handling damage.
After It Plays Once: Back Up the DVD Before It Fails Again
Since you are looking for how to fix a scratched DVD, you should know that sometimes the scratch is beyond repair. That will be a disaster since you won't be able to recover any data, and it will be lost forever. That's why the best solution isn't always repair—it's prevention. Thus, you shall finish this backup task before your DVD discs get scratched. We will tell you two ways by which you can do so.
Copy DVD to ISO/Folder: DVDFab DVD Copy
The first method is to create an ISO file before the DVD is badly scratched, so that the entire content, including menus and subtitles, can be stored on your computer or flash drive. DVDFab does the job perfectly without quality loss.
Most commercial DVDs have copy-protection. DVDFab DVD Copy will be able to remove DVD copy protection easily, and you can make personal backups quickly. Note that it is considered illegal to make commercial backups.

- Works on Windows 11/10/8.1/8/7 and macOS 10.13-15.x
- Burn a DVD to a blank DVD disc (DVD-5/DVD-9)
- Compress a DVD to a smaller disc size when storage space is limited
- Clone a readable DVD at a 1:1 ratio when you need a full-disc copy
- Copy a DVD with 6 different copy modes
- Customize options for language, audios, and subtitles
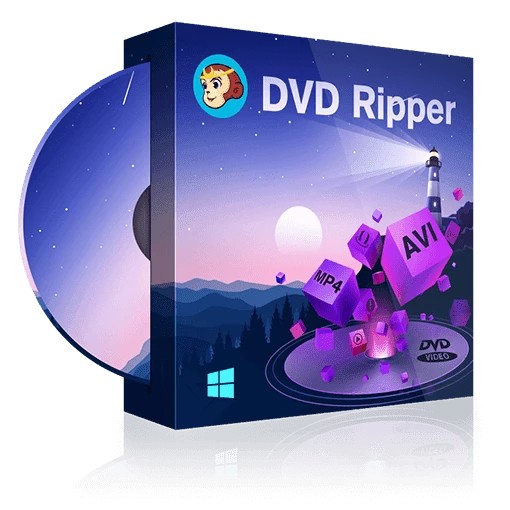
Rip DVDs to Digital Formats: DVDFab DVD Ripper
If you want a video file instead of an ISO or folder, DVDFab DVD Ripper can convert a readable DVD to formats such as MP4 or MKV for personal backup. To make the final backup more personalized, you can alo customize the output video via Advanced Settings and Video Editor.
- Works on Windows 11/10/8.1/8/7 and macOS 10.13-15.x
- Convert DVD to MP4 and common Video & Audio Formats
- Convert DVD to MKV Passthrough video with 5.1 AC3 audio
- Handle supported DVD structures for personal or authorized backups where permitted
- Use GPU acceleration when hardware and settings support it
- Make ripped DVDs available on portable devices such as iPhone
- Allow you to trim/crop/adjust your videos and audios including subtitle, etc
Related reading: Once you've rescued your important discs, you might still want to declutter your collection. Check the guide on how to sell dvd locally for cash and turn unused titles into extra money.
FAQs
Can a scratched DVD be repaired?
Yes, if the damage is limited to light surface scratches on the clear plastic side. Start with cleaning, then try a mild repair such as non-gel toothpaste, a temporary filler, or the best DVD cleaner for your situation.
Deep scratches, cracks, label-side damage, and disc rot usually cannot be repaired at home. If the DVD becomes readable even once, back up the content before more testing.
Can toothpaste damage a DVD?
Yes. Toothpaste can make the damage worse if it is too abrasive or if you rub in circles. Use only a small amount of plain non-gel toothpaste, apply light pressure, wipe from the center toward the edge, rinse thoroughly, and test once.
How do I know if it is DVD disc rot instead of scratches?
DVD disc rot often appears as discoloration, pinholes, cloudy patches, edge separation, or flaking near the label side. It can also cause the same read failure across multiple drives. Unlike a surface scratch, disc rot affects the data or reflective layer, so polishing and toothpaste will not repair it.
Should I use a DVD repair machine?
A DVD repair machine or professional resurfacing service is worth considering for deeper surface scratches, especially on valuable discs. Do not use it on cracked discs, warped discs, label-side damage, or disc rot. If the DVD contains irreplaceable content, professional handling is safer than repeated home polishing.
What should I do after the DVD plays once?
Stop testing the disc repeatedly and make a backup while it is readable. Use a stable tray-loading drive, copy the most important content first, and create a digital file, ISO, or folder only for content you own or are authorized to back up.
Conclusion
Fixing a scratched DVD starts with a clean test and should stop the moment the disc becomes readable enough to rescue. Work through the checklist in order: clean the disc, test another tray-loading drive, try one mild repair for light surface scratches, use professional resurfacing for deeper surface marks, and back up authorized content immediately after a successful read.
If you see disc rot, cracks, label-side damage, or layer separation, skip abrasive fixes and focus on recovering what remains. For readable DVDs you own or are authorized to process, DVDFab DVD Copy or DVDFab DVD Ripper can be one backup option, with results depending on the disc condition and your hardware.
 How to Rip and Transfer DVD to iPad/iPhone: Free and Paid Options in 2026By Wenny Yan - Jun 24, 2026
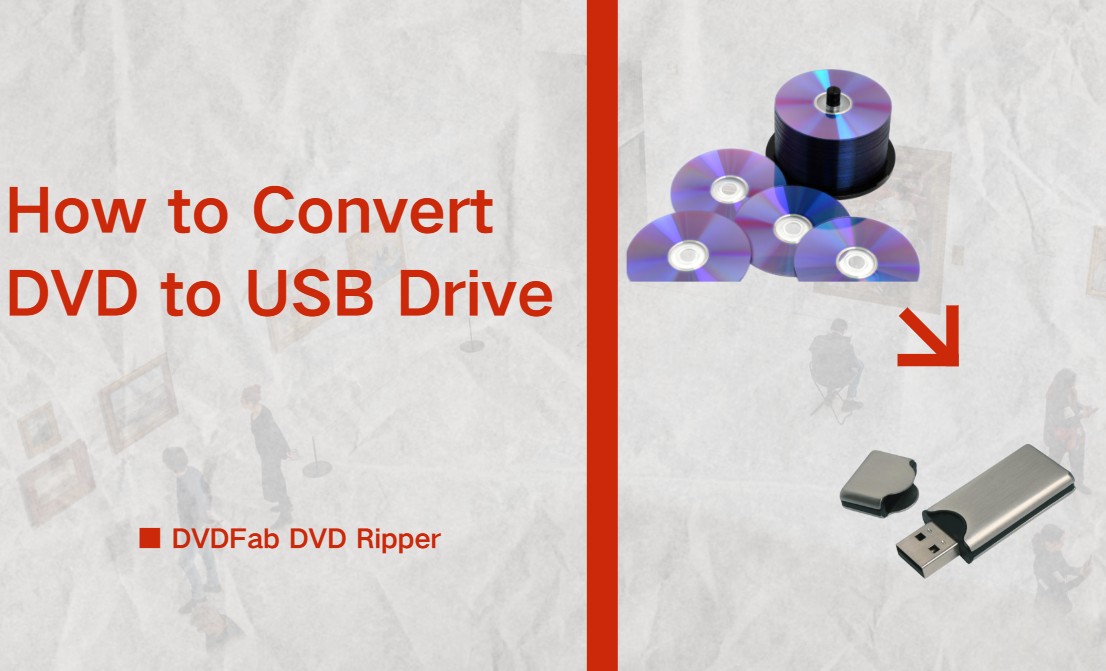 Best DVD to USB Converter in 2026: Tested WaysBy Diana Smith - Jun 18, 2026
 Top 6 ISO to MP4 Converters in 2026: Tested & GuideBy Diana Smith - Jun 18, 2026
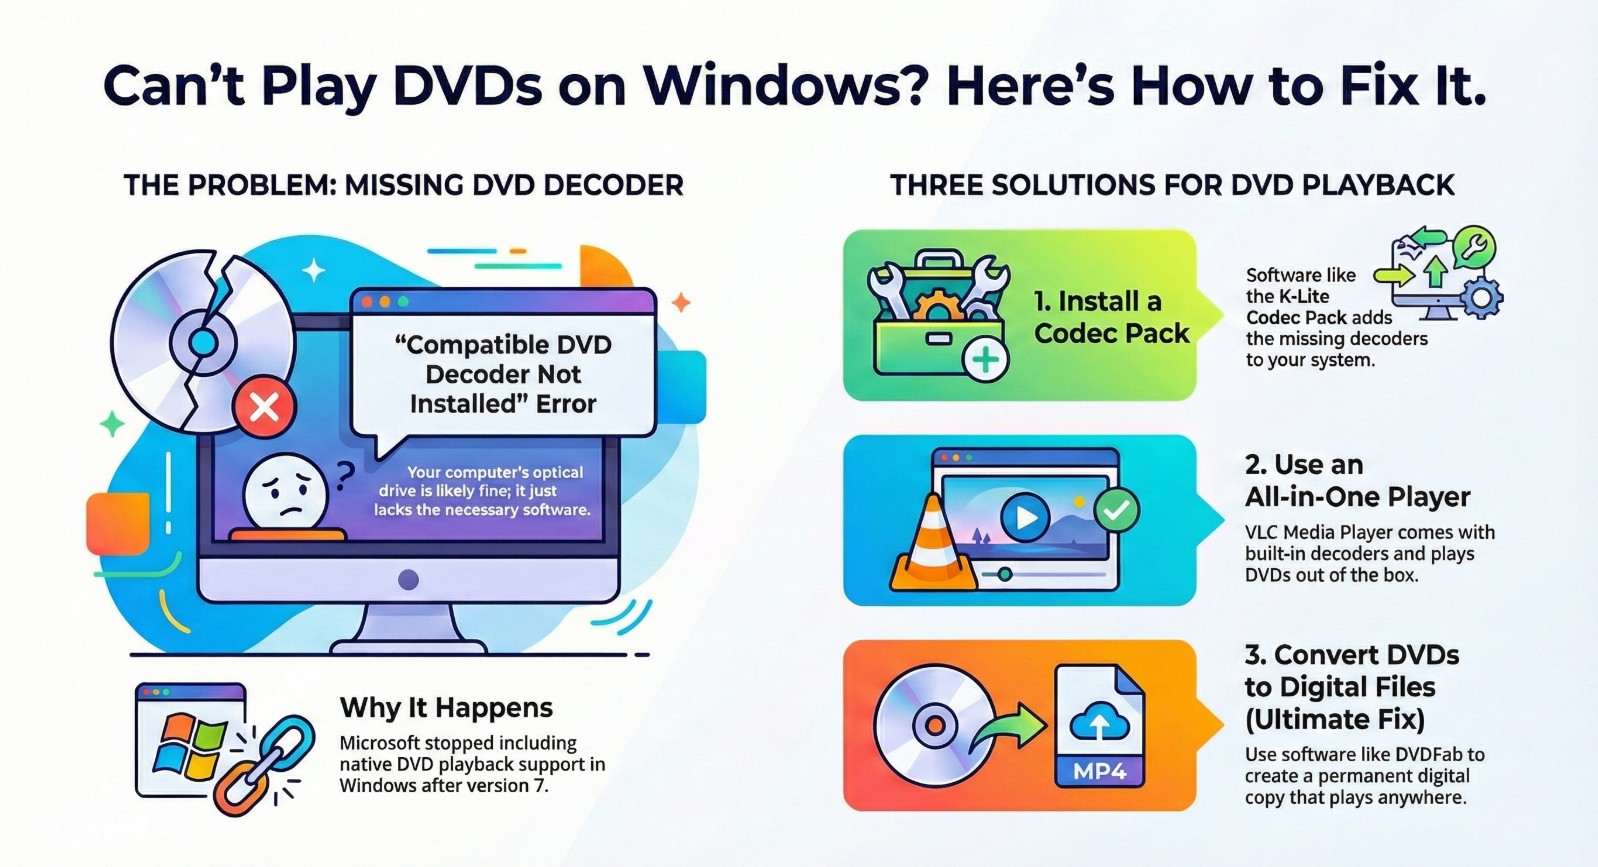 Best Free DVD Decoders for Windows XP/8/10/11: Fix DVD Playback ErrorsBy Diana Smith - Jun 17, 2026